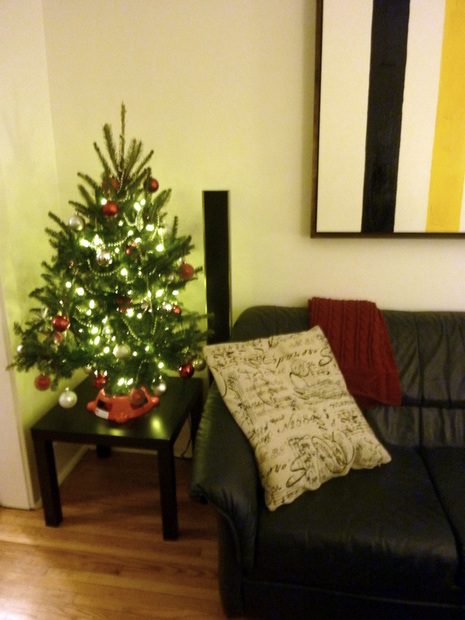
On Saturday we got a small tabletop tree, which is really the only thing that could fit in our small house! I used silver and red decorations, and I only need a tree skirt now to hide the ugly red plastic base it came in! We got the tree from Home Depot - it is real - and simple decorations from The Bay, Canadian Tire, and Pottery Barn (yep, a lot of variety). Oh yeah, and I also have the jeweled diamonds from my florist, because we used them at our wedding!
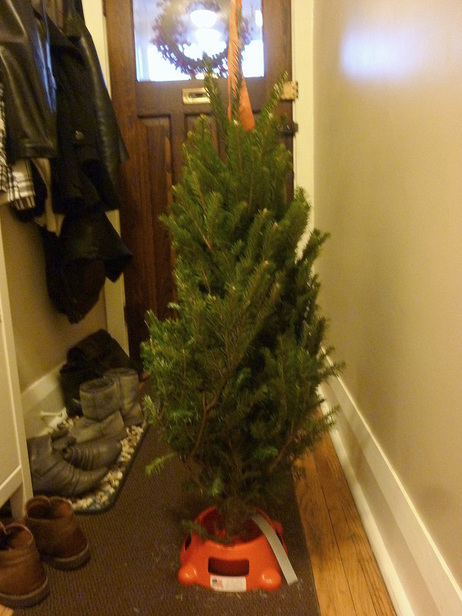
 Ohhh Linus tree... 
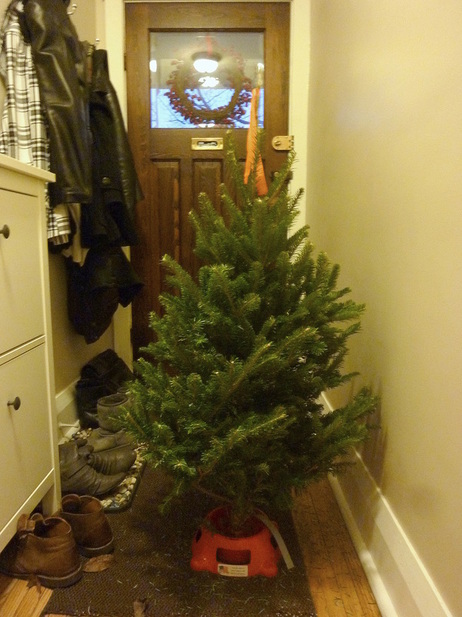
A bit fluffier with some prompting... Missing a star on the first night... You can see the ornaments a bit better in the daylight 
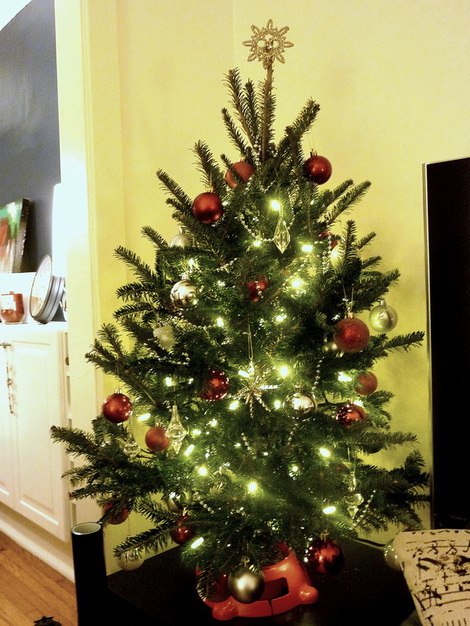
Now have a Pottery Barn snowflake as our star on top! 
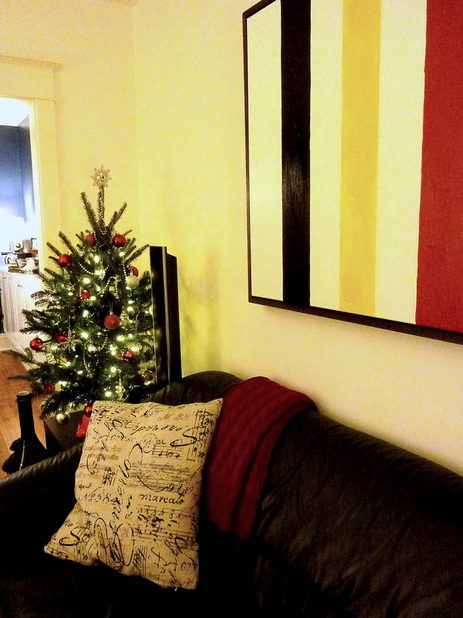
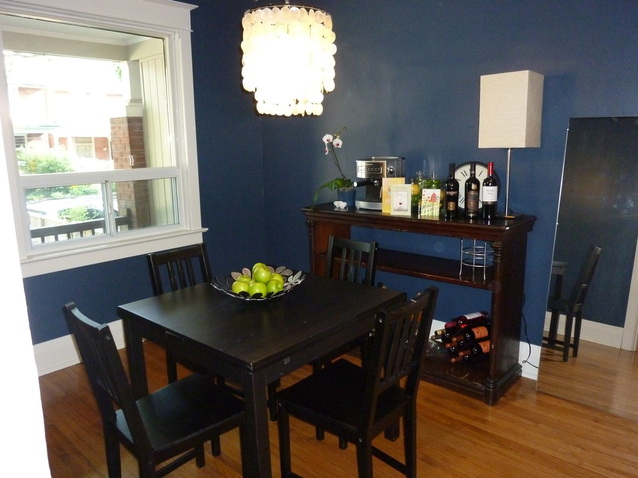
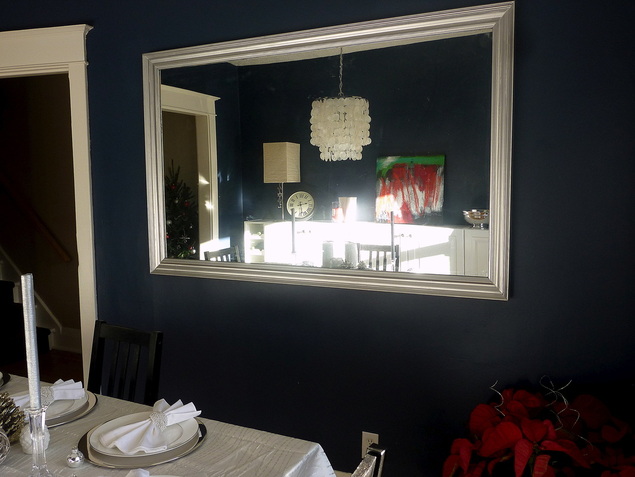
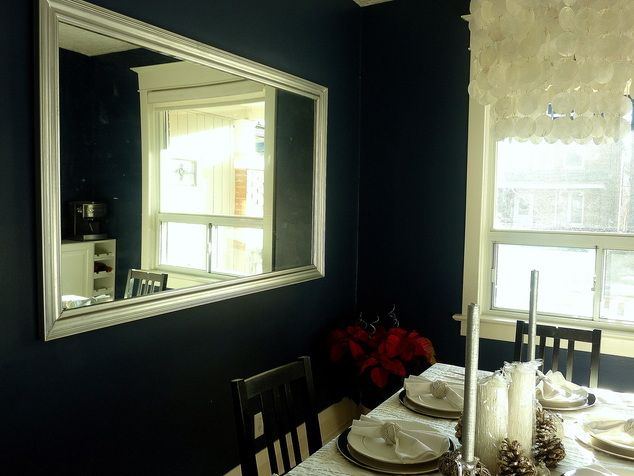
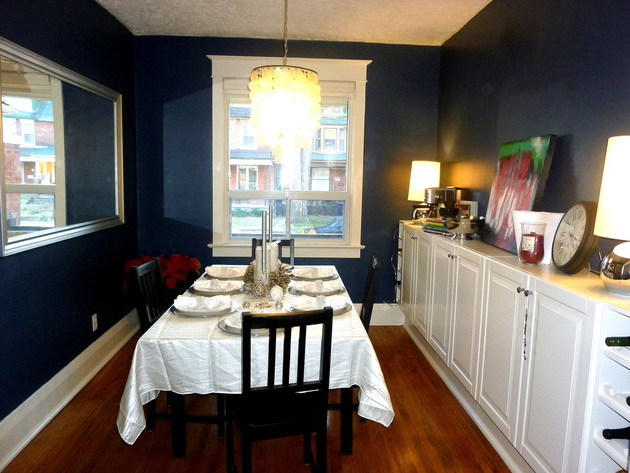
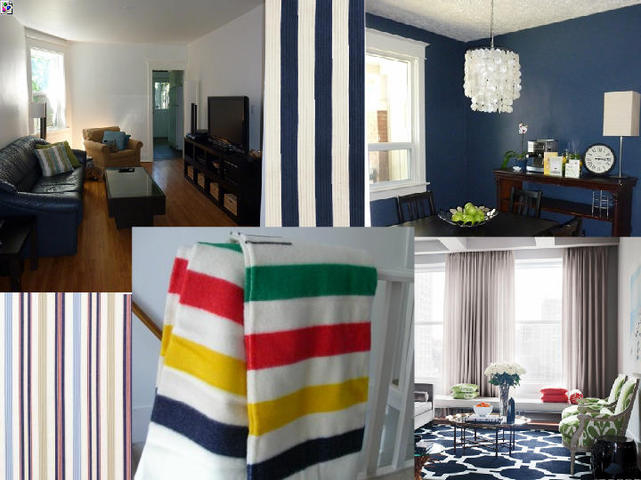
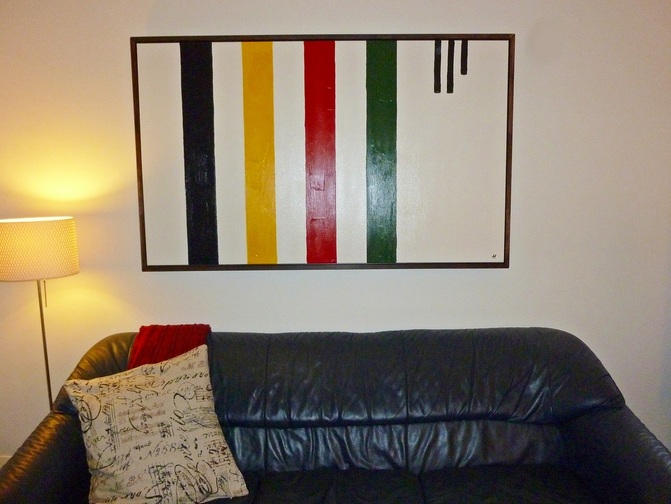
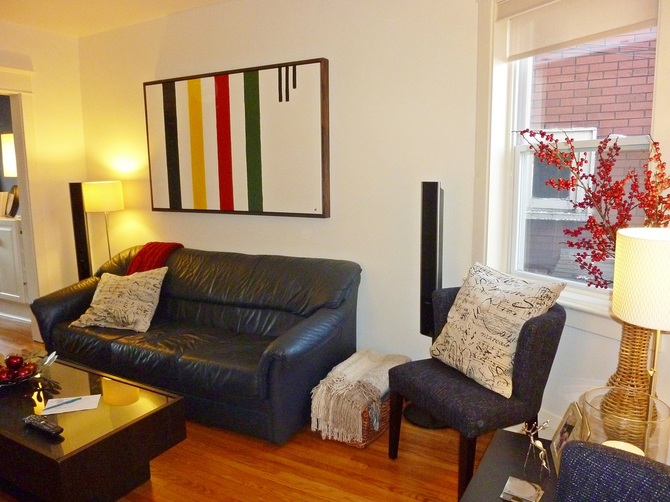
Goes pretty well with our room colours! 
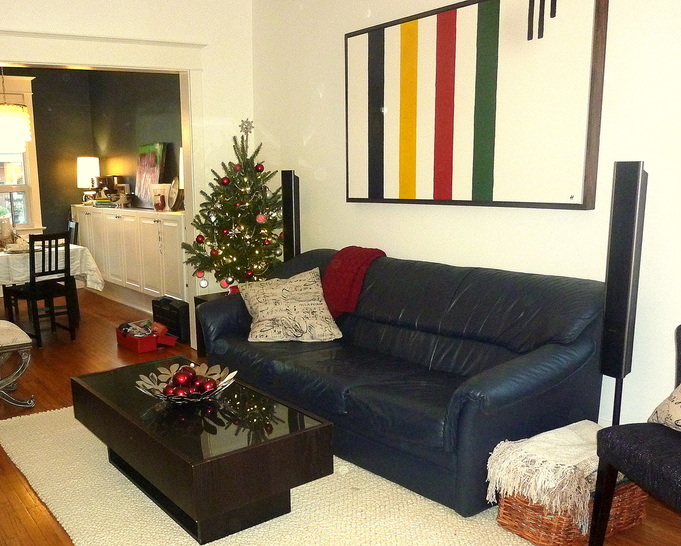
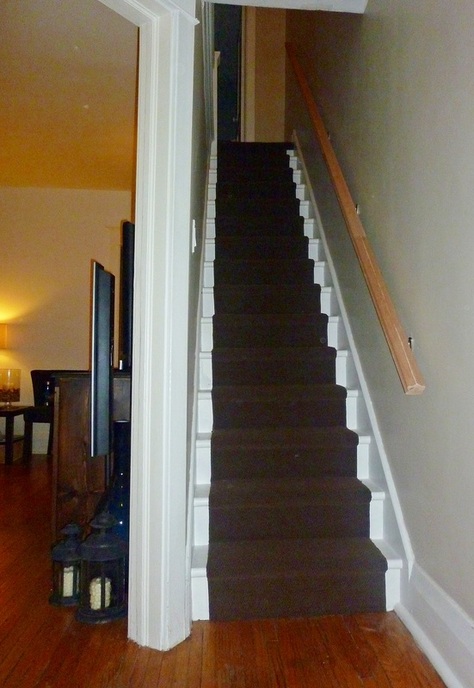
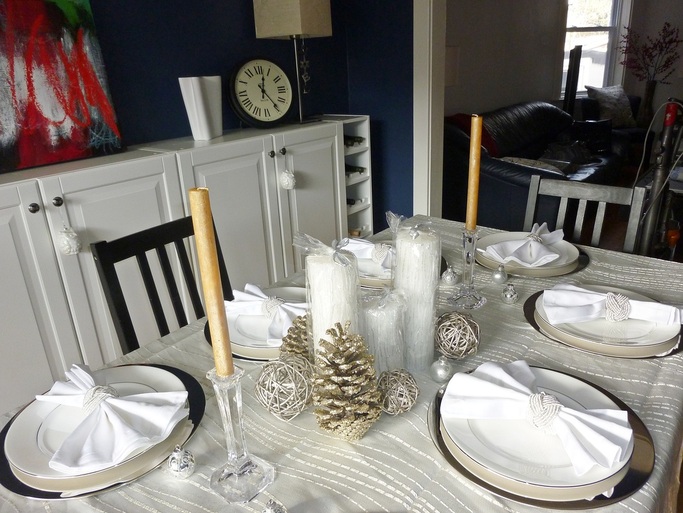
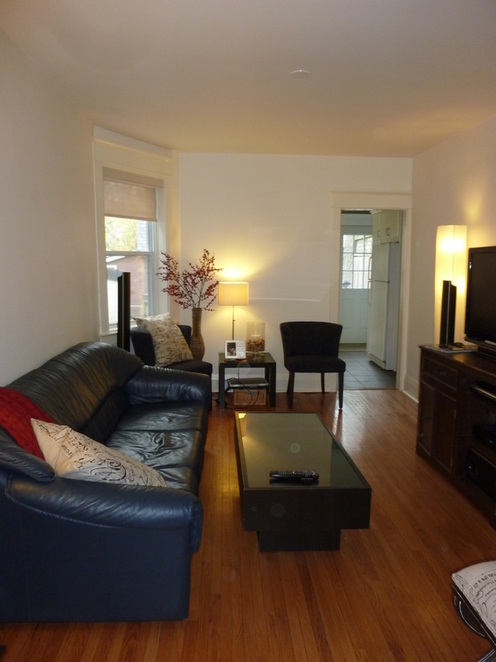
Here's the tree...and our new carpet...and our new lamps in the dining room...
0 Comments
So this mirror has traveled with me all over the place - it started off in my bedroom when I lived with my parents, even while I was at university in Kingston. I don't have any pictures of it there, but I do have them from my two places before the house - my first condo when I lived in a teeny bachelor apartment, and my second when Matt and I lived together! My girly first place, with lilies from Matt, and my big mirror on the wall Our much more gender-neutral second place, with our loads of wine, and my big mirror on the wall Our blue dining room in our third place, with wine and not much else, and my big mirror on the ground... ...waiting to be put up on the wall! So to mount this mirror, we wanted to put a frame on it, so that the little clips wouldn't show. This required a backing to start! Then when the backing was on, wood glued on to even out the mirror and backing around the edges *see - I told you you'd see those textbooks a lot!* All glued - phase one done! I don't have any Matt sawing pictures, but it took a lot of work and a miter saw helped! Now for more glue and overnight waiting... Phase Two done - but it still needs some paint, and a backing to mount it to the wall! Spray painting the first coat - black Spray painting the front frame black We used Rustoleum's Glossy Black Then I saw this squirrel, and somehow thought George got into the spray paint... ...I seriously thought PETA would be on me for SURE! ...but it wasn't George...he appeared seconds later to claim his territory...phew!!! Coat # 2 - in Rustoleum's Specialty Metallic ...then it started raining...I no longer have use of my kitchen... After a second silver coat, the brackets were mounted on the wall The lonely wall - pre-mirror! Done! Makes the room so much brighter! Lets what little light we have during the day double! Last one...with my new West Elm lights on the sideboard (the wood top will be in tomorrow!)
Hand railings have been on our project list since October, when I fell down my basement stairs one Sunday morning with a bowl full of shredded wheat...the result was a hospital trip with torn up everything but no breaks, and a lot of sticky wheat mess to clean up on the floor and walls in the basement. After a bit of time searching the proper building safety codes for railings and such, Matt bought some nice oak and went to work with the mitre saw. He bought some brackets, measured them out, and attached the rails - pretty straightforward job (I think?). Installing the brackets and making a mess of my stairs Trusty laser level has really been helping us out! Wow can't wait to paint and decorate this hallway...it's so blah... Saw the oak pieces to the right length And voila! Needs to be stained, but you get it! ...also although this is safer, one could still fall over the other ledge to the ground... We are planning to rebuild the stairs and enclose this side at some point. The upstairs hallway was longer, but the pieces were assembled in the basement and it was longer than our kitchen! This is the engineer trying to pry open the window...I told him to just use the door... Finally got it up both stairs, and ready to go! Ta-da! Done and now (slightly) safer too - you can't solve clumsiness, however... Again, still need to stain the railing at some point - probably over Christmas break. Oh yeah, and Matt suprised me by using the few pieces of remaining wood to make L-shaped bookends - jealous?
I'm going to spray paint them a fun colour and use them in the living room or dining room. Yes, that title sounds nuts. But - this is the first year that I've been in the Christmas Spirit this long before Christmas arrived. I think it's that I have a new house, and it's the first time I get to decorate it for the holidays. Sooooo...yesterday I pulled out my china and set the table to see what I had already for our Christmas Eve dinner, and what I would still need to get. Had to unwrap all my silver chargers and pull out the china Going to add another longer tablecloth underneath this one Home Sense splurge - glittery decor and candles *The tablecloth just happened to match perfectly - I bought it not even thinking about Christmas! Didn't end up using the red napkins, but ones we already had, and rings from Home Sense The placeholder ornaments were a Christmas gift last year Need to iron all the linens and unwrap the candles Hello hoo-friends PS - Matt already banged into one, it fell, and its ear broke...maybe they should go on the table instead... I came down with candles, and said "gee I wish we had candlesticks", and Matt says "uhhh - we do!" - YAY! So glad I can use all of our wedding stuff now! Going to change the candles, though, want silver instead of the yellow-gold Oh yes, and I put out the Christmas wreath and Matt brought me home some pointsettas yesterday *Like my photoshop job on our address? So I need to get new candles, a longer tablecloth for below, and some paper for place cards. I think I may put something on the chairs, too - just some ribbon and a charm. Anything else you think it needs? Let me know! :) So way back in July I posted this inspiration board on the blog: I wanted to incorporate the Hudson's Bay (HBC) point blanket in the Queen's colours into our living room/dining room somehow. Matt decided to do a big canvas of the colours and we planned on putting it in our living room above the couch. Since then, the HBC pattern has exploded in popularity, and just in time for Christmas, The Bay is selling tons of this multi-coloured stuff, and although beautiful, it is quite expensive! We finally got around to this project a few weeks ago, and it took a bit of time to get it all done, but here are the photos that explain the process: The first step was getting a big 3x5 canvas and acrylic paints from DeSerres near our house Then it was painted in our living room wall colour - Benjamin Moore's Cloud White (Eggshell) The stripes began - green first, and a laser level was used to keep the lines straight Next was red - you can see we used old dollar store divided TupperWare containers to hold the paint Next was yellow - we actually ended up painting this a slightly different yellow. This one was more of a primary yellow, but we wanted a richer marigold colour in the end Last was blue - indigo, specifically We used the backing to our eventual dining room mirror from to paint on **EDIT - I forgot about this the first time around... All was almost lost when Matt's hand slipped...luckily water-based paints wipe away pretty well! Last it was the points - this indicated how big the fur blanket was when it was traded - 2.5 looked good! *Note - Matt told me that 2.5 points was inaccurate for our painting size (1-1.5 points would be closer) Each colour took 2 coats and red took 3 - it took a few days since we only had 2 brushes When it was dry it was taken outside and a varnish coat was added to make it glossy and even Now that the painting was done, the frame was next Matt wanted it to appear "floating", so a thin strip was glued to the larger frame pieces *Note - that Elmer's Ultimate Glue is amazing - it stuck to Matt's hands days after washing! Here is the frame - unstained and being held together with string for support until full assembled The staining begins - using Minwax in Chestnut We did two coats - I was worried the second coat would make it a lot darker, but it really just evened everything out I really like how it turned out, and we are going to use it to stain our media hutch in the living room too! Attaching the painting to the frame was pretty easy - 4 silver L-brackets The frame was hung with two eyelets and picture-hanging wire The finished product - now ready to hang! Took quite a bit of muscle to drill this whole into a brick wall, but he did it! Yes, he is wearing an "Evil Dead: The Musical" t-shirt... Here it is! I like the sort of vintage look to it. Before the painting picture... ...and now! Really brightens up the room! View from a different angle... Goes well with both the living room and dining room *Oh yeah, and you can see I did a dry run of my Christmas table in the background...post on that soon! So I can't take credit for this project - Matt did pretty much everything. I only contributed by making line width suggestions, making sure he signed it, complaining about the smell of the stain, holding the frame up while he attached the canvas to it, and taking a LOT of pictures...so pretty much being a nuisance while he worked. Good job, hubby - this was all you! So it's officially December, and that means no more mo for Matt! I got lazy with the picture taking, but here it is, on the last day. I can't complain too much - with the whole "Clark Gable" thing, it was quite thin and close to his lip, and since he's a gingery-blond, it wasn't THAT noticeable compared to last year. He should come home today clean shaven - yay!!! Last Year This Year He raised $475 for prostate cancer research, and his team raised over $13000! Great job, boys! Anyone else participate, or their partners? *EDIT - Matt just added "and next year...handlebars!!!!" - oh geez... We already did a chalkboard when we made the basement into an office - quite appropriate for a teacher! I thought that having one in the kitchen would be good as well. The basement I use for my "to-do" lists for house projects, but this one would be for groceries, and reminders for plans and just cute notes between married people. So when Matt was at Home Depot a few weeks ago, he bought a flat piece of wood, nothing fancy, and some trim, and the project began! The only "before" picture of the wood and trim, among other reno items Matt primed the board - very important with the chalkboard paint, even though it's black! Although the trim is sort of white to start, we still primed and painted them. It was raining, so I had to paint upstairs while Matt used the saw downstairs Semi-gloss cloud white for the trim - 2 coats for both trim and chalkboard Super strong glue to hold trim to board...held down overnight by textbooks *You are going to see a lot of textbooks in the next few posts - thank goodness for education! Finished product! Quite similar to the basement one but a bit smaller. Here's the trim on the basement board - a bit of a braided look to it ...and the kitchen chalkboard frame - see - they are slightly different! The finished product! Now to write my grocery list...
|
KathleenAdventures in married life, cooking, teaching science and new home renovations in the city! LinksArchives
June 2015
Categories
All
|