Once we finished our stair guard, we wanted to refinish the stairs. Originally we were just going to pull out the runner and leave the stairs white, but I started to like the look of wood steps with white vertical rises. So in the summer while we were in New York, my dad pulled out the runner for us - it was a LOT of hard work. There were about 40-50 nails in every stair holding it down, and the only way to get them out was to rip them out. No glue...just a LOT of nails. He said it took about 2 hours to pull them all out. Thanks Dad!!!

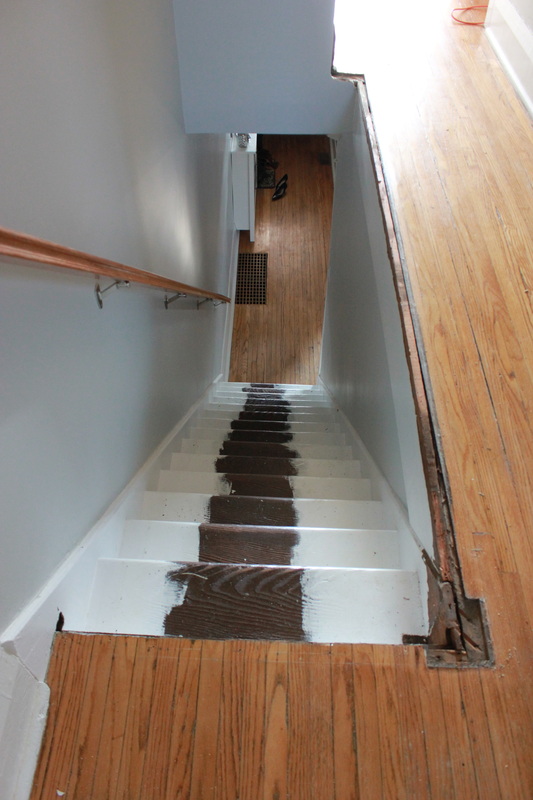
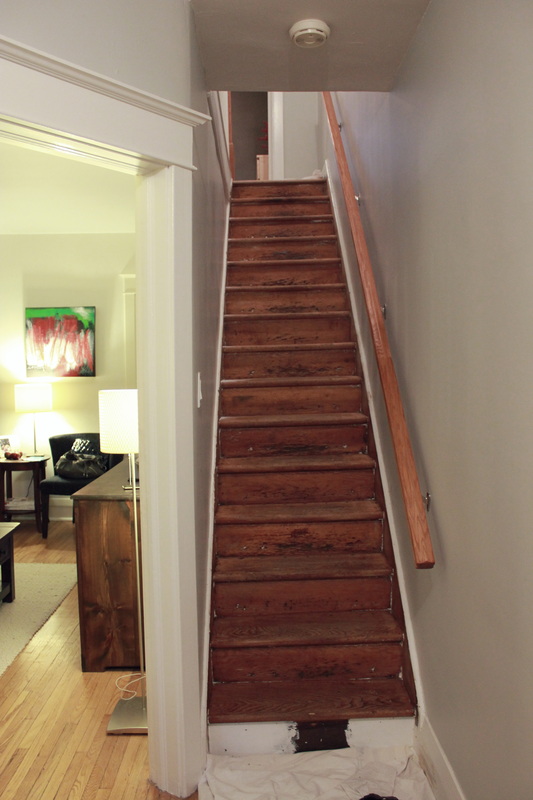
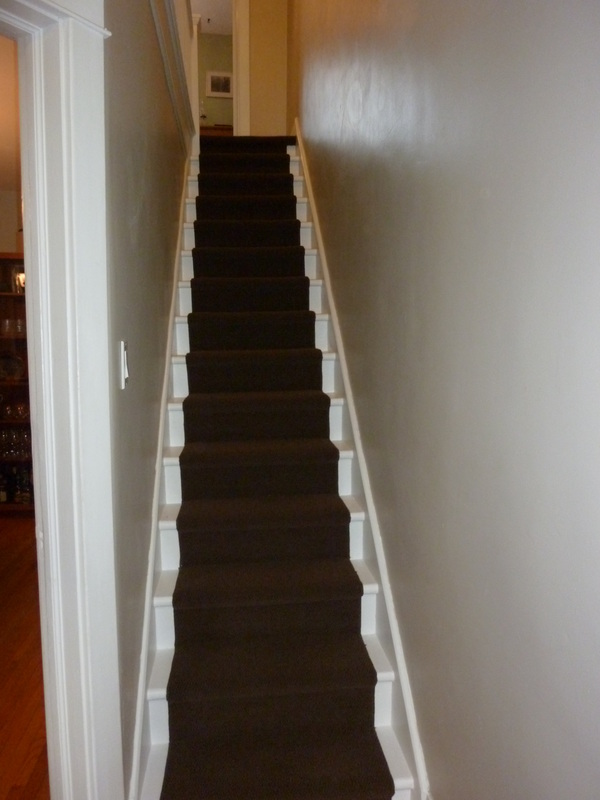
The stairs when we just moved in

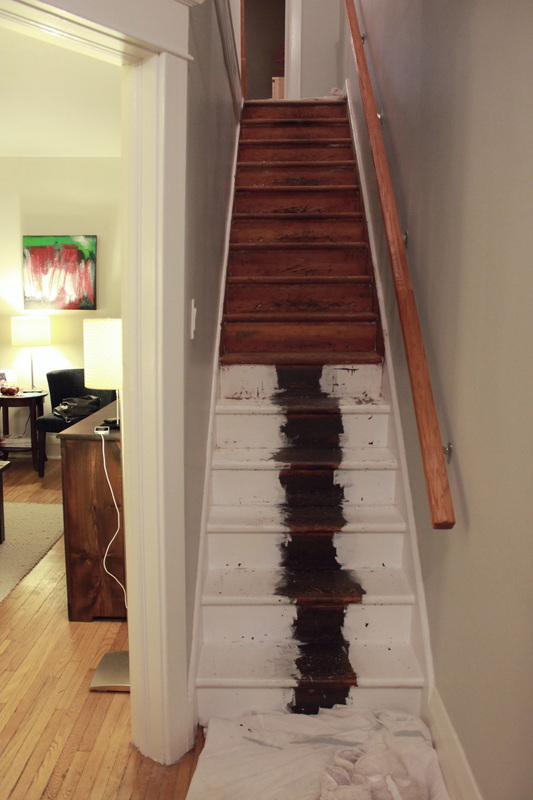
And after my dad pulled out the runner...
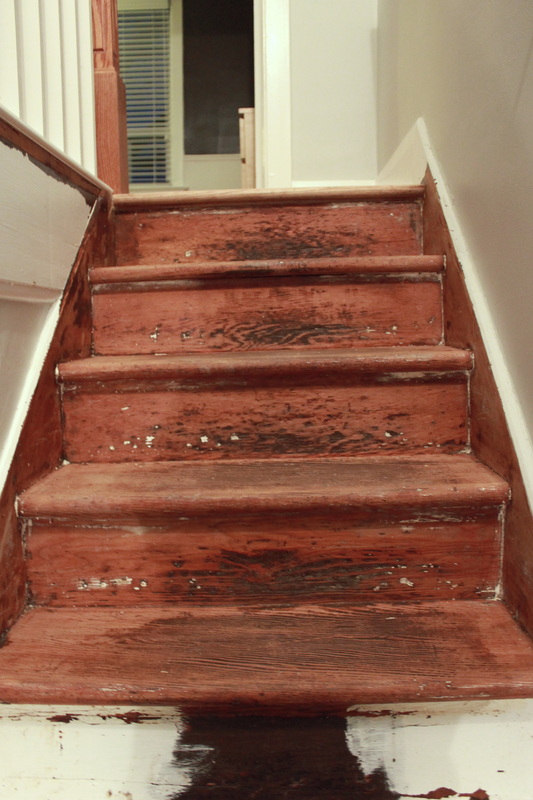
(That's a mixture of stain, oil paint, and latex paint from many years)
(That's a mixture of stain, oil paint, and latex paint from many years)
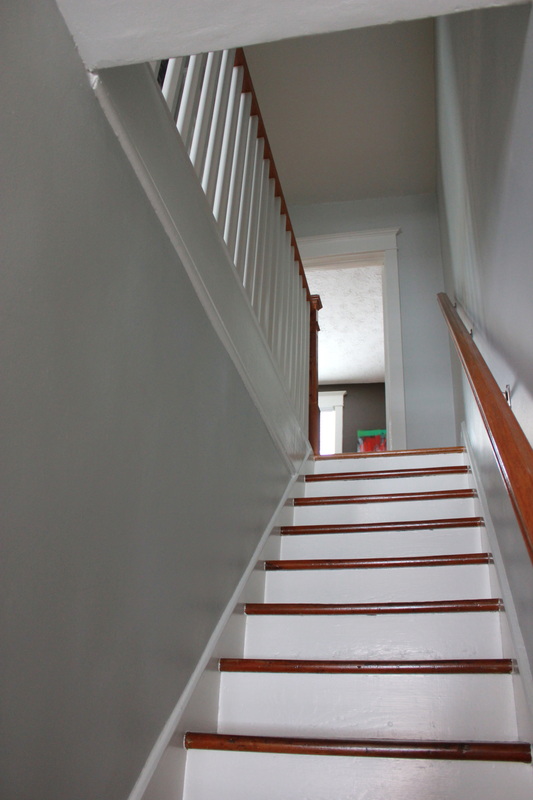
View from above when we were working on the stair guard
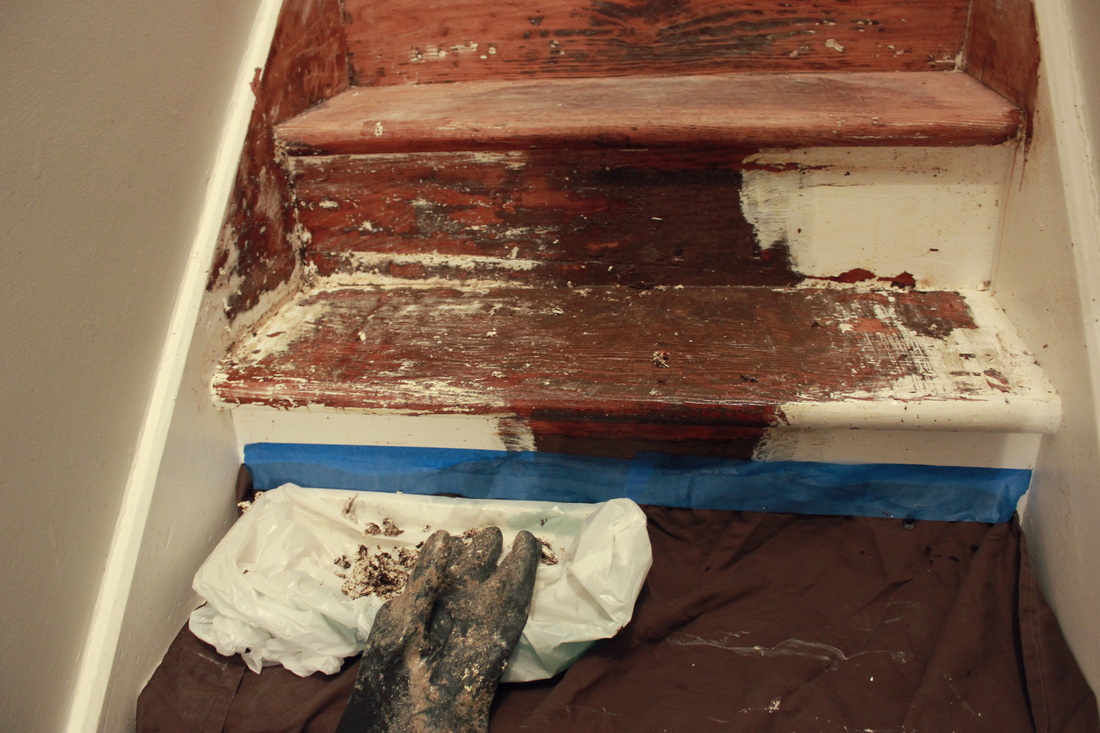
So once the runner was up, the next step was to strip all the old paint and stain to get the wood back to its natural finish. This is a really messy, nasty job, and I would never want to do it again. Paint stripper is very gross - it is bad for your health, so make sure you have a good mask, gloves, safety goggles, and a well-ventilated area (some strippers even suggest a respirator). We got the kind that is biodegradable, so it doesn't damage the environment as much (it is methylene chloride free), but it is still bad. It has a sickly sweet ester smell and made me sick to my stomach after a while. I did the first few steps - 4 steps took me 3 hours with cleanup. Each stair required about 3 coats to get it all off, and even then it wasn't perfect. You paint it on, leave it on for about 10 minutes, and then scrape it off. It is very hard to get the corners and edges, and you need a lot of muscle to do it. My entire body ached for about 3 days afterward. You are left with this sludge of paint and stripper that you need to dispose of as well, and it just makes a mess.
3 hours later...
Day 2 - Covered the stairs so the gross sludge fell onto a towel instead of onto the stairs (and myself) below.
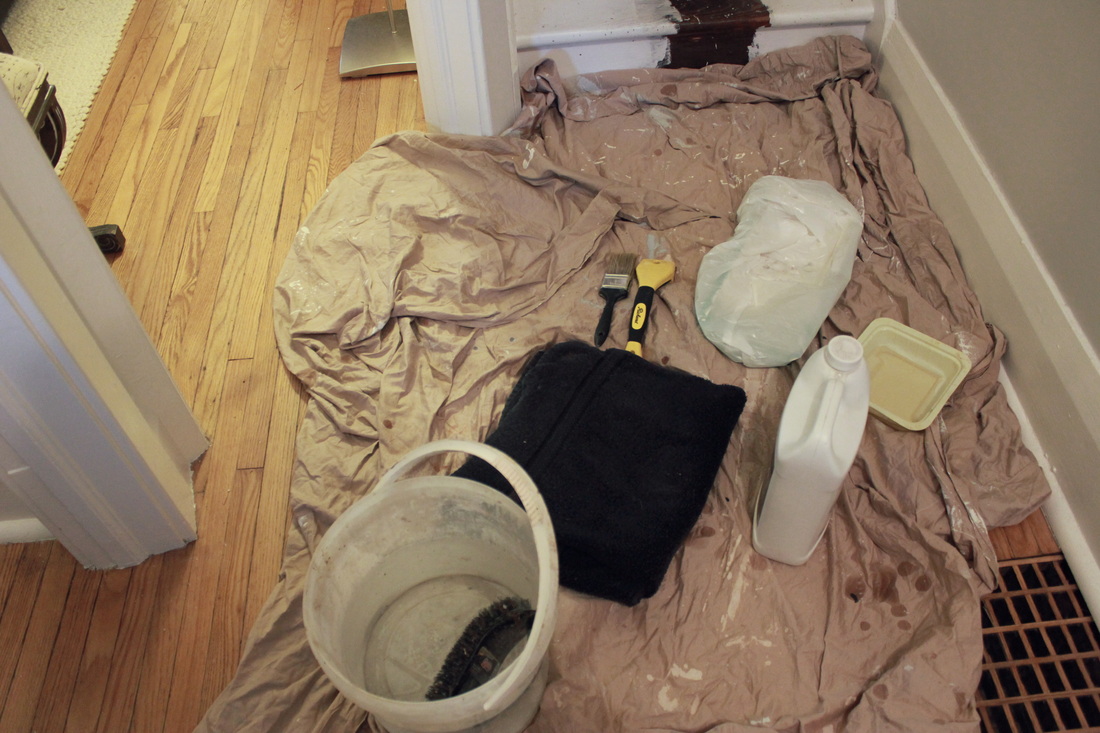
You need a bucket to rinse the stiars after, lots of rags and towels, a scraper, and a paint brush.
After 1 layer of stripper
3 more hours on Day 2 produced this
3 days to finish all the stairs - WOW, it was a lot of gross work!
Once the stripping was done (insert bad joke here), the staining began, but before that we needed to wash and sand every stair (very hard wood - took a lot of work), and we even bleached the stairs to try and get them a lighter colour (because as you can see above, they are still much darker than our floors). Bleaching was honestly straight forward - apply a laundry bleach and water mixture to the stairs, then neutralize with Borax solution (yay for chemistry!). Once that was done (and the stairs still darker), we decided we loved it enough and we were reading to stain. We once again used Minwax to stain the stairs, and let it dry for a day, and applied another coat. Then applied 3 coats of water-based polyurethane for strength (not oil-based as it is banned in some states and takes weeks to cure). The coats could be applied within 3-4 hours of each other, and then needed 24 hours before they could be stepped on. We did every other stair so that we could still get everywhere in the house, which means it took many days. (4 days for staining, 4 days for polyurethane). Dry time is temperature-dependent, so make sure you have adequate heating in the home at all times.
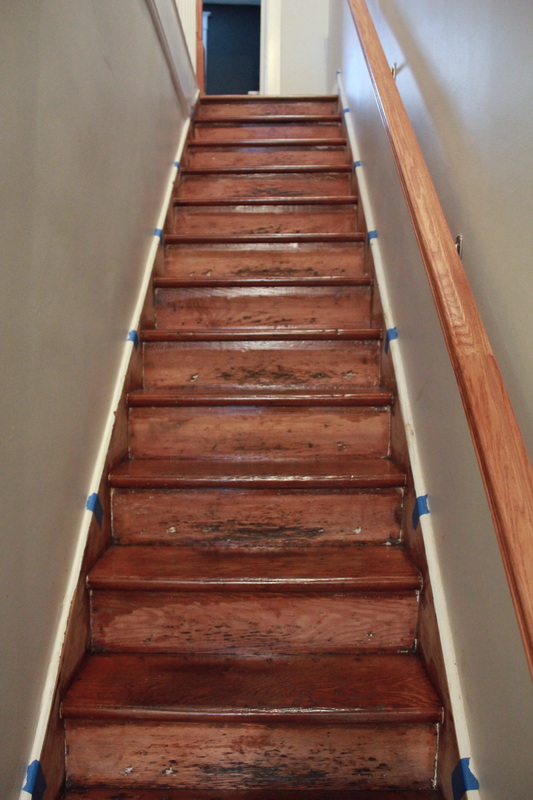
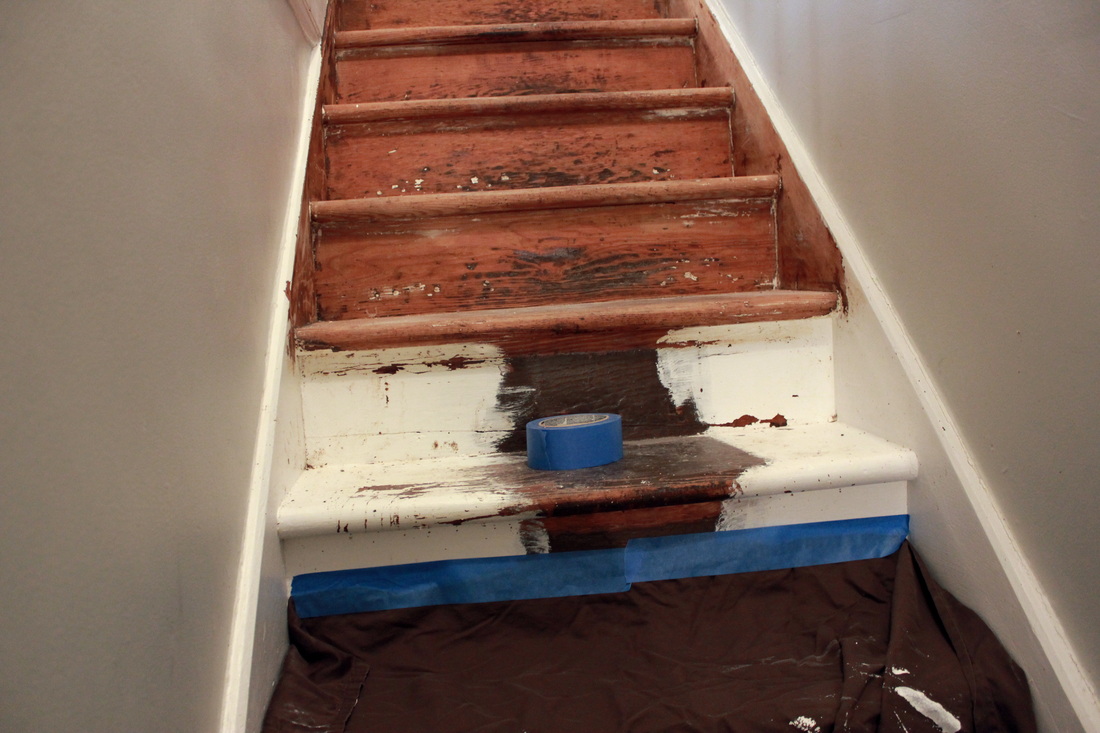
Stained (with blue tape telling me where I can step)
After all the staining was done we needed to paint all the vertical rises and sides. First coat was a primer, followed by two coats of Benjamin Moore`s White Dove in Semi-Gloss. This was pretty straight forward but leave the tape on for longer than we did (finished the last coat in the morning and took the tape off that night, because it was Christmas Eve and we were having my family over!) - at least 24 hours.
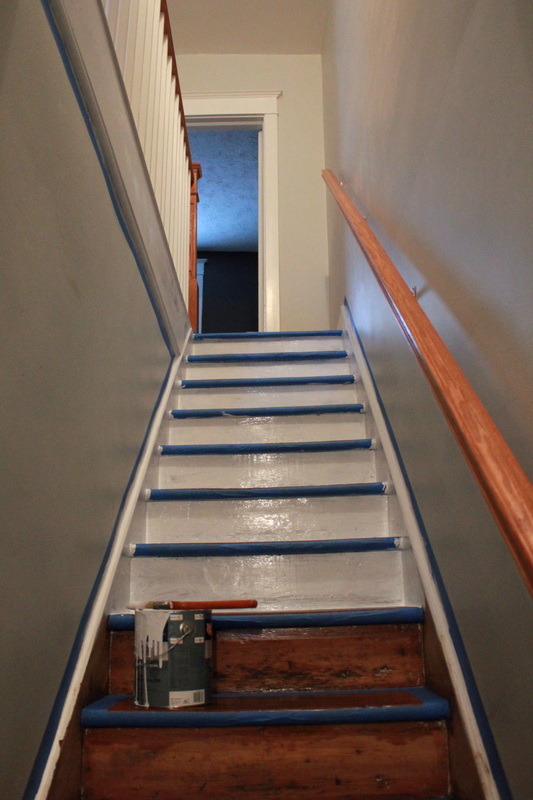
Taping the stairs actually took the longest
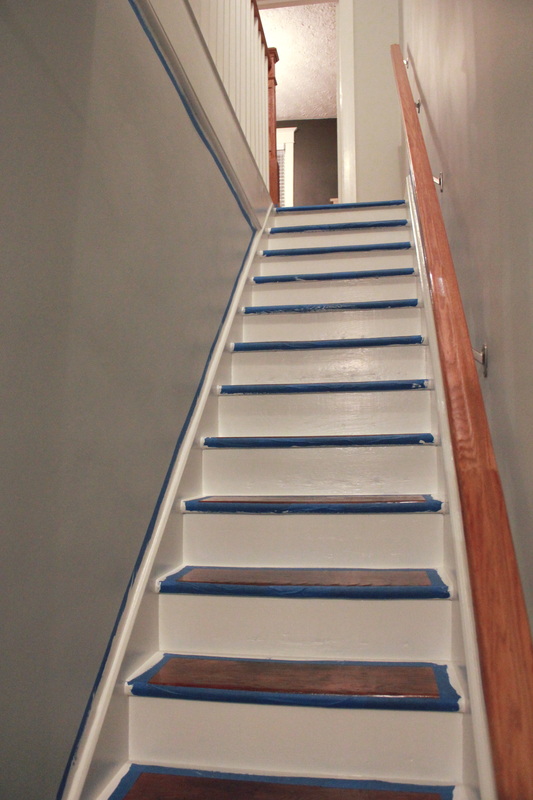
We were actually peeling off the tape on Christmas Eve as my parents arrived
(Some touch-ups still needed but pretty much done)
(Some touch-ups still needed but pretty much done)
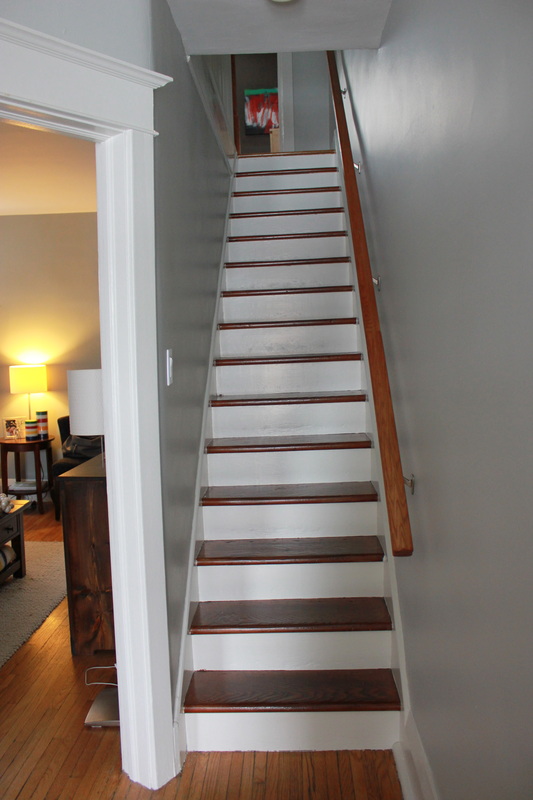
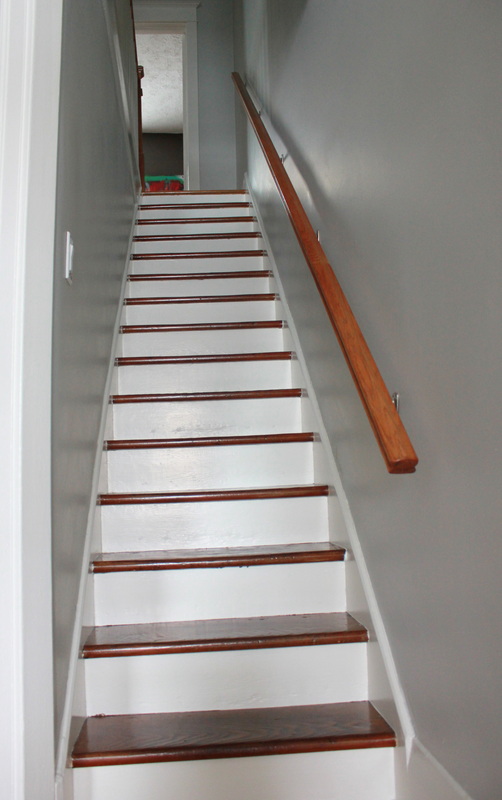
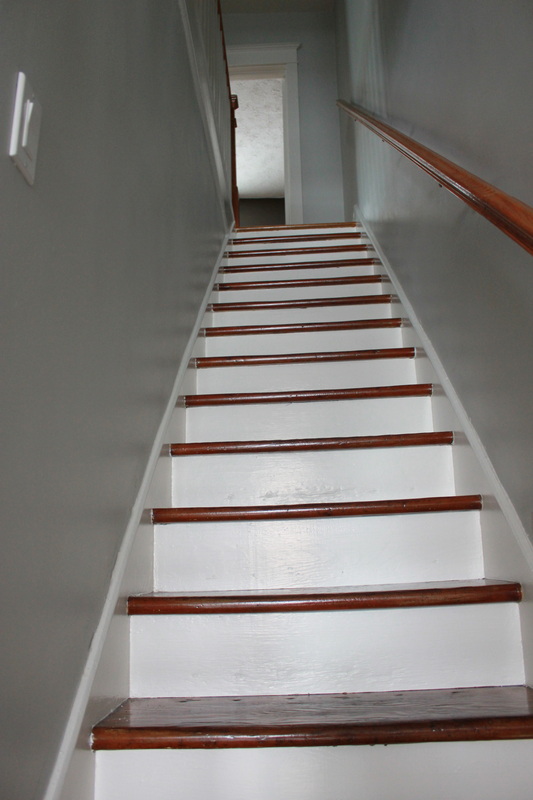
Finished product - really brightens up the hallway!
Before & After
A bit of filler and repainting are needed on some of the white - the wood was really beat up
Stair guard and stairs done - feels so good to be finished!!!