Jeff, like me, likes to takes pictures of food.
Each year I have a few March Break goals. Last year it was mainly to paint the kitchen and redo the grout. Well this year I took a more relaxing approach. It was much more enjoyable! 
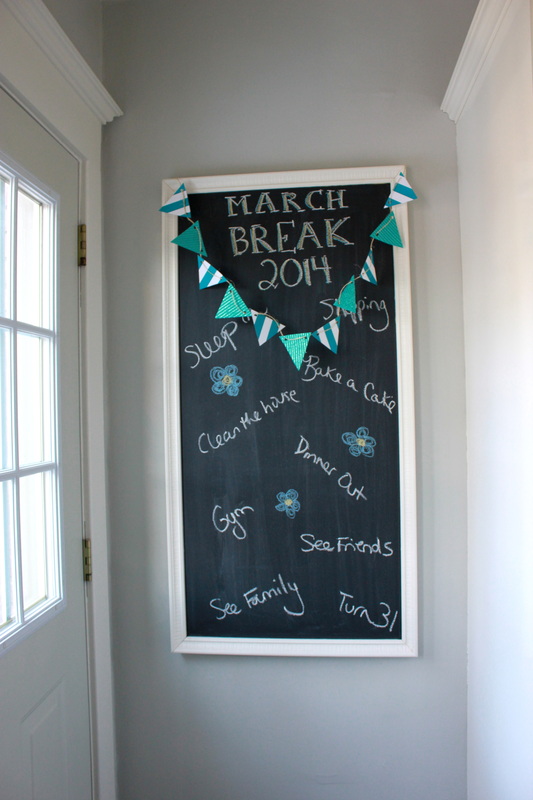
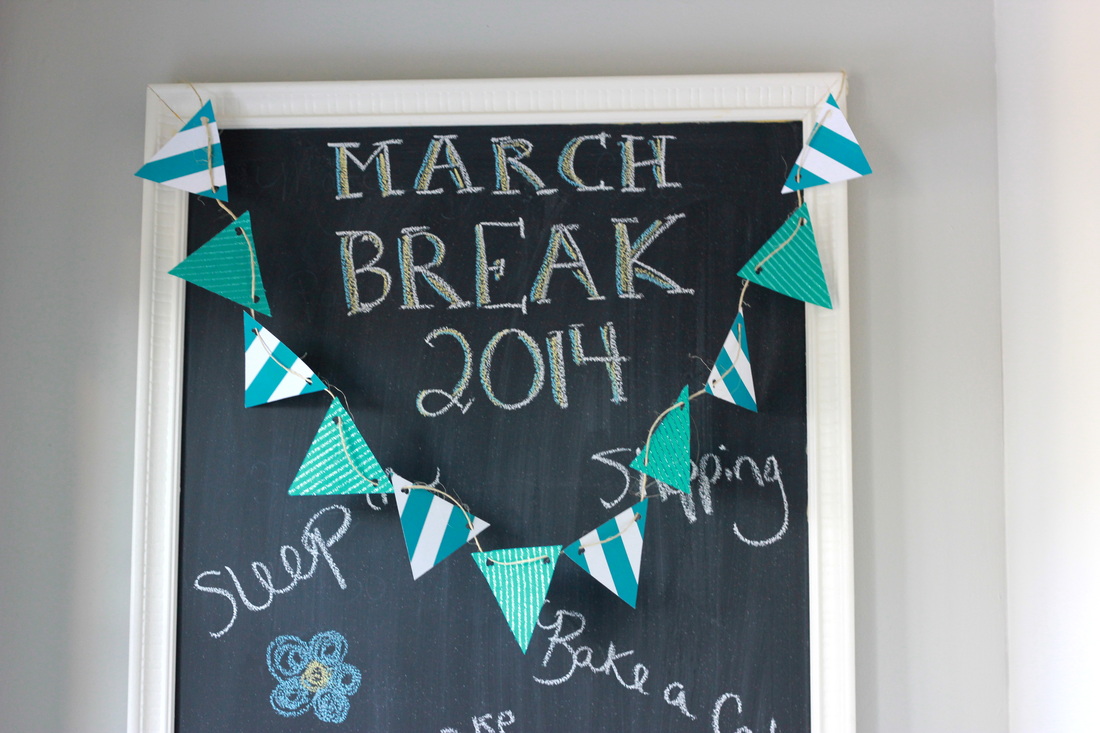
My goals. Though "make bunting" was not one of them, I think it turned out nicely and matches my kitchen colours. 
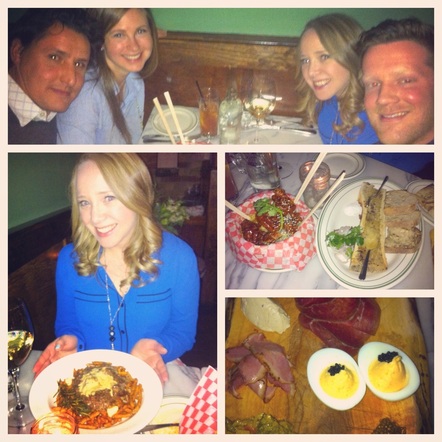
First night of the break we went to dinner with our friends Jeff and Liz at Goods & Provisions. Jeff, like me, likes to takes pictures of food. 
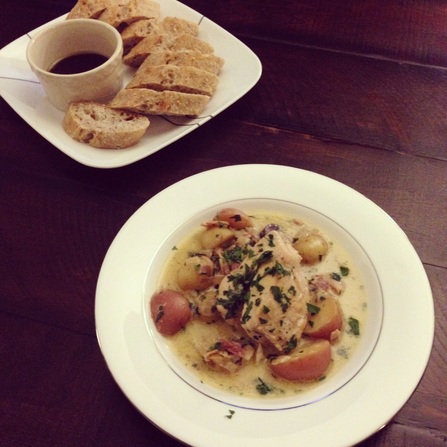
Sunday dinner by Matt - coq au vin blanc with potatoes and bacon. 
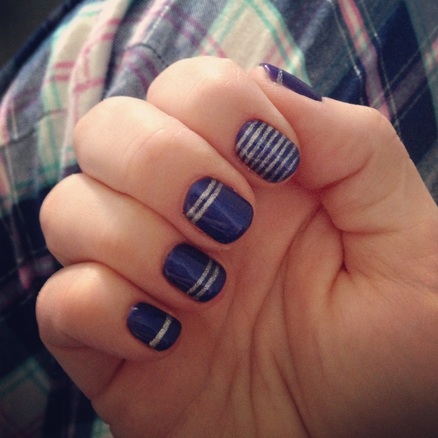
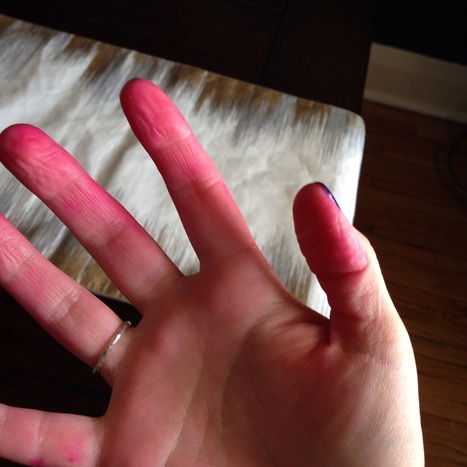
Birthday Manicure from Miyuki at Tips Nail Bar 
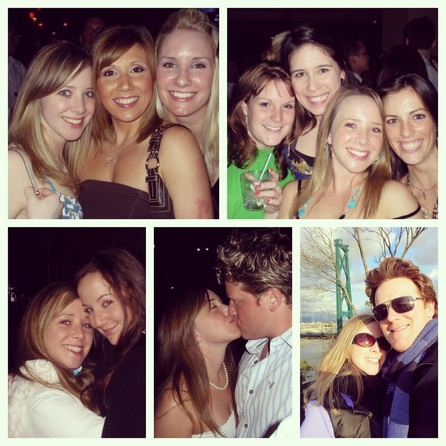
It was tbt so I decided to do a collage of past birthday fun 
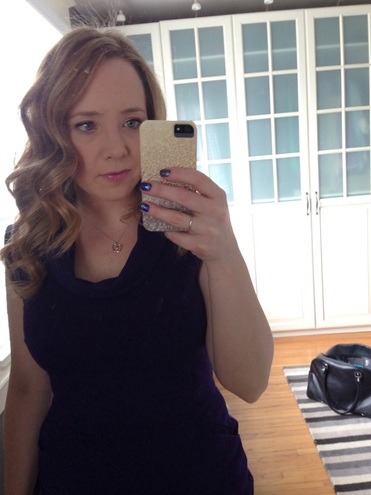
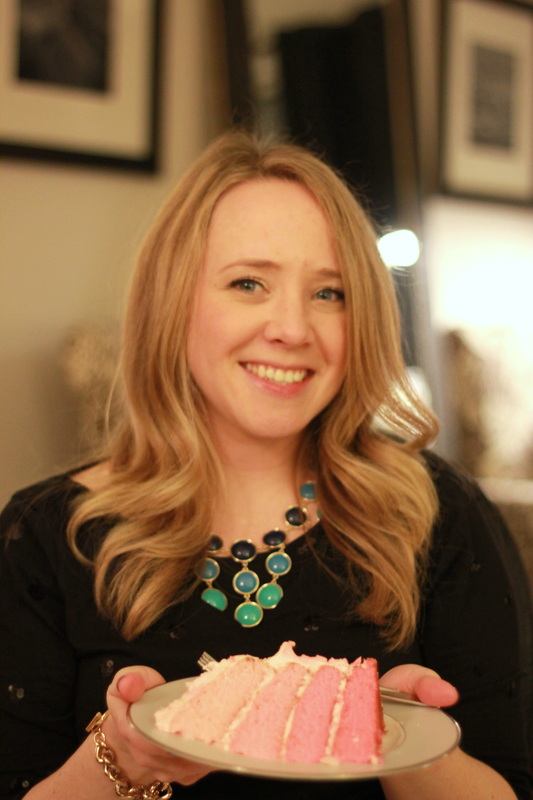
Lie to me and tell me I don't look 31! 
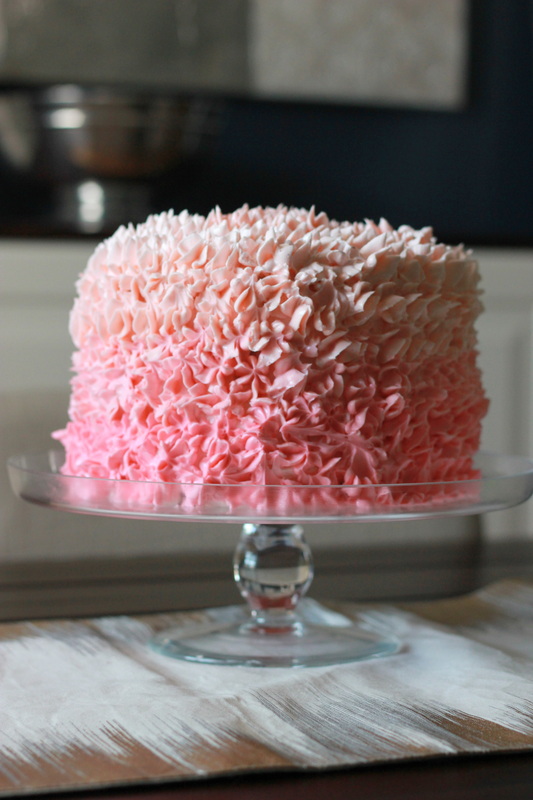
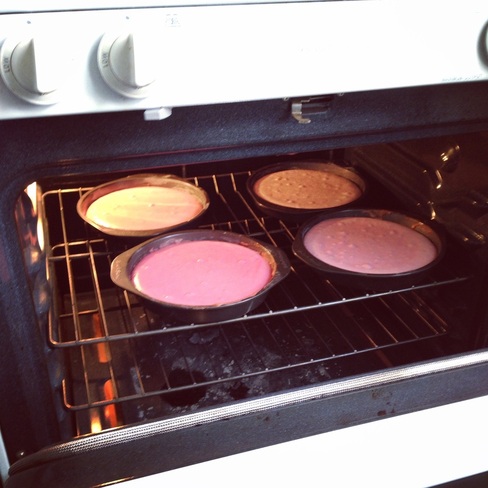
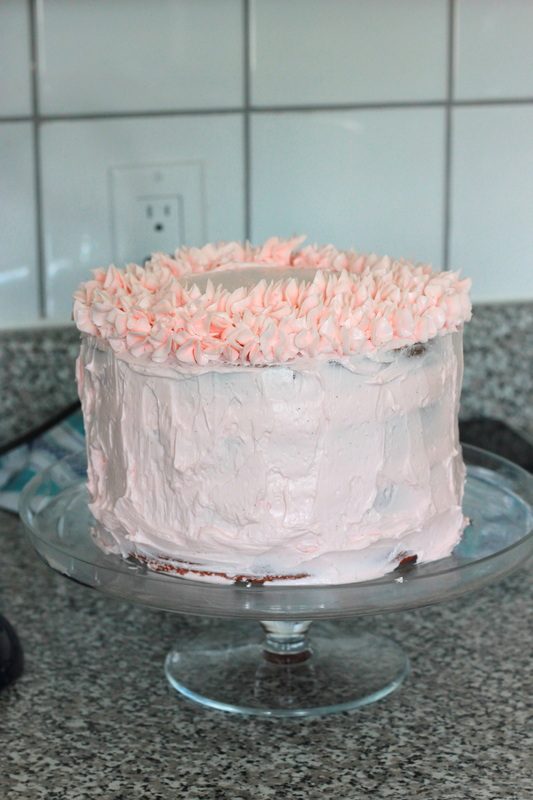
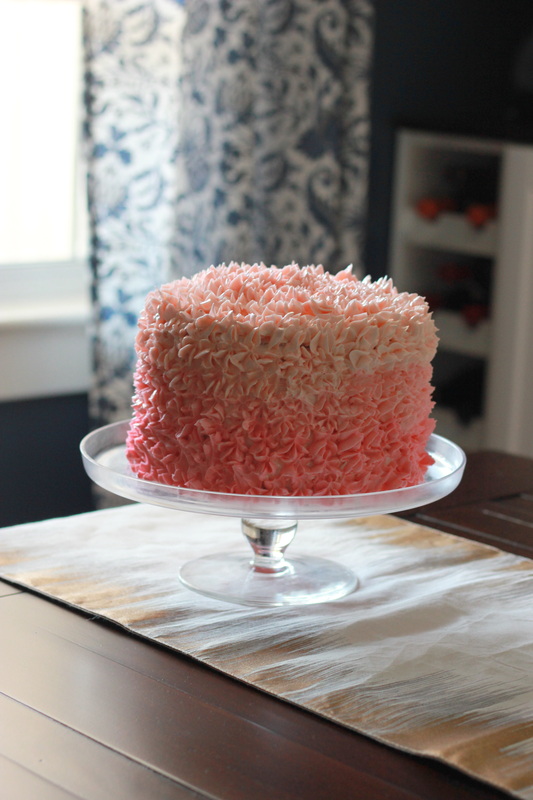
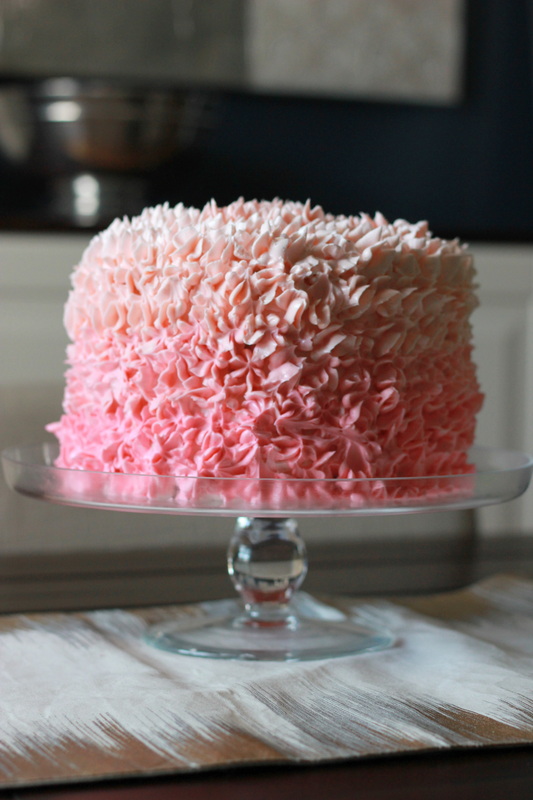
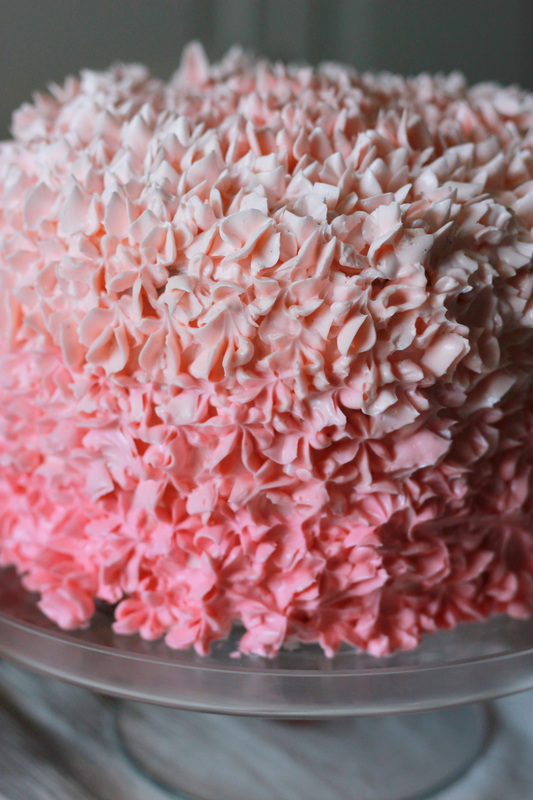
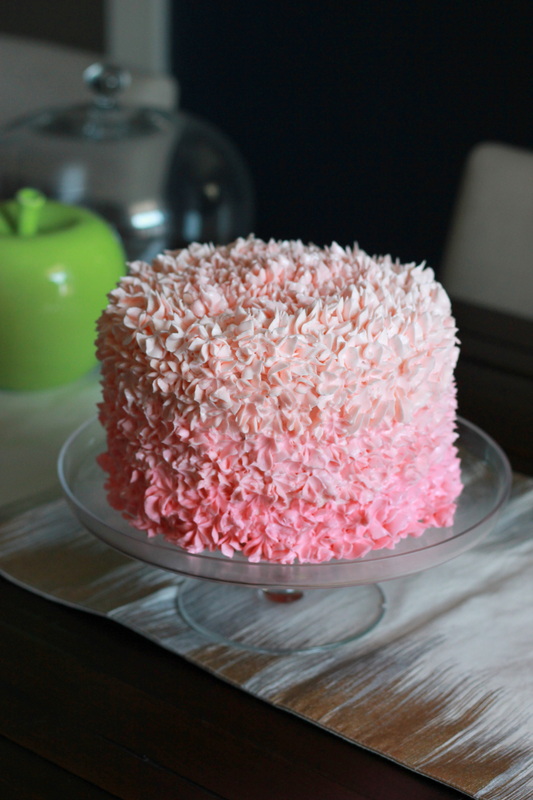
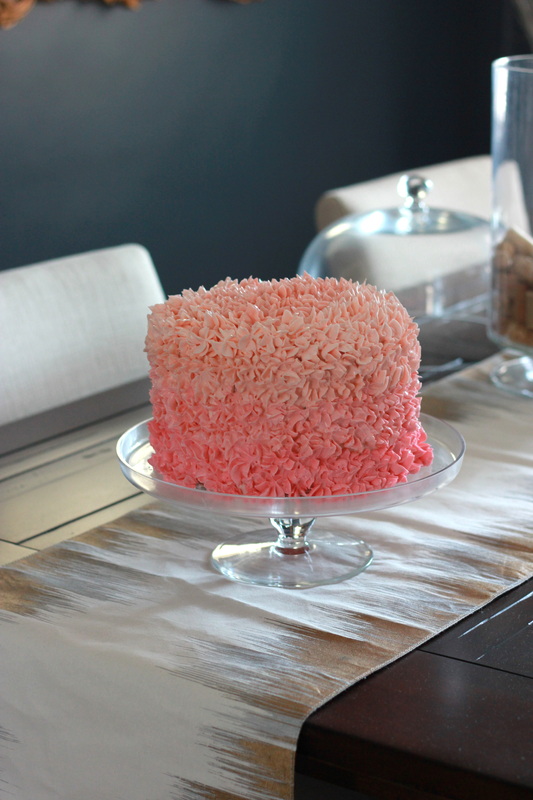
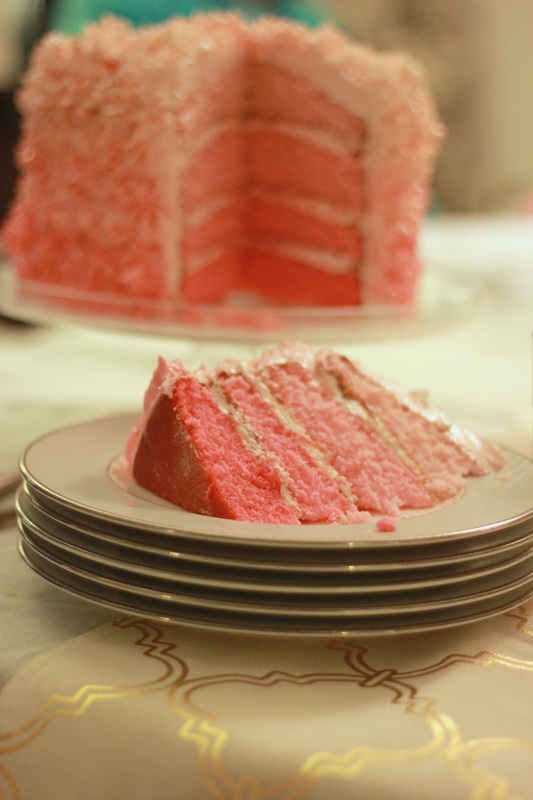
Oh yeah, remember THIS CAKE? I made that. No big deal. 
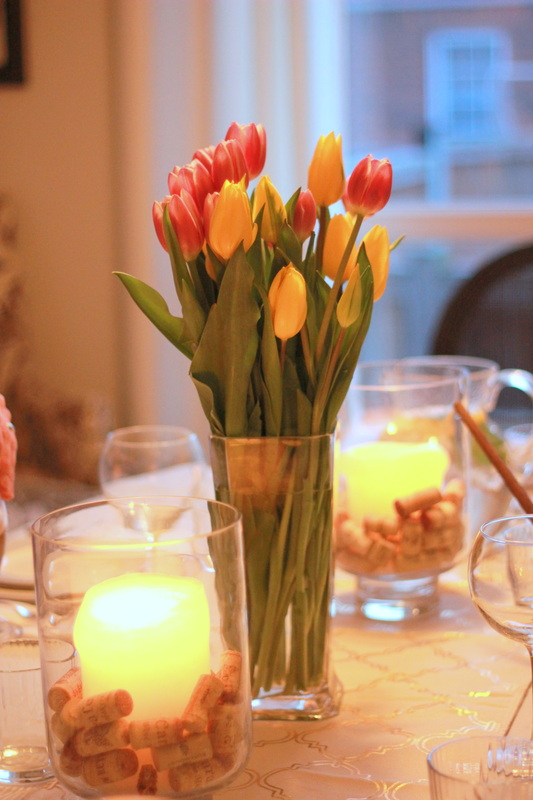
My brother and Jessica had us over for dinner the following day - pretty tulips! 
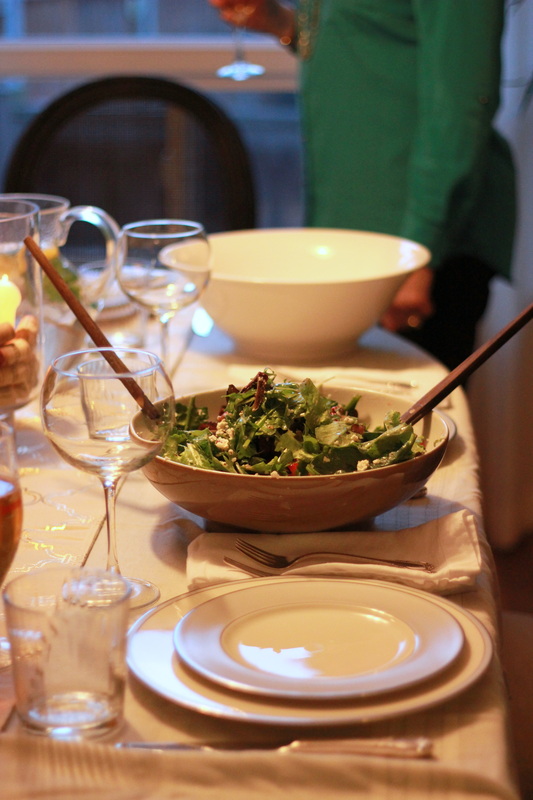
Delicious salad my parents brought. Going to modify it a bit and add quinoa for dinner tomorrow. 
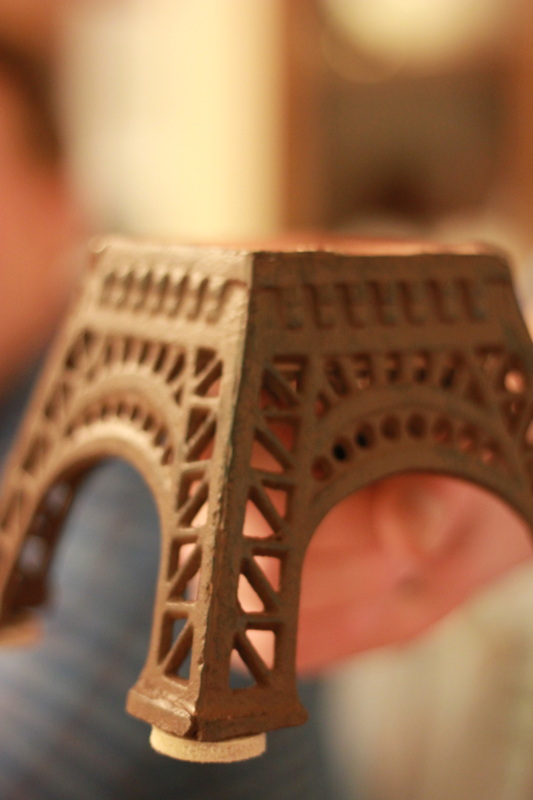
I said no birthday candles so instead I had to blow out a tea light from the bottom of the Eiffel Tour 
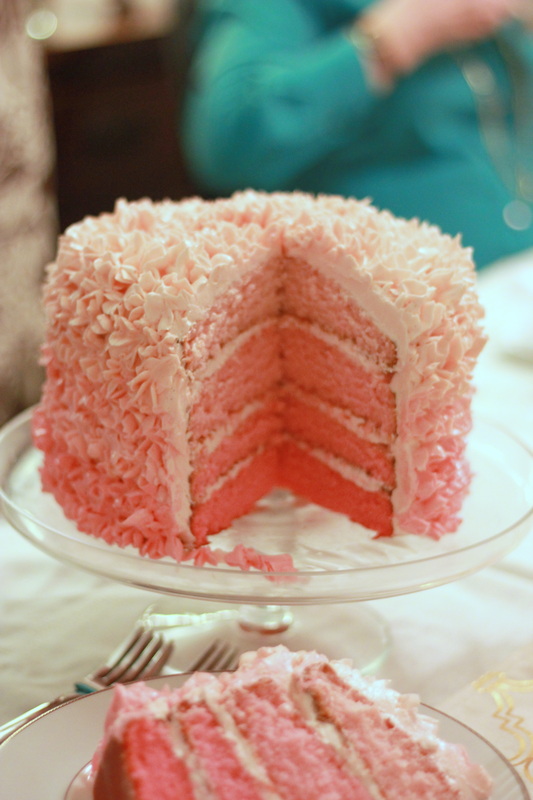
Okay so many I am really proud of this cake.
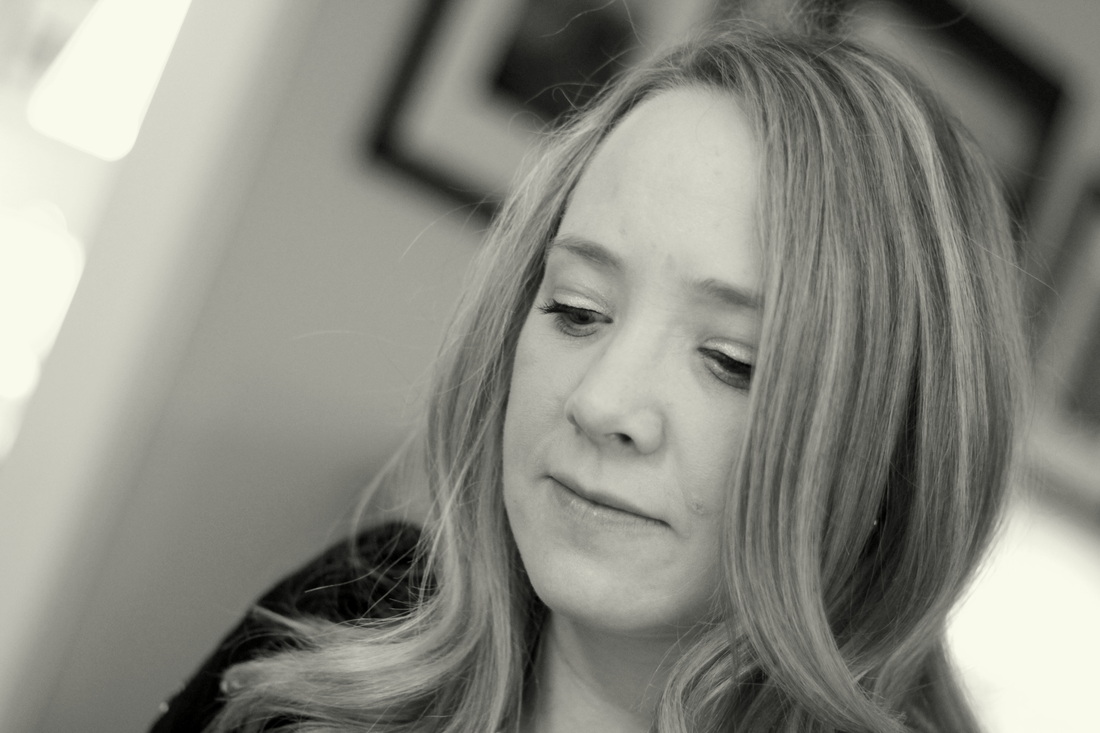
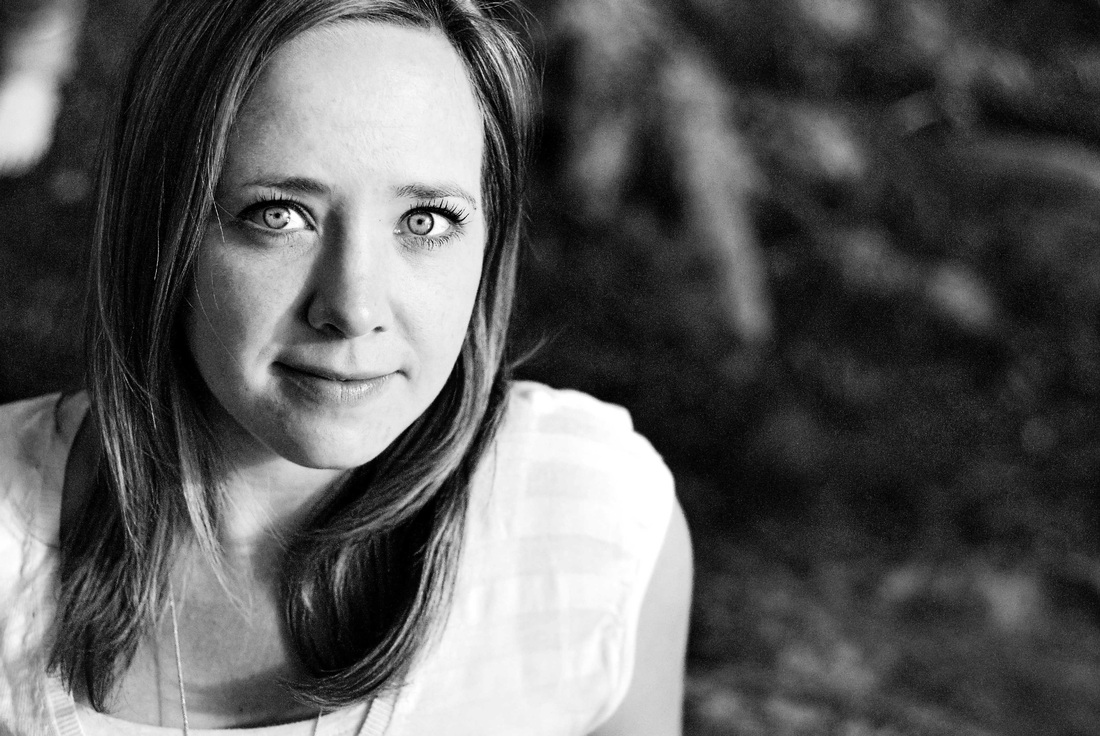
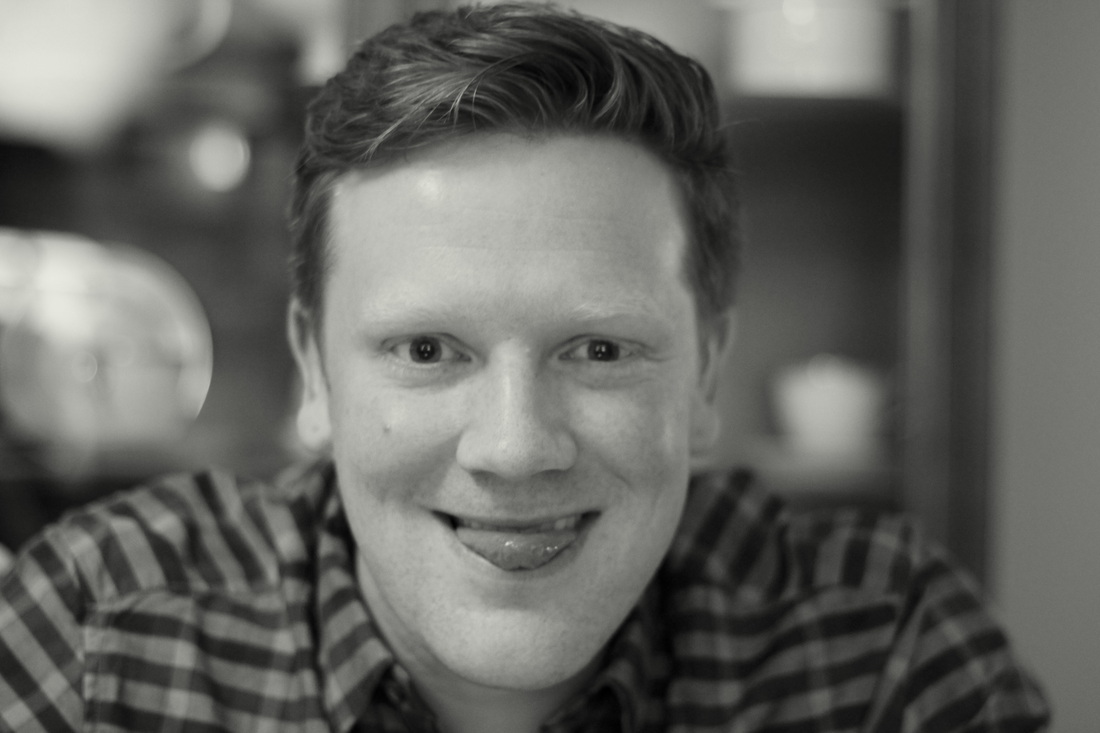
 Some B&Ws 
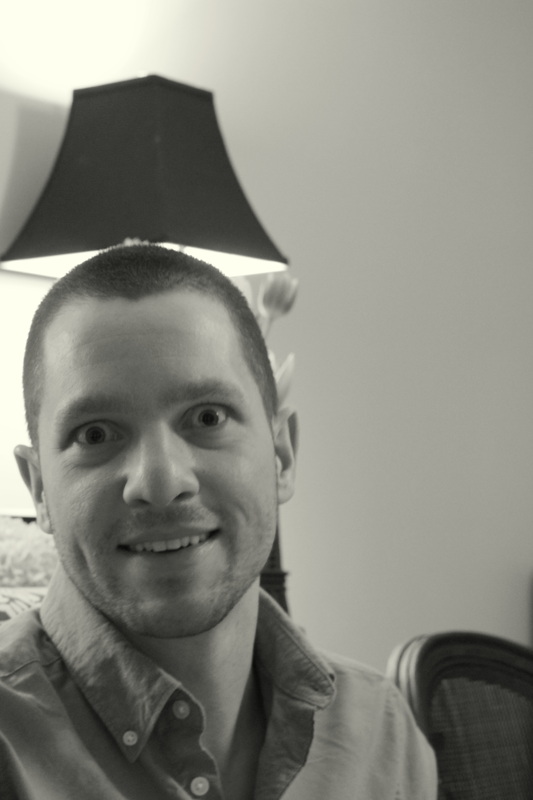
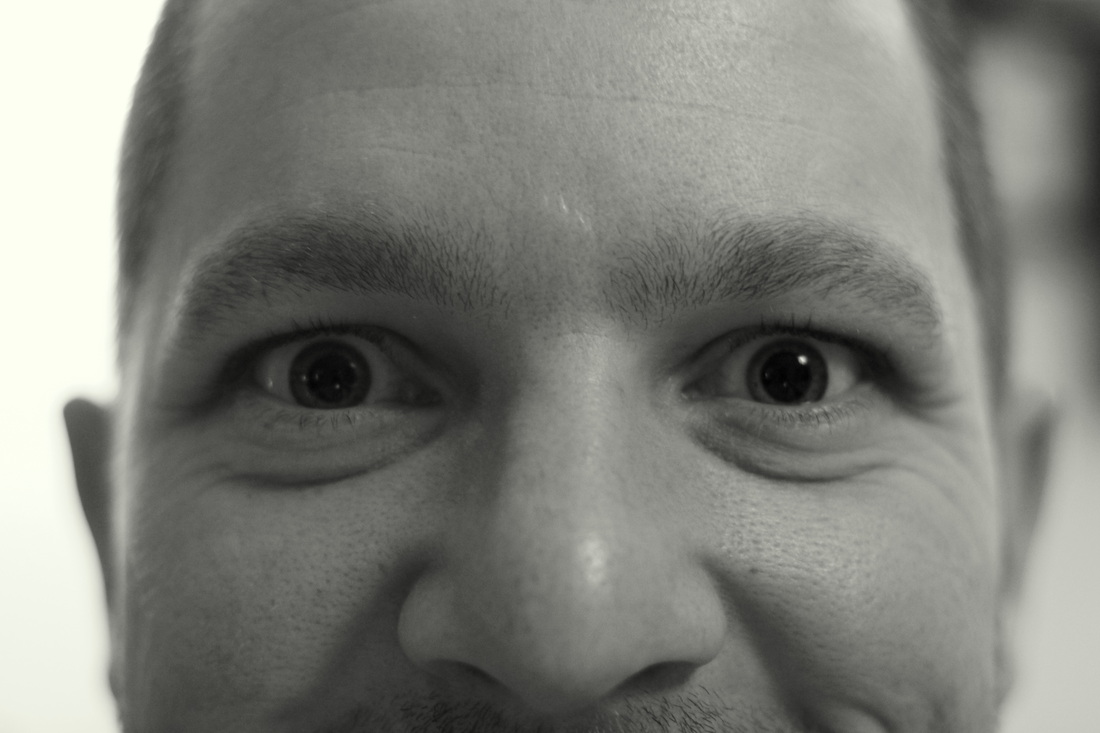
See how Adam's right eye is more dilated than the left? Yeah he got beat up by a nerf gun by a child...it's a sensitive topic. That's why I'm writing about it here. LOVE YOU! Then we listened to some records - love the baby blue player!
0 Comments
I am very proud of my first attempt at fancy cake icing for my own birthday cake this week. Matt and I went out to dinner on Thursday for my actual birthday, but since we were headed to my brother's house to celebrate the following evening, I decided to make a birthday cake! The recipe I used for the cake is Martha Stewart's White Cake. White because it has only egg whites and no yolks (or "no yellows" as I couldn't remember the word yolk when describing it yesterday...). The recipe says it yields 3 9-inch rounds, but I used 4 8-inch rounds, though they weren't completely full, which was fine. 4 layers is a LOT of layers... You will need a lot of butter (though to be fair some of that was for the buttercream icing) And room temperature eggs... And of course good old cobalt KitchenAid mixer Adding the colours was not that challenging. I added the pale pink to the entire mix, poured about a quarter of it into the first baking pan, added some more colour and mixed, poured, etc. Oh by the way, I have Wilton brand gel food colouring - it makes the cake and icing less runny. There is an actual pink colour, it's not red. I would suggest investing in the colour set - I've had them a long time and you only need a tiny amount to get a lot of colour. Once it's cooked, it doesn't look as pretty because of the slight browning of the outside due to the flour llining, but if you scrape off a bit you will see that indeed the inside cake is the perfect pink colour! Ghetto but effective way of warming up butter without melting it, haha. The icing is Martha Stewart's Swiss Meringue Buttercream with Vanilla Bean. The vanilla bean part just entailed slicing open a vanilla bean and putting it in the egg/sugar melting mixture (the first step in the recipe), and then removing it along with any large pieces once it was all melted together. You can use vanilla extract too, but this just adds more vanilla flavour to it. You NEED to make sure that for both the cake and icing, that the butter is room temperature, especially the icing. I made enough icing to ice between each of the layers and ice the sides, but then I only did a bit of fancy icing before I ran out. The butter I had sitting out for the second batch was not as warm so it made for a lumpy buttercream. Luckily a quick Google search led me to using my hair dryer to warm the buttercream while it mixed which completely smoothed it out! The above is what one batch of buttercream did. With so many layers I ran out, but I just made another half-batch which finished the job. I tinted it a bit darker to do the middle layers once the top was done, then again to do the bottom. I used the exact same method as I did for the cake. Note to people - gloves may be beneficial... Yeah it lasted for a while... And now for a ridiculous amount of beautiful cake pictures - I am very proud!!!! The piping was done using a Wilton 2D tip. I literally just squeezed down and pulled up. Really simple and quick - honestly. This tip also makes pretty roses if you swirl it, but this was my first try so I stuck to the basics. OOoooooOOOOohhh almost too pretty to eat... ...almost... It was really tasty...though again, 4 layers is a lot of cake... 6 people only polished off that much - definitely will serve 15 easily!
|
KathleenAdventures in married life, cooking, teaching science and new home renovations in the city! LinksArchives
June 2015
Categories
All
|