The Science of Married
Links
  • Blog
  • About Me
    • The Condo
    • Old Married Blog
    • Old Teaching Blog
  • Wedding
    • Engagement Pictures
    • Wed - Getting Ready
    • Wed - Ceremony
    • Wed - Bride & Groom
    • Wed - Wedding Party
    • Wed - Reception & Photo Booth
    • Wed - The Little Details
    • Honeymoon Pictures

Happy Birthday Little Brother!

2/26/2014

2 Comments

 
I looked back to see that though I did a post for Adam in 2012, I did not in 2013.  Sorry little brother!  Wishing you a great birthday!  I love you, despite your annoying habit of buying everything you want and having absolutely no ideas for birthday presents, and despite the fact that every time you give ME a present, it is sealed with hot glue and impossible to open without using my teeth like a savage.

Here are some Instagram pictures from the past year of him (as I still have yet to recover my hard drive!)
Picture
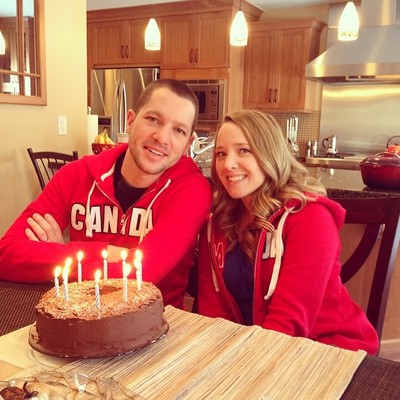
Our joint birthday/Olympic party celebration a few weeks ago
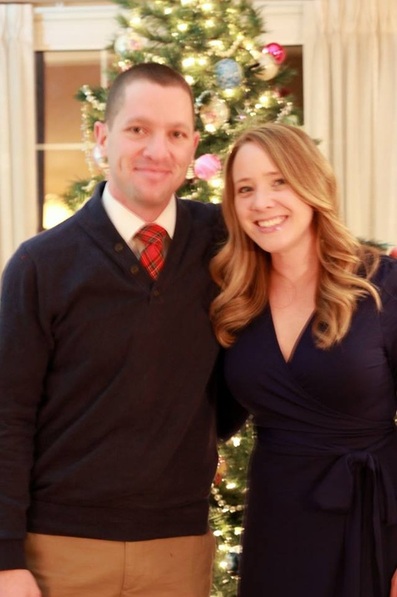
Picture
This past Christmas
Picture
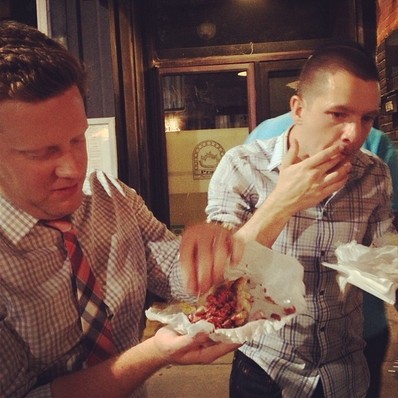
Eating smoked meat in Montreal this past summer
Picture
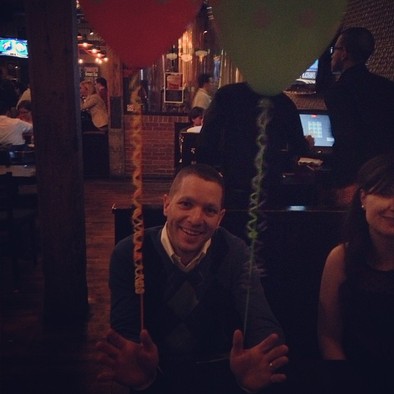
A bit tipsy with balloons in April

Plus some older ones...
Picture
Oh his wedding day in July 2012
Picture
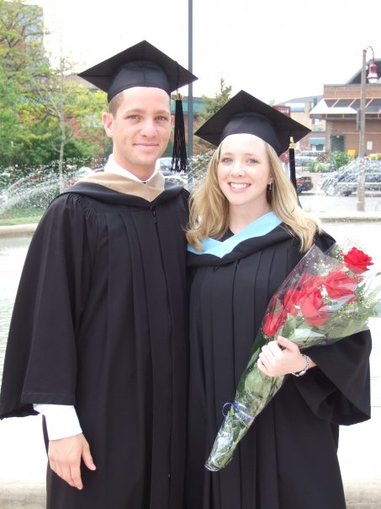
UOIT grad (him commerce, me education) in 2007
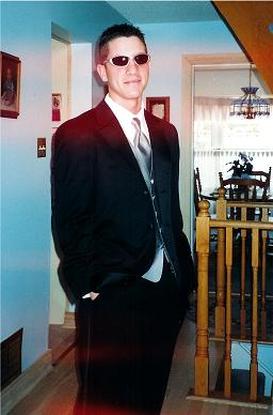
Picture
His prom!  2003?
Picture
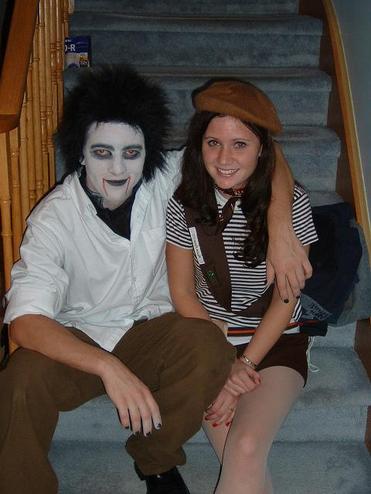
Haha, Halloween...probably 2003 or 2004?
Picture
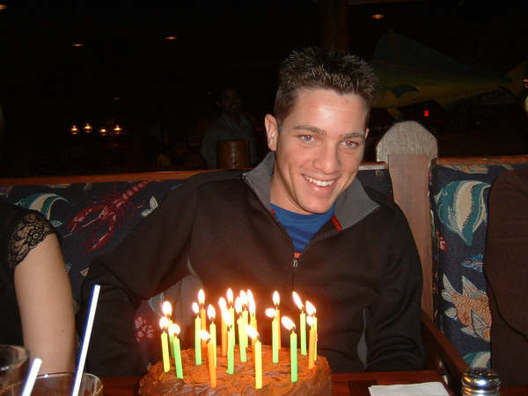
Birthday...not sure what year.  2006?
Picture
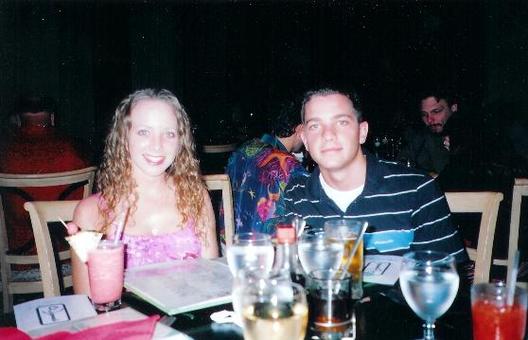
Punta Cana in Spring 2004
Picture
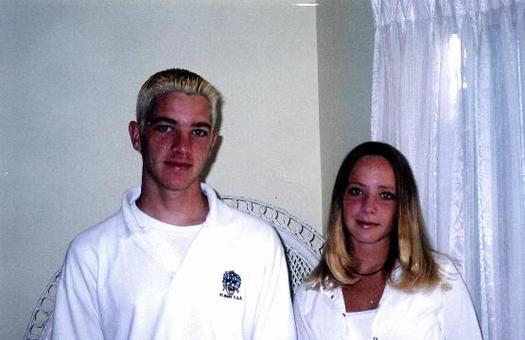
Last gem - Fall 2001.  First day of school.  I did that to his hair...
2 Comments

Basement Storage Project - Day 1

2/24/2014

0 Comments

 
Many people lately have commented "Wow!  Do you guys ever just relax?"  I know it seems like we never rest and are constantly doing projects, but really, the last time we did anything major was December 2012, when we did the upstairs stair guard and stairs.  Matt travelled a lot this past year and I'm not versed well enough in tools to do a reno on my own.  Plus we love doing projects together.  This was the first Christmas where we didn't have any new home project to "show off" to our family which got us itching to do some projects in the new year.

So, we just finished the stairs on Family Day last Monday, and we decided yesterday (Saturday) to start on the storage, was the second half of the basement project.  The first thing we had to do was unpack all the cupboards.  We also went through everything and threw out stuff we didn't need, moved a few things to new locations, and found temporary spots for everything else.
Picture
The before.  Tidy work area from the stair project.
Picture
Even all the extra wood is organized!!!
Picture
The first cupboard held all our paint, stain, patching and sealing supplies, drop sheets, and then random stuff like bug killers, a few strong cleaners and light bulbs.  Here is their new temporary home in the laundry room.
Picture
The closet was next up.  It contained coats, extra scarves, hats and gloves, old shoes, and golf and snowboard stuff
Picture
Since the golf clubs and snowboard were already moved here when we removed the stuff from under the stairs, I just decided to keep everything together.  That duffle bag is filled with all the coats.  We obviously use this bathtub a lot...hmmm...maybe we should the bathroom as basement project round 3???
Picture
Another cupboard had a shelf of extra baking supplies and spices.  This is where they live now, haha.  I plan on making myself a lovely ombre layer cake with some fancy icing for my birthday over March Break.
Picture
All the serving stuff that doesn't fit in the sideboard upstairs was in another cupboard.  Here it all is (plus a lot of stuff from under the stairs that was already hanging out here, preventing me from doing Wii Zumba).
Picture
Of course there was a shelf filled with different liquors and whisky, plus a whole lot of empties.  That conversation went like this: Kat: "I thought I asked you to take those back at Christmas!" Matt: "Yep, and I've been ignoring you since Halloween!"  Then he dropped some and made a mess - sweet retribution!!!
Picture
Are now back to the Beer Store and a tidy sum in Matt's pocket.
Picture
*Sigh*  So much stuff.

Our second step to this project was to actually remove the cupboards from the wall and take them apart.  This actually only took just over an hour.  As long as you have a power drill it makes life easier.  By hand would be very annoying, but still possible.  We had three big shelving cupboards and one closet system.  Who knows what the walls would be like behind them!  I was hoping for the original exposed brick!!!
Picture
Removing the doors
Picture
Hmmmm were they even bolted to the wall? The answer is NO!
Picture
A sweet surprise!  A note from the owners who did the basement reno.  There is more but it's the name of the owners.  I won't show the whole message to protect their privacy.  I do intend, however, to photograph and frame the note so I don't feel as bad painting over it!  No luck with the brick - it was painted white behind.
Picture
Looks so empty now!
Picture
Since we don't have extra tile, it is lucky that our new cupboards will be a bit deeper than the original ones, and will be build right over top and beyond the edge of tile.  It's pretty gross, though!

The next step will decide how exactly we want to organize the new system.  Roughly we will have cupboards on the bottom half, similar to the sideboard in the dining room.  The top half will be open shelving.  The triangle under the stairs will be all shelves.  It will all probably be painted white, and we'll use Ikea doors on the bottom half, but build the cupboards ourselves.  We want to make sure we will have a long closet on the end for all our extra coats and shoes (as we don't have a main floor closet), and we also have to be able to store our suitcases, golf clubs, snowboard, Matt's guitar, all our Christmas and holiday decorations, and all the random house stuff you've seen spread around my basement!!!
0 Comments

Belated Valentine's Day 2014

2/23/2014

2 Comments

 
Matt and I don't really do a lot usually for Valentine's Day.  We don't do cards or gifts.  In the past we've gone to Leaf games, but mostly we just cook a good meal and enjoy each other's company.  That's exactly what we did this year.  I did a bit of prep work this time - I made a chocolate terrine  for dessert (since I failed on New Years) on Thursday evening - it has to set 12-24 hours.  I also made one for my work wife, Marta! Other than that, I just set the table when I got home on Friday, made a little garland (honestly took me 10 minutes) and Matt cooked dinner (pomegranate balsamic glazed sirloin steak with kale and tricolour quinoa).
Picture
Picture
Cut strips of scrapbook paper, staple 2 ends together, pinch top of one and staple.
Connect by the bottom staple of one heart with the top pinch of the other.  Simple and quick!
Picture
Picture
Picture
Picture
Picture
Heart napkin fold link HERE (there's is better than mine...)
Picture
Dinner prep
Picture
Final delicious product, along with a pinot noir!
Picture
Chocolate terrine!  Recipe from HERE.
Added some toasted almond slices around the edges, plus a dash of icing sugar and a pinch of sea salt.  Served with fresh whipped cream.  Let to cool in my grandmother's heart shaped baking pan.  
I cut the recipe in half as it served 12, and this did serve us 3 times, but with big pieces.  It should be served in small doses - probably could have lasted 4-5 nights, haha, but it was just so good!  Just as good as the one at our favourite restaurant, Goods and Provisions.
2 Comments

Basement Stair Project Day 10-??? & Reveal!

2/22/2014

0 Comments

 
So the ??? was actually until about Day 21.  But really there were some drying time days in there too, but so far I've really only included days where we (who am I kidding, Matt) did work.  Not all of them were full days, but again, with painting and staining, patience is key.  Also balance and flexibility so you can take stairs two at a time holding a giant basket of laundry without falling down.

Okay so I could go through all the painting and staining progress pictures FIRST, but we all know you just want to see the final product, so here's one for you before I launch into the details:
Picture
Sorry it can't be any prettier.  The tools are not disappearing any day soon!

See Day 1-2 HERE, Day 3-5 HERE, and day 6-9 HERE.

Step 13 - Priming & Painting the Stair Guard & Risers
Picture
Day 10 - Basic priming of the stair guard, posts, and risers.  Nothing crazy - just primer and paintbrush!
Picture
Taping was very annoying...but necessary.
Picture
Day 11/12 - 2 coats of paint on the same parts.  We used the same paint that is on all of our trims,
Benjamin Moore White Dove semi-gloss latex.
Picture
Very pretty.  There is also a big puddle of paint just out of sight that Matt spilled, haha.

Step 14 - Gluing the Stairs
Day 13/14 - We had to attach the stairs over two days because we wanted the glue (construction adhesive) to be completely dry before stepping on them.  It was weird to step on them because with and without the stairs they were different levels - it really throws you off when walking down them!
Picture
First Day
Picture
Second Day

Step 15 - Staining the Stairs
Day 15-21.  Since laundry and storage were in the basement, we had to do every other stair like we did upstairs when painting and staining.  The stairs started with pre-stain to help the stain soak in, then we did 2 coats on stain using Minwax "Golden Pecan" and followed by 3 coats of glossy Minwax oil-modified (more water-based) polyurethane.  There were some days where Matt did a coat in the morning and a coat at night, so it took 3 days for each half set of stairs, plus 24 hours to dry between.  After the 24 hours we pulled off the tape and did some touch-ups on the paint.
Picture
Zebra stripes of stain!
Picture
With the polyurethane coats
Picture
Allllllll done!!!!!!!
Picture
Matches the rail perfectly
Picture
Nice clean lines
Picture
Now if only the tools could get put away...but no such luck - we're tackling those cupboards soon.
Picture
So much better than the gross dingy carpet!
Picture
After a bit of tidying just this morning - basement is very organized...in its own way.
Picture
Gotta love the before and after!  

See Day 1-2 HERE, Day 3-5 HERE, and day 6-9 HERE.

Project Done.  So Next Up?
- take everything out of storage cupboards (actually did this this morning!)
- tear down the cupboards (may do that later today or tomorrow - excited!!!)
- paint (may possibly need to prime) the brick wall behind the stairs
- plan the storage cupboards and open shelving system
- build the storage system (and a million more details go into this)
0 Comments

    Kathleen

    Adventures in married life, cooking, teaching science and new home renovations in the city!

    Picture

    Links

    Pinterest Page 
    Wedding Planning Site

    Archives

    November 2014
    October 2014
    September 2014
    August 2014
    July 2014
    April 2014
    March 2014
    February 2014
    January 2014
    October 2013
    September 2013
    August 2013
    July 2013
    June 2013
    May 2013
    April 2013
    March 2013
    February 2013
    January 2013
    December 2012
    November 2012
    October 2012
    September 2012
    August 2012
    July 2012
    June 2012
    May 2012
    April 2012
    March 2012
    February 2012
    January 2012
    December 2011
    November 2011
    October 2011
    September 2011
    August 2011
    July 2011
    June 2011
    May 2011
    April 2011
    March 2011
    February 2011
    January 2011
    December 2010
    November 2010
    October 2010
    September 2010
    August 2010

    Categories

    All
    Baby
    Backyard
    Basement
    Bathroom
    Bedroom
    Books
    Condo
    Cooking
    Cottage
    Decor
    Dining Room
    Diy
    Family
    Fitness
    Friends
    Furniture
    Gardening
    Getaway
    Hallway
    Holidays
    House Hunting
    House Issues
    Inspiration
    Instagram
    January Cure
    Kitchen
    Lighting
    Living Room
    Married Life
    Moving
    Organization
    Painting
    Photography
    Pinterest
    Politics
    Renovation
    Shopping
    Teaching
    Wedding