So remember THIS POST when it was all about our basement storage project from the beginning? Well our basement sat like it was at the end of that post for a LONG time. Part of that was Mat travelling and the rest just not knowing exactly how we wanted it. Well in May we finally came up with a plan and in June we bought the wood. Matt honestly did all of the purchases, building, sanding, priming, and painting in 3 weeks. He worked really fast so there are a few instagram pics along with my DSLR. I just couldn't get down there enough to capture every moment (probably to his relief!).
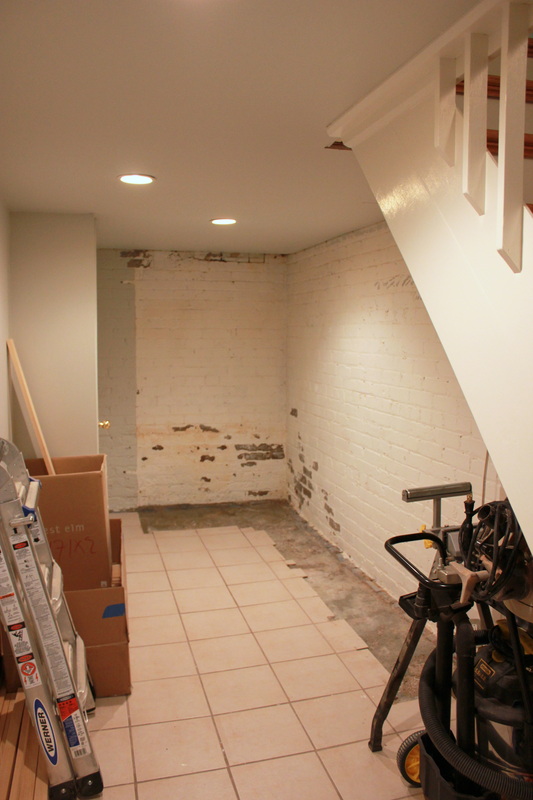
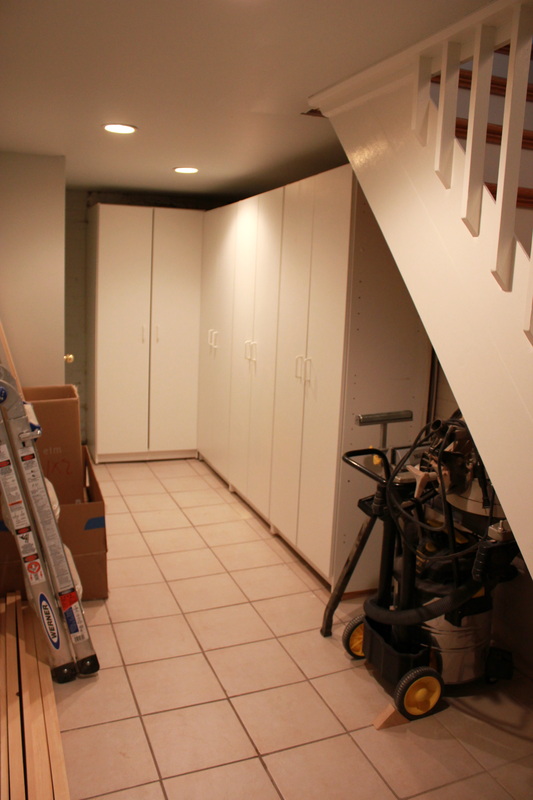
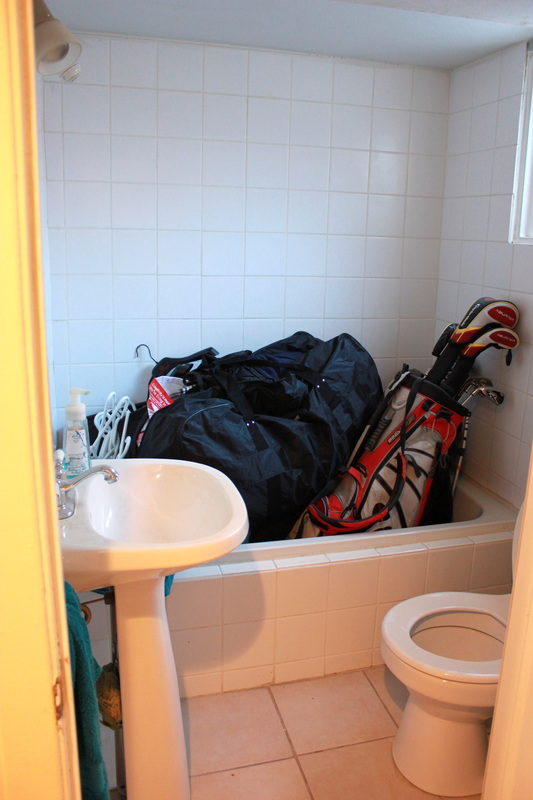
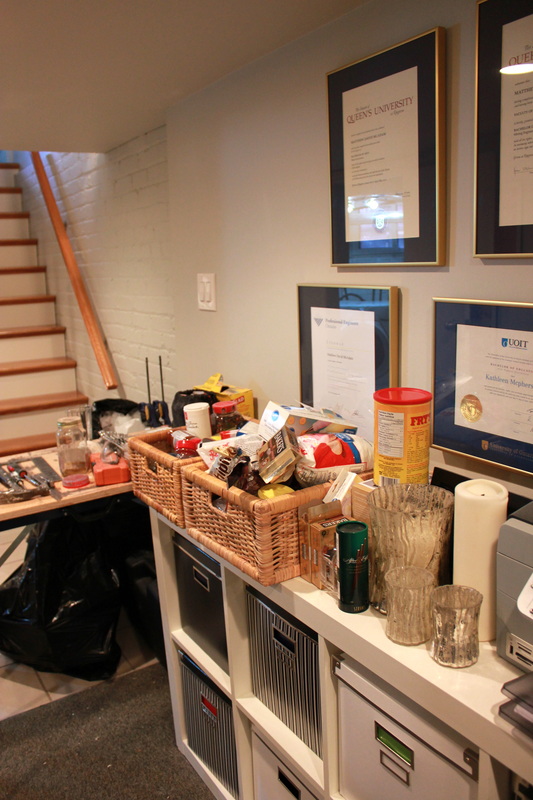
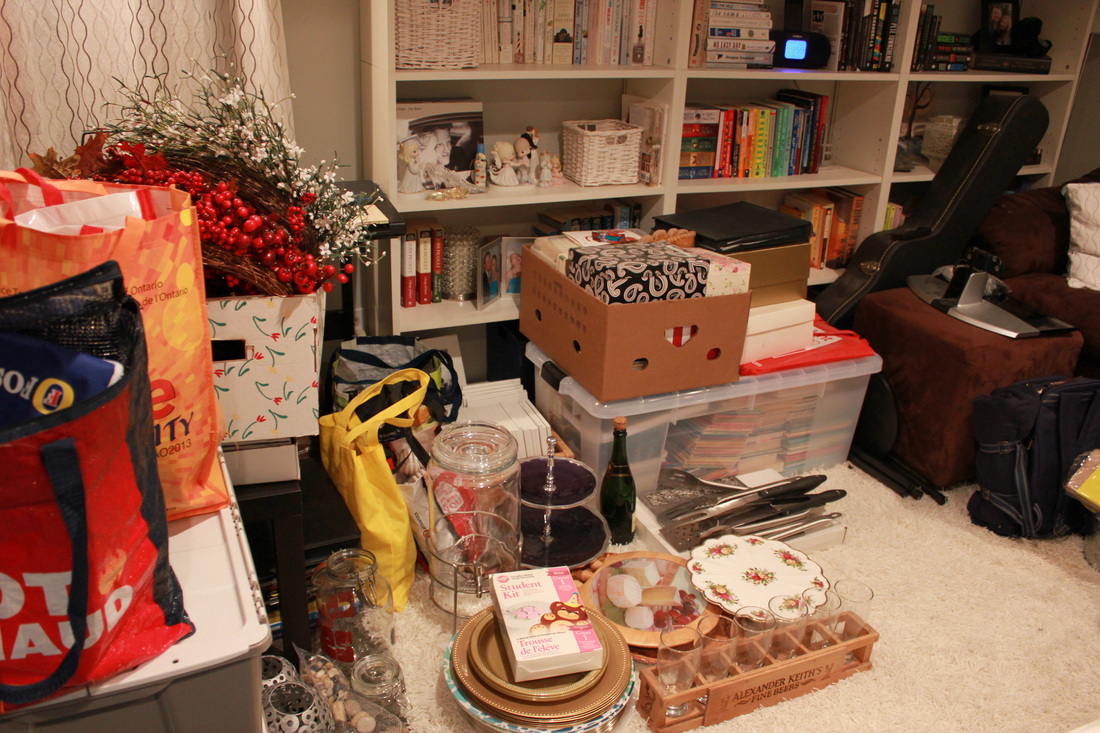
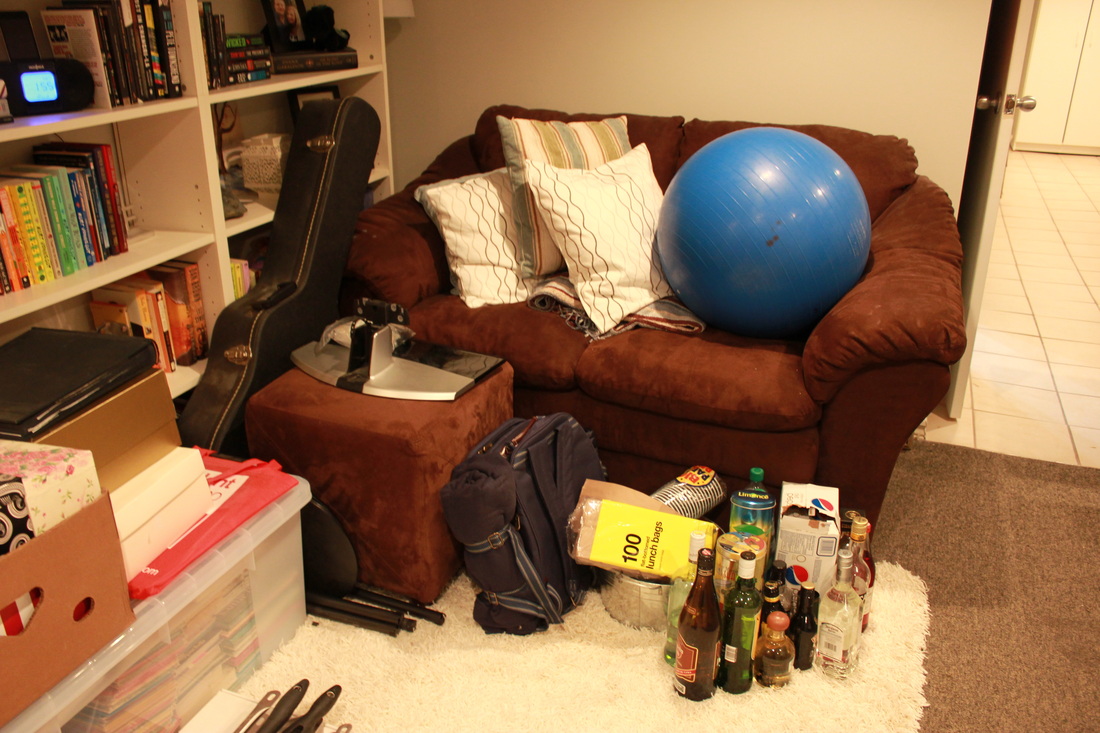
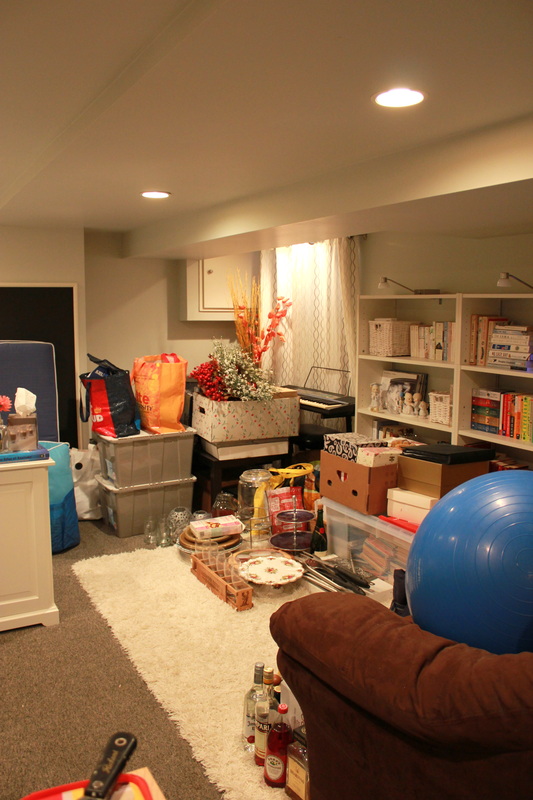
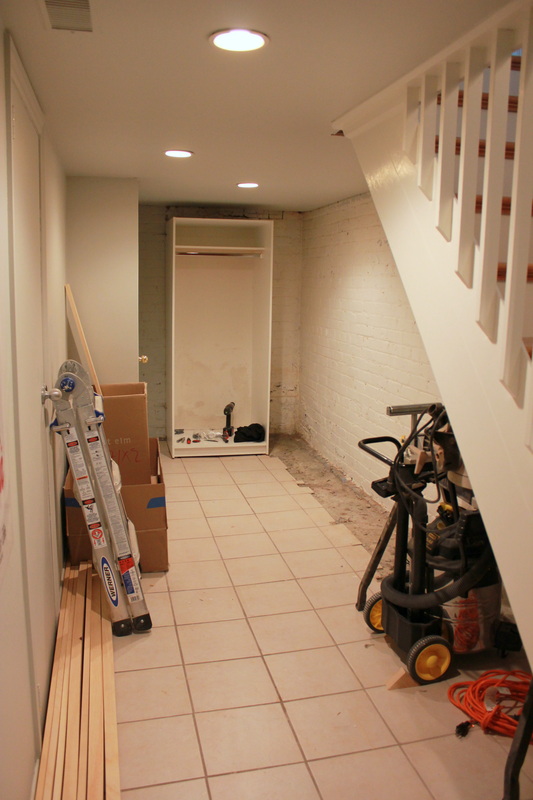
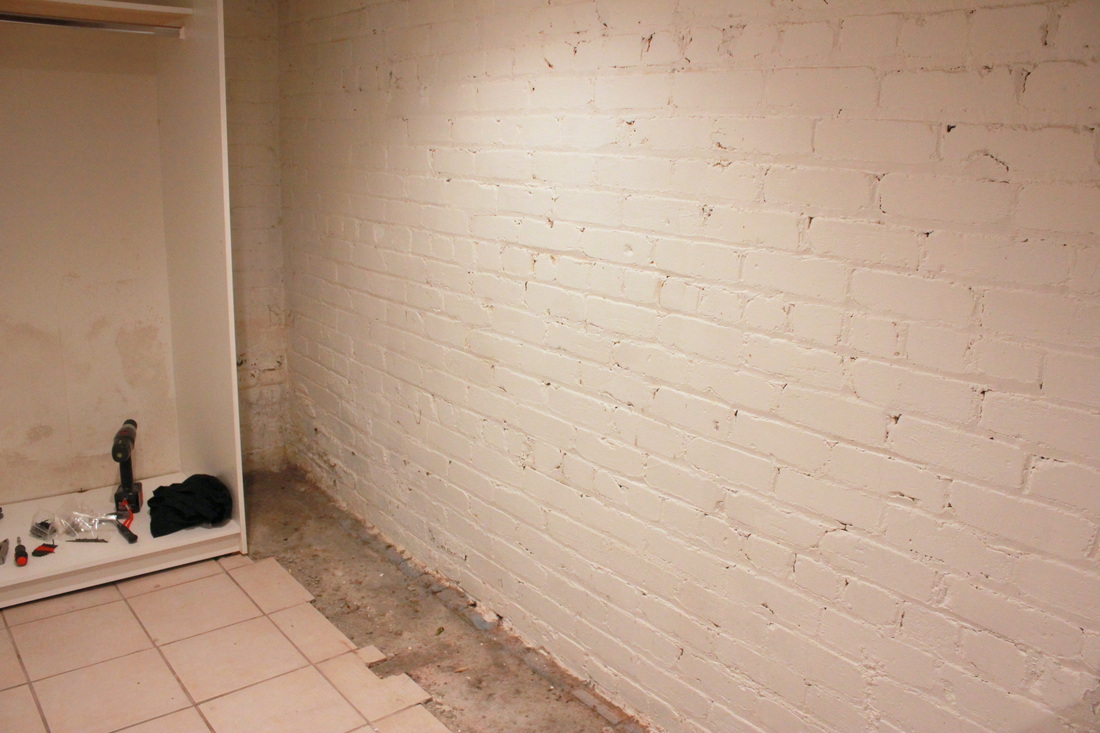
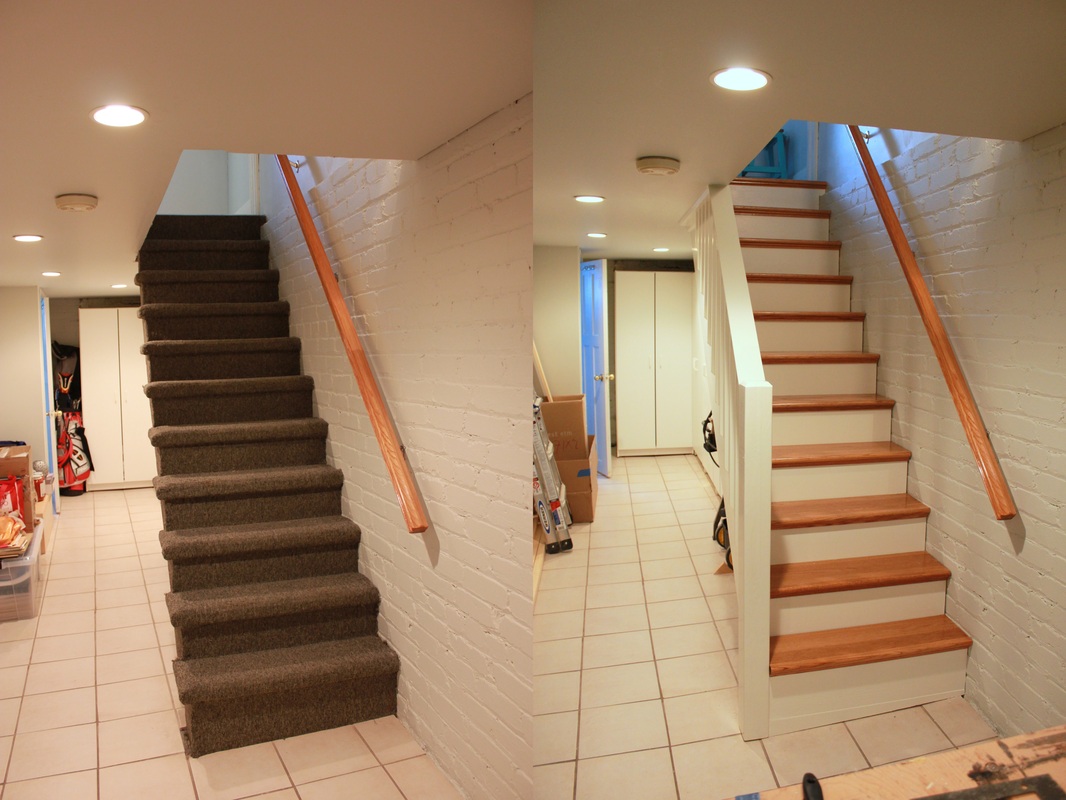
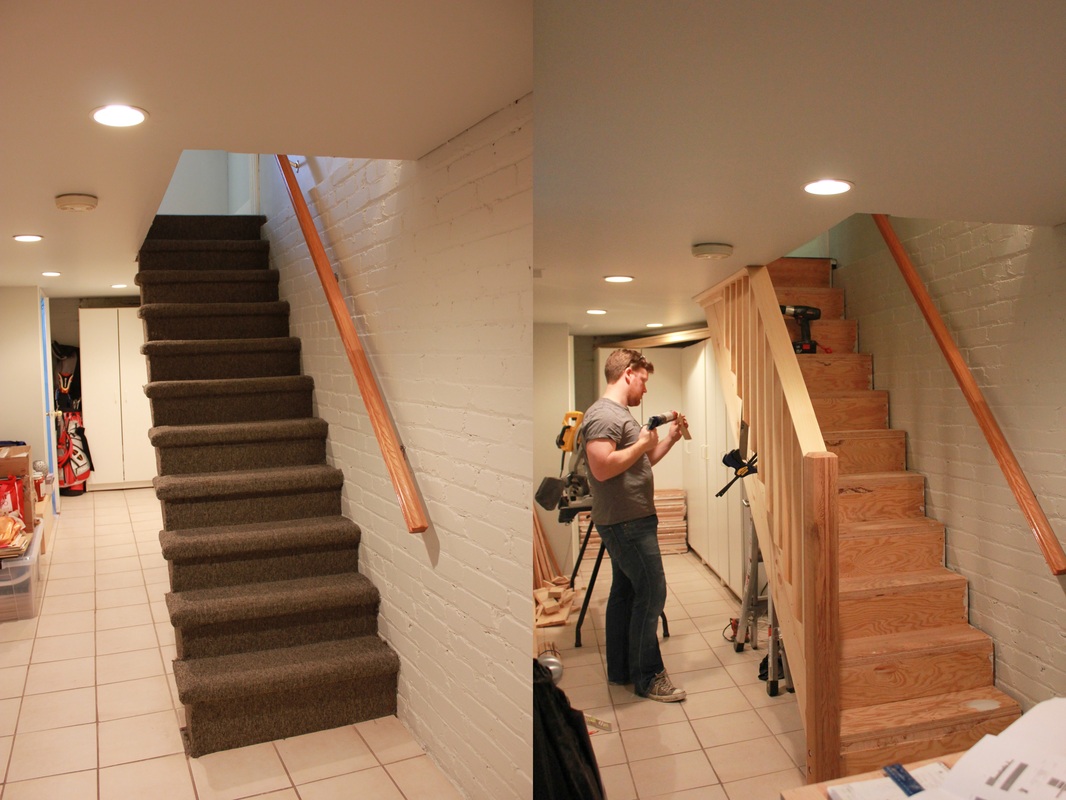
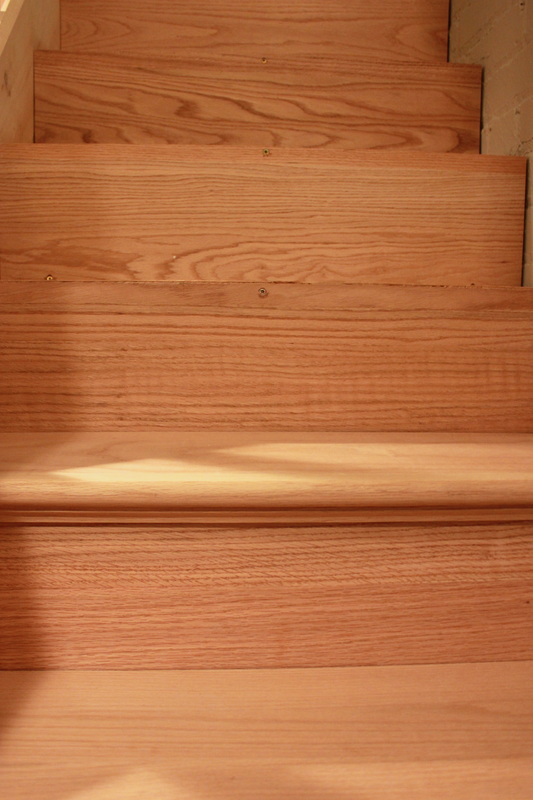
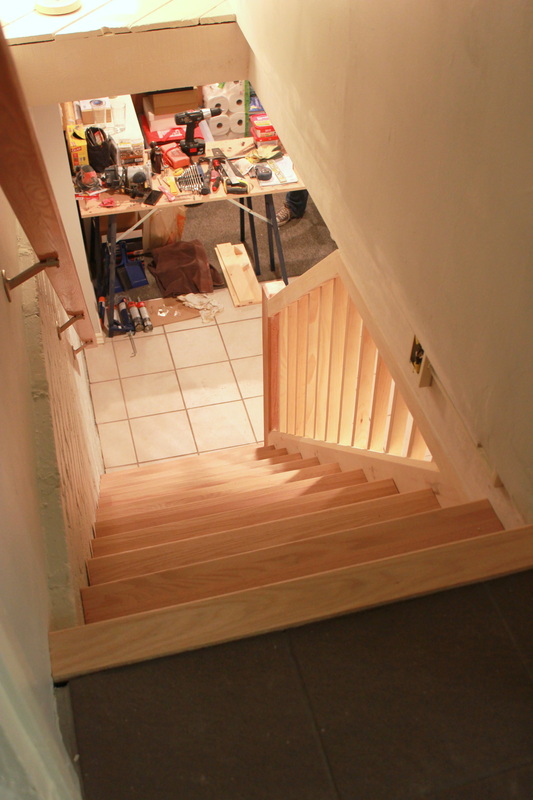
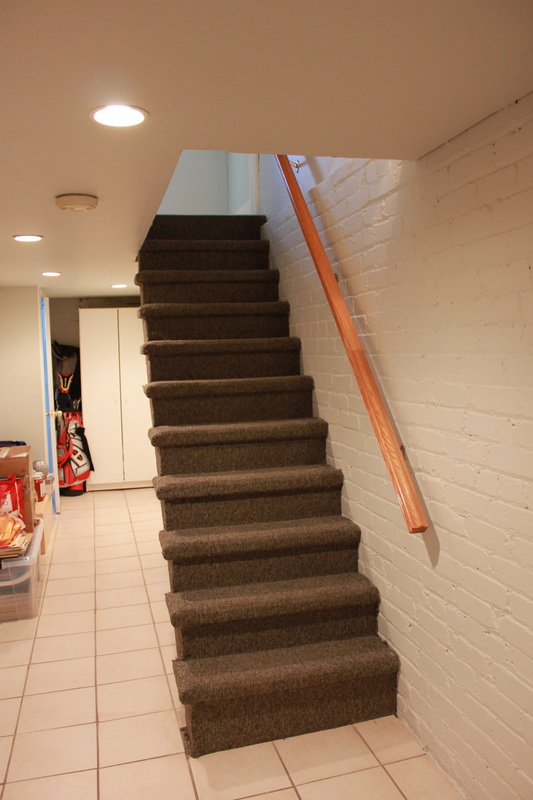
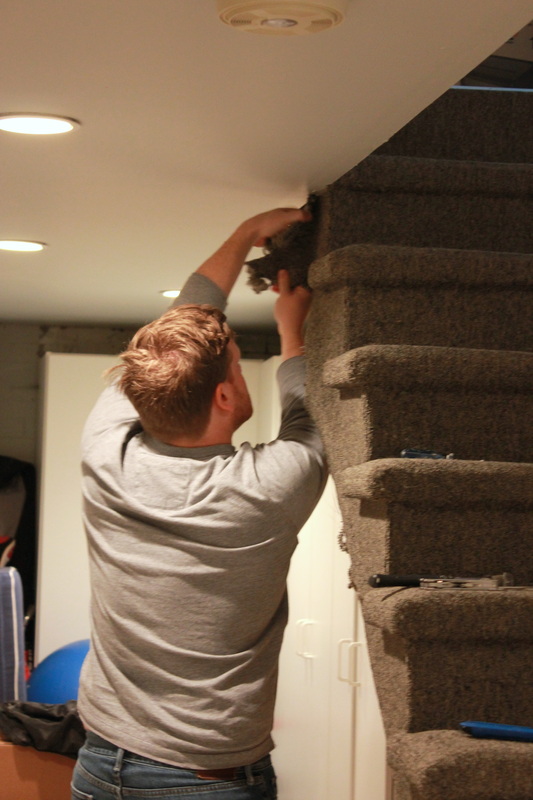
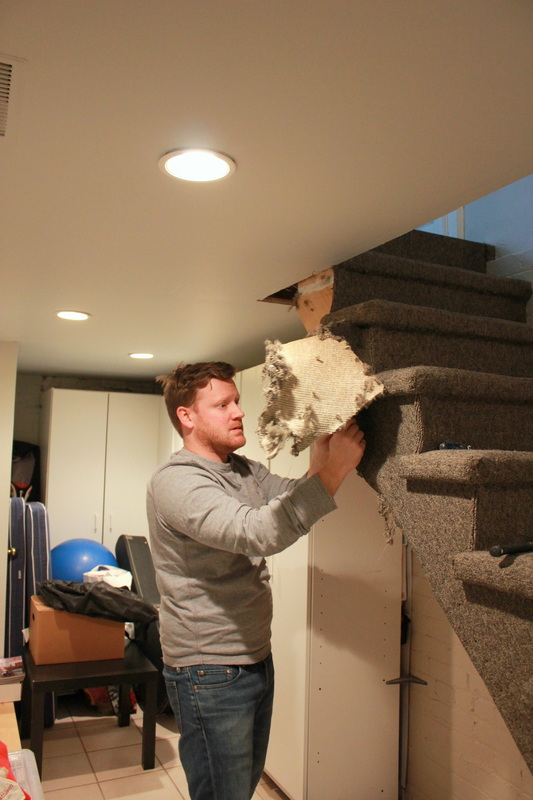
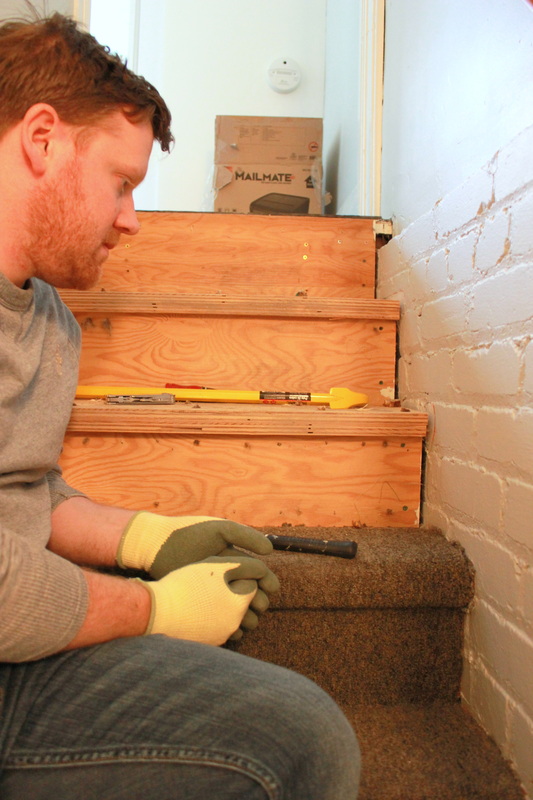
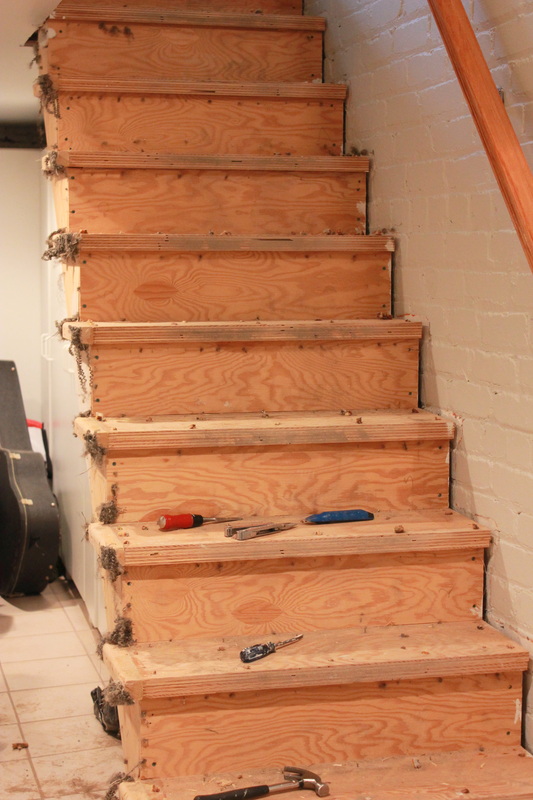
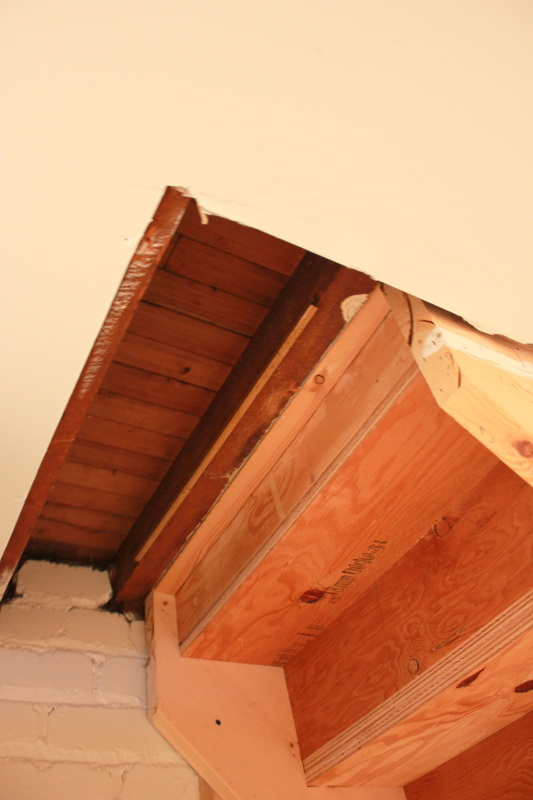
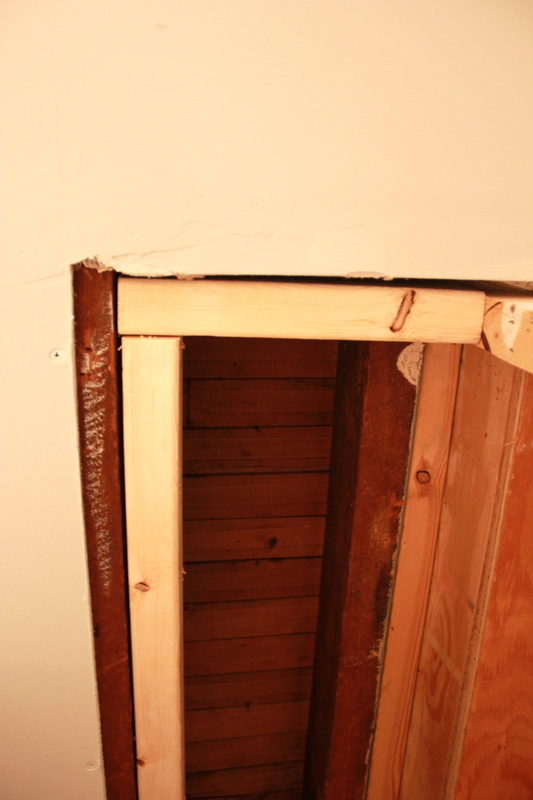
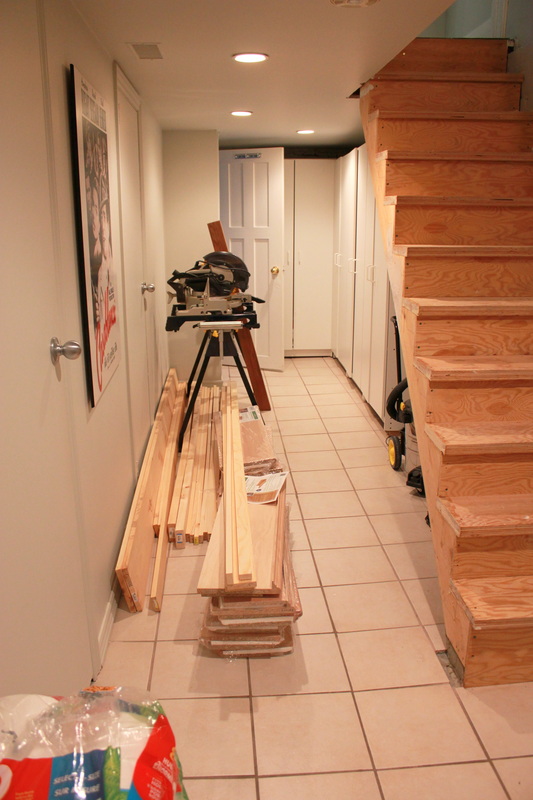
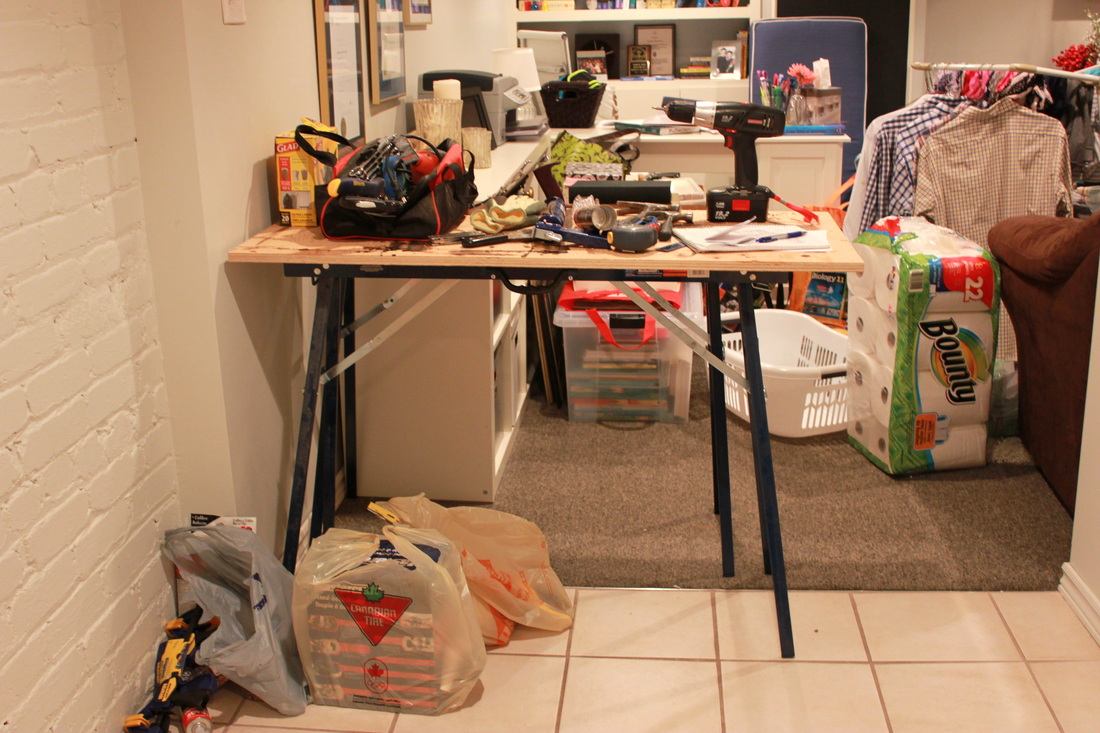
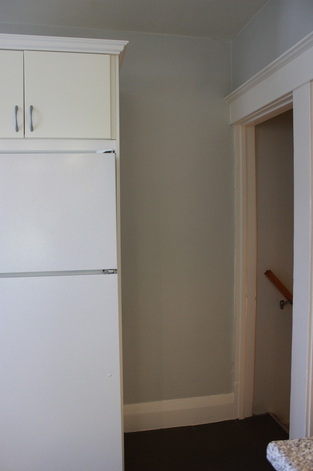
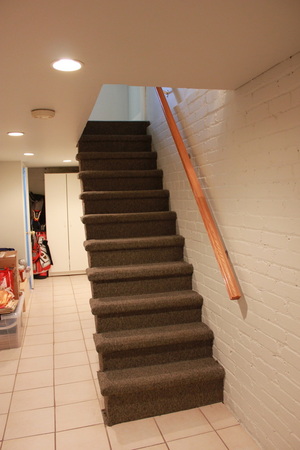
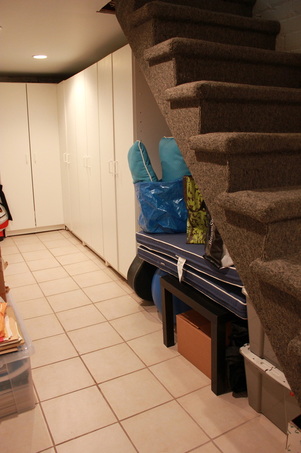
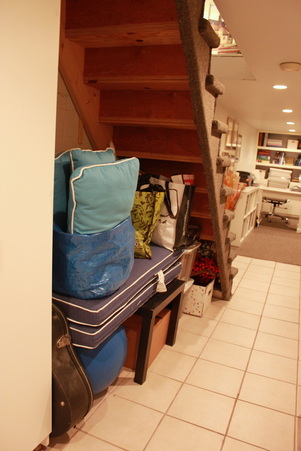
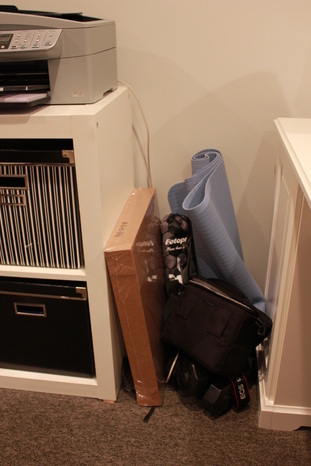
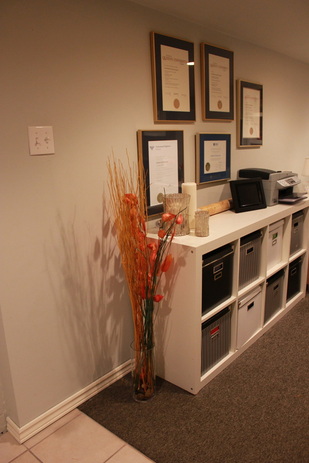
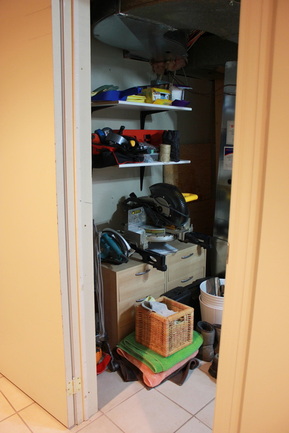
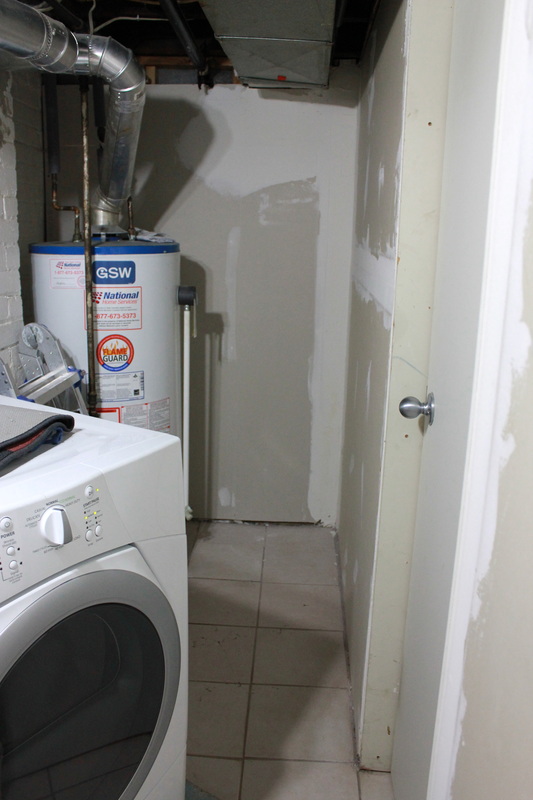
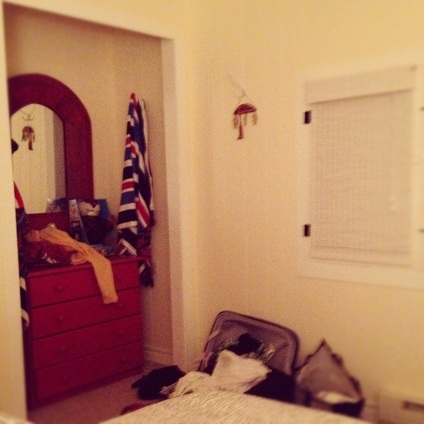
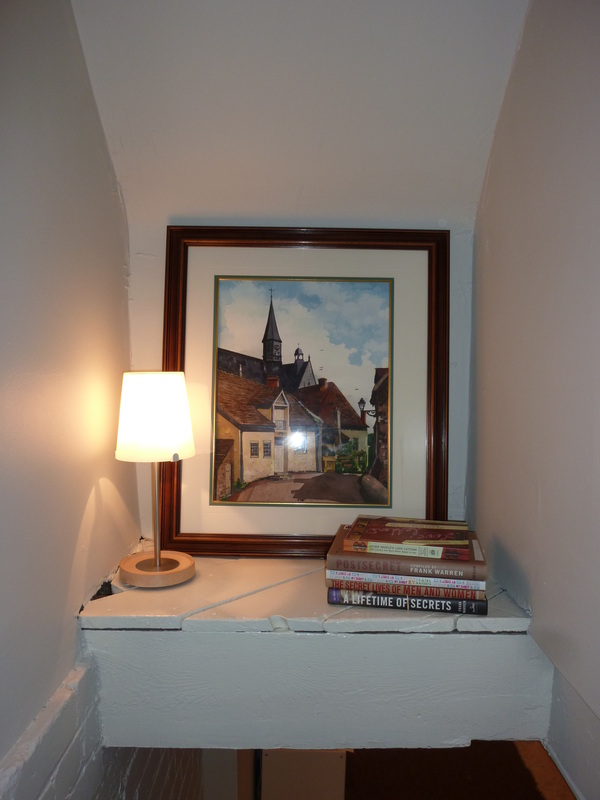
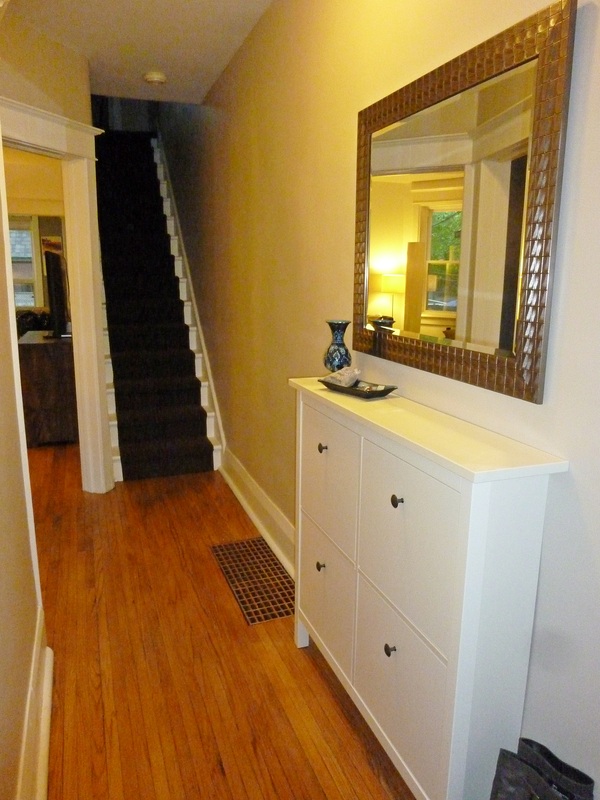
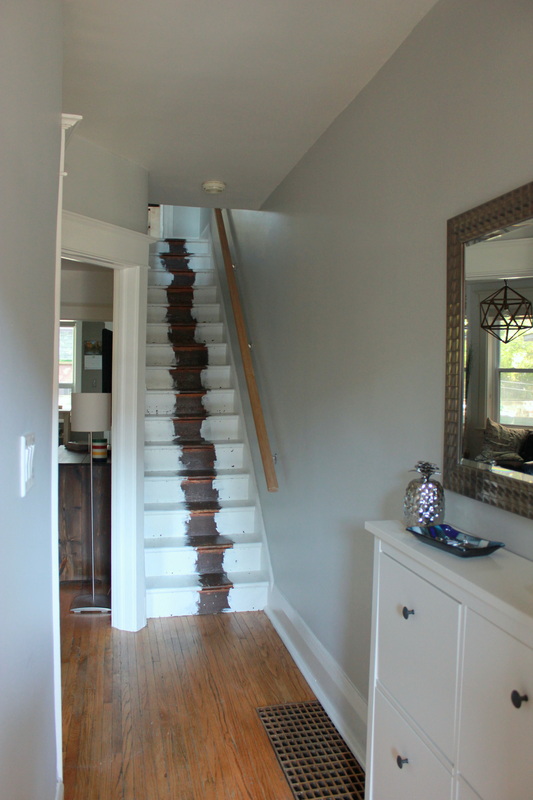
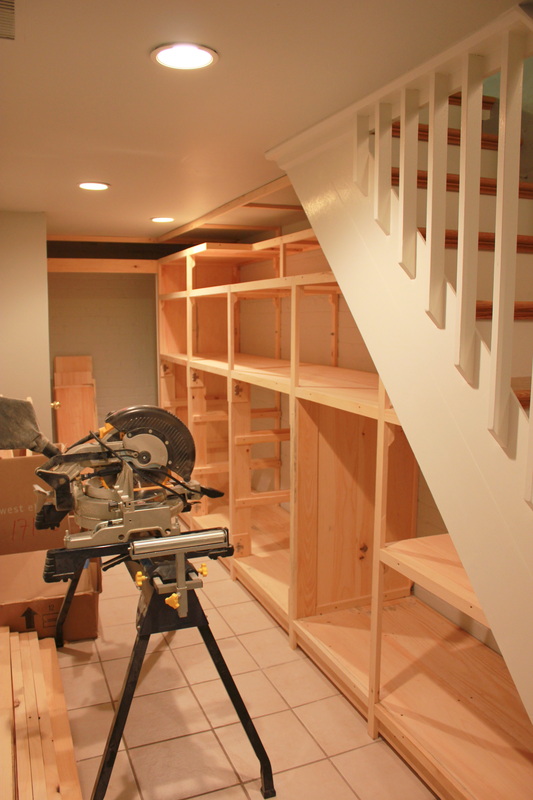
Where we left off...
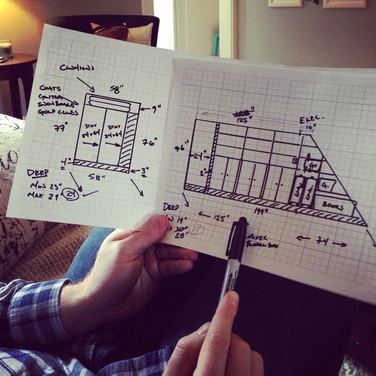
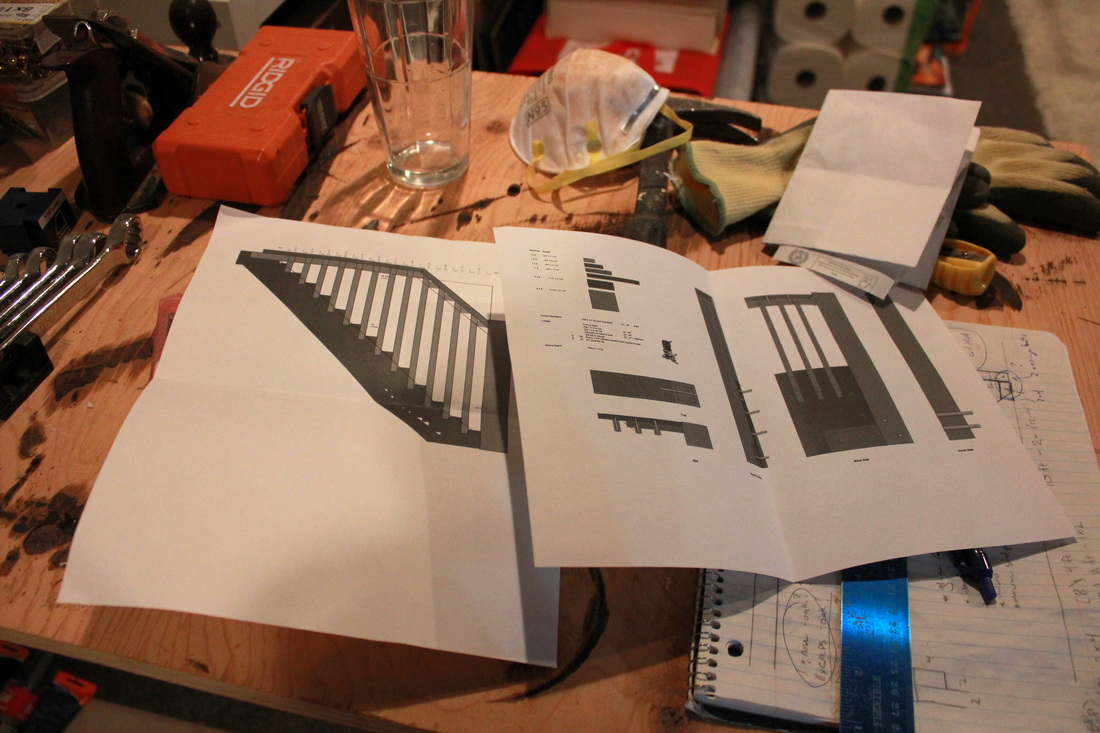
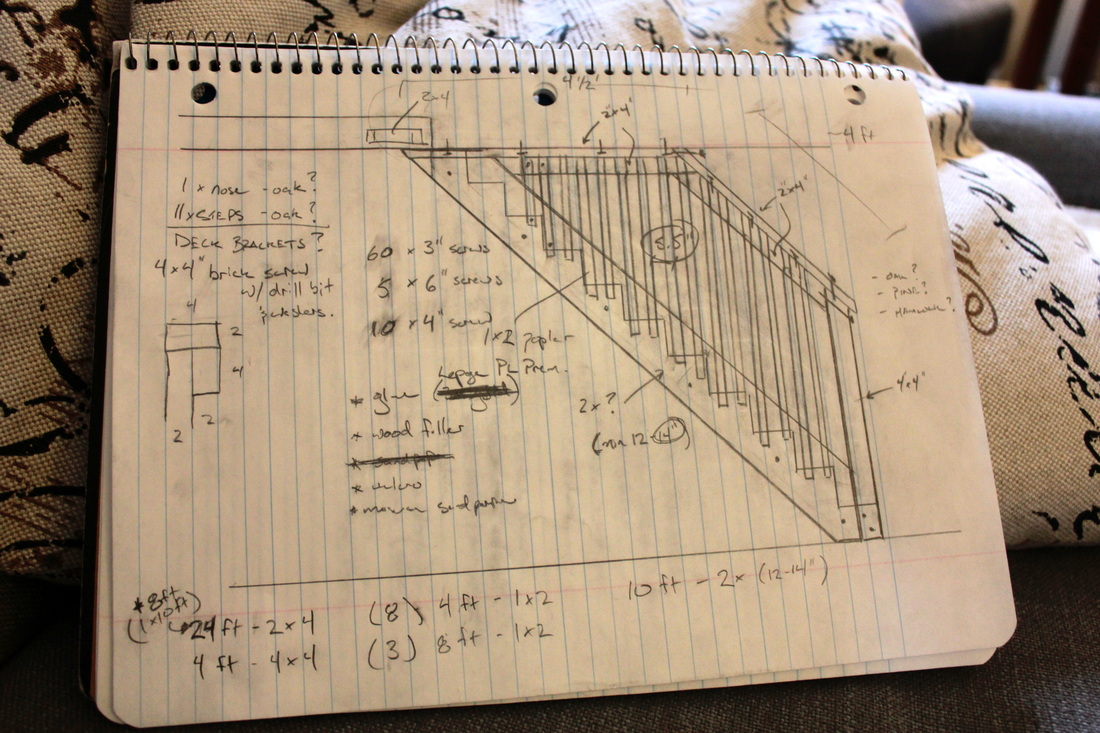
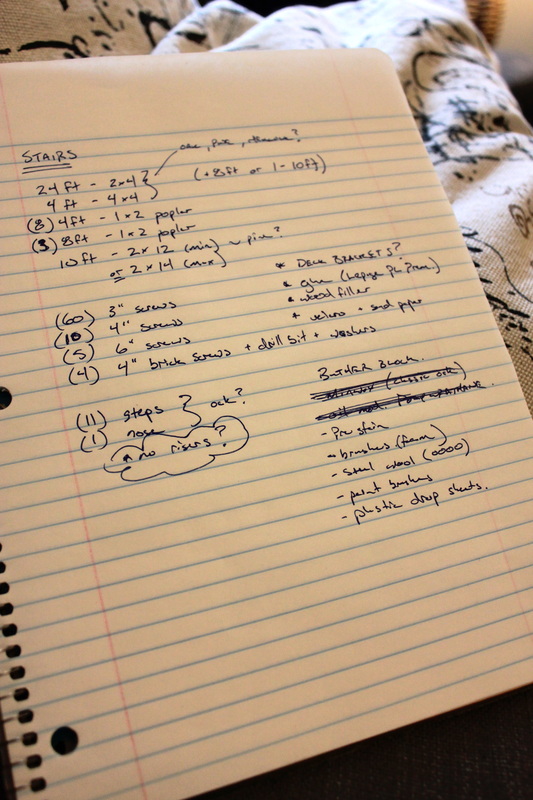
The plan
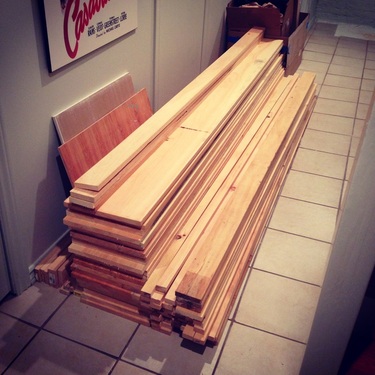
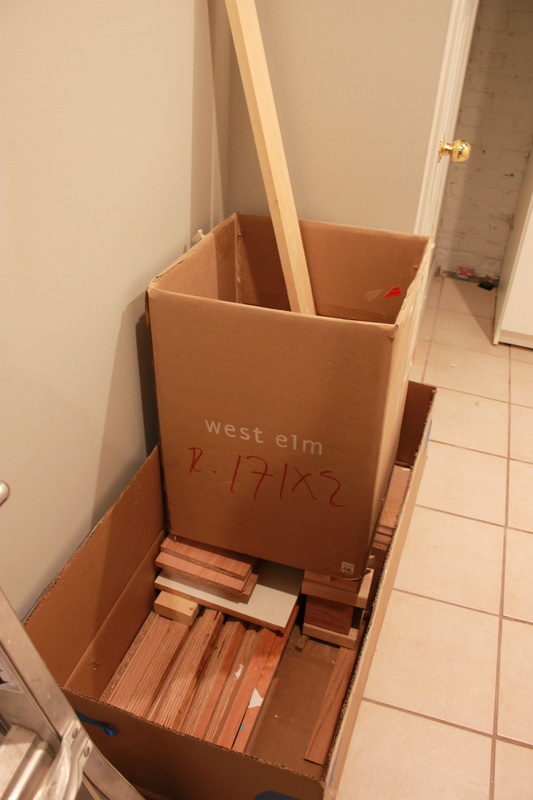
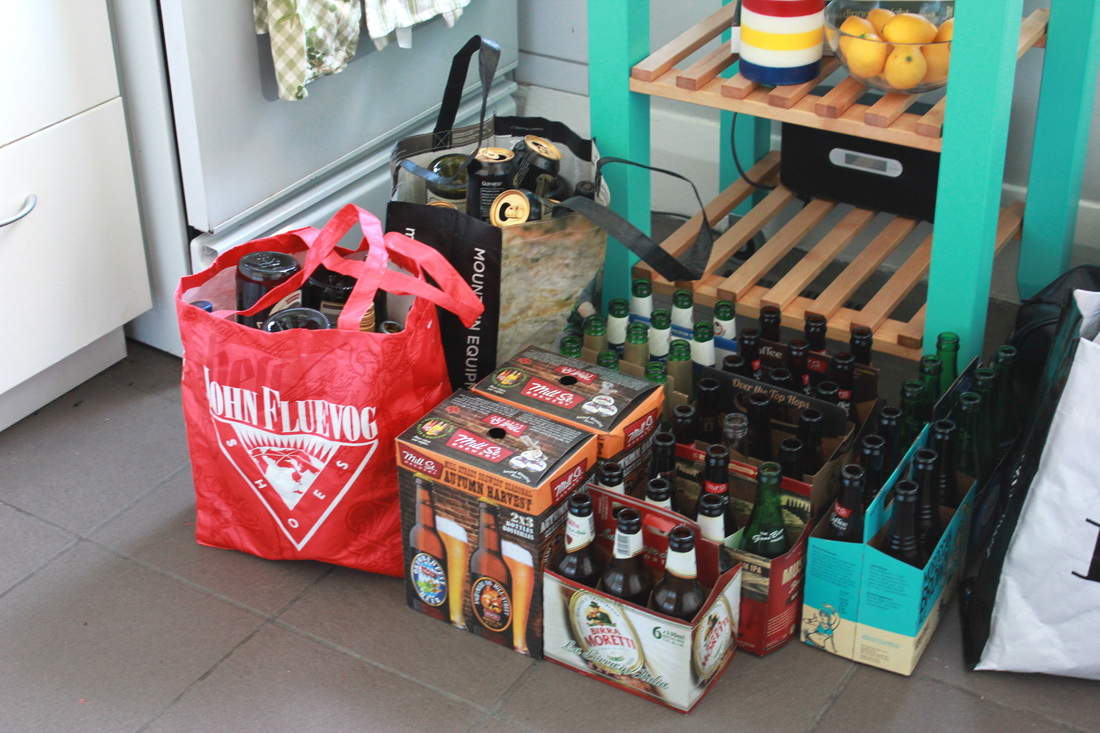
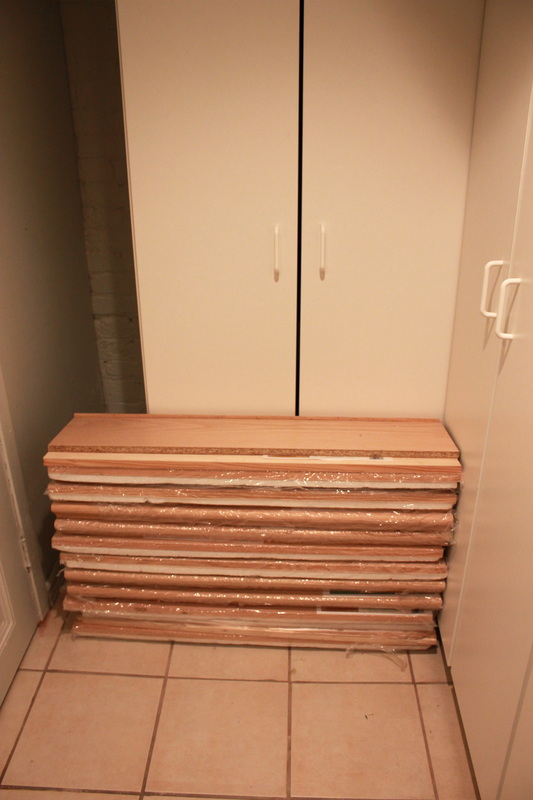
The purchases - pine
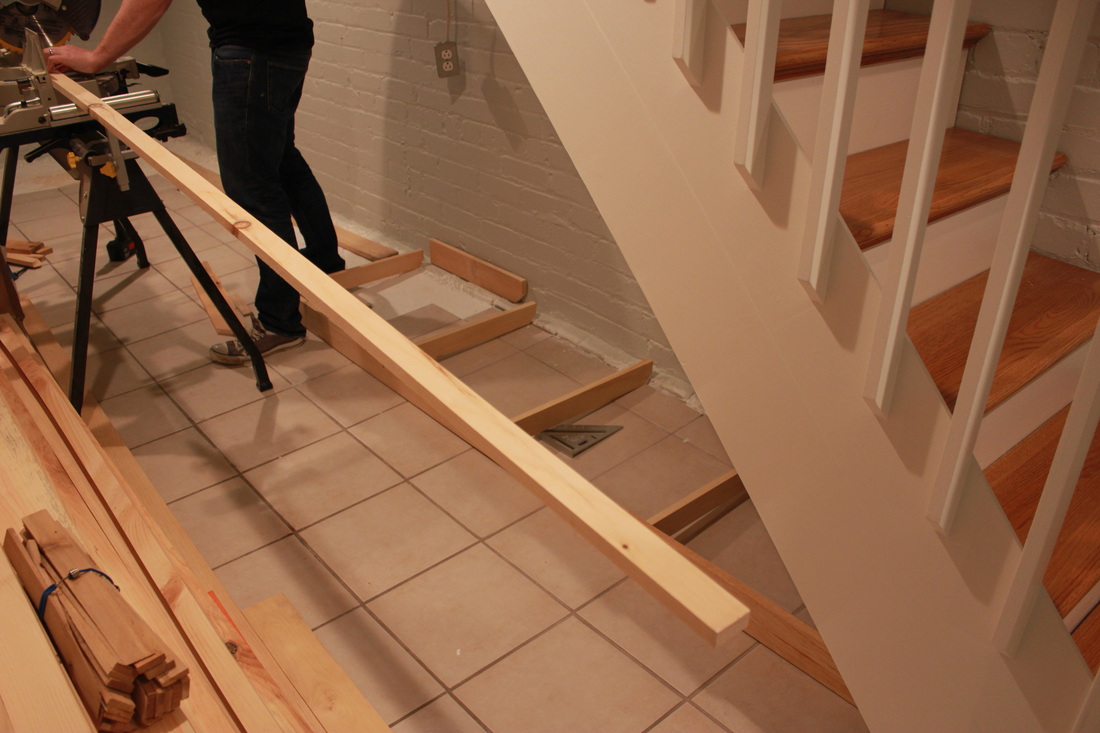
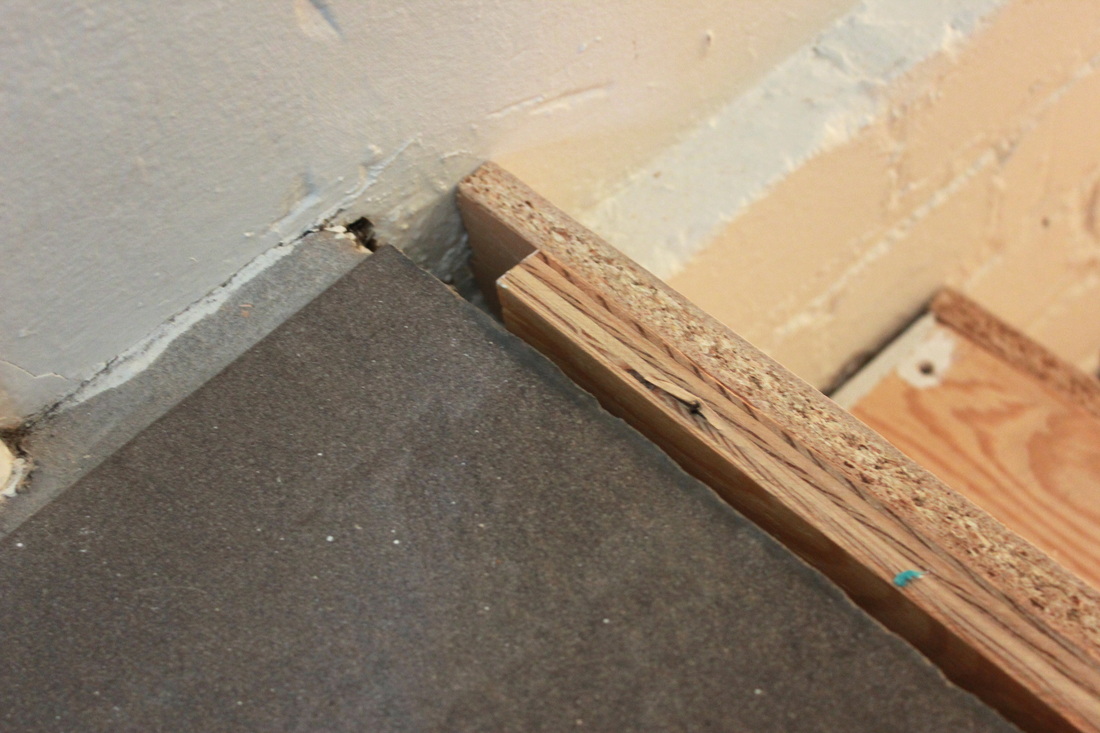
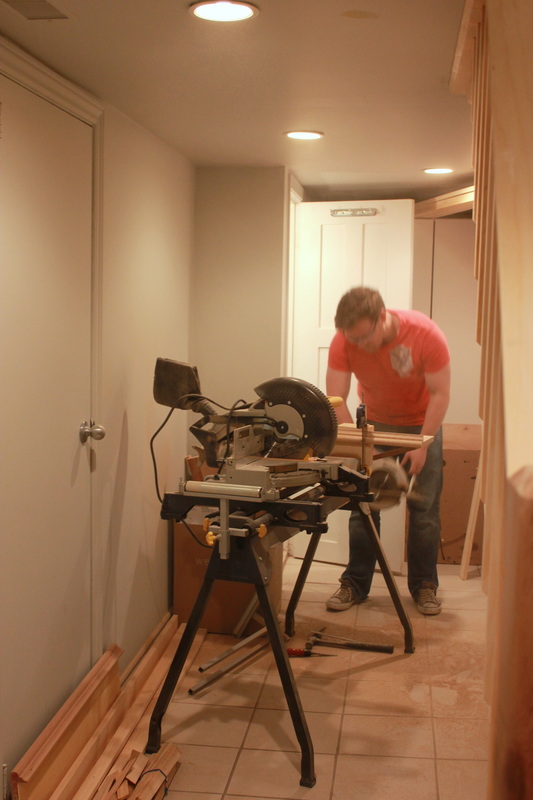
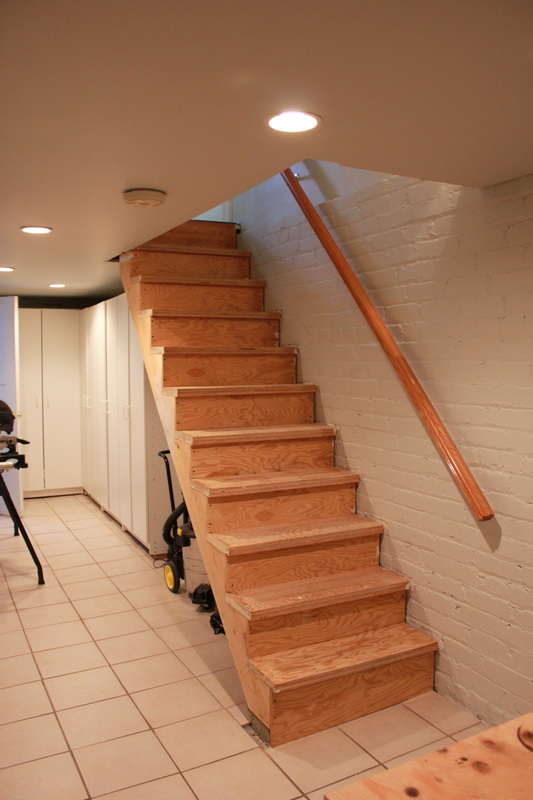
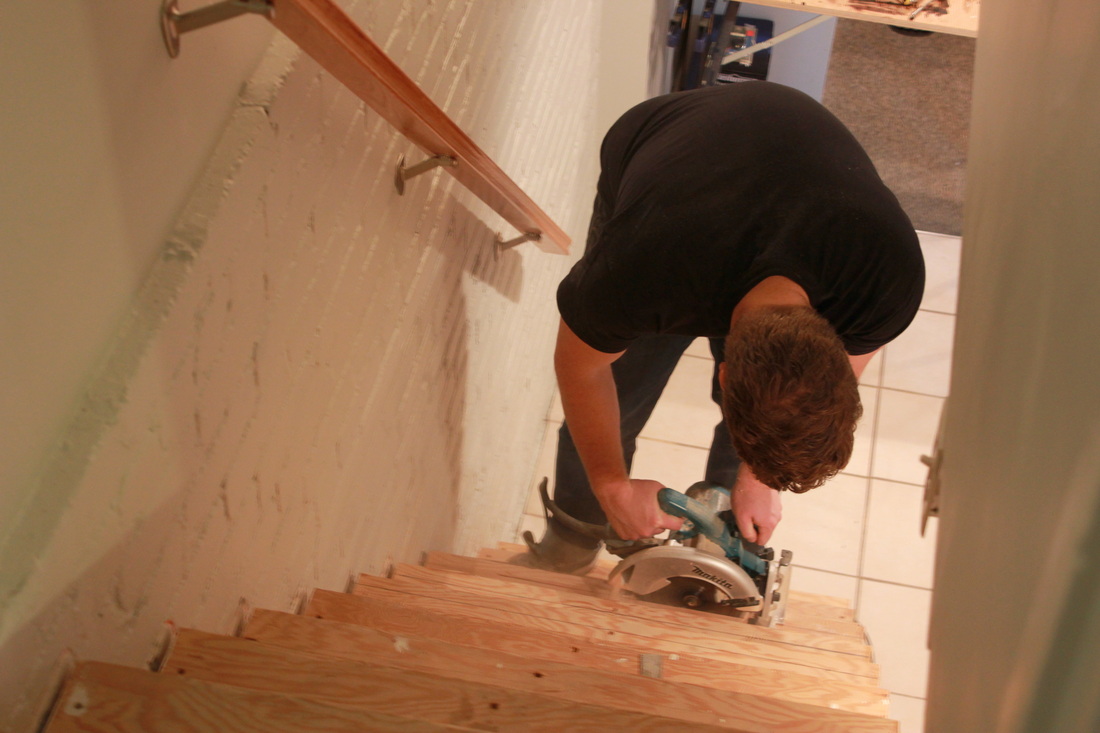
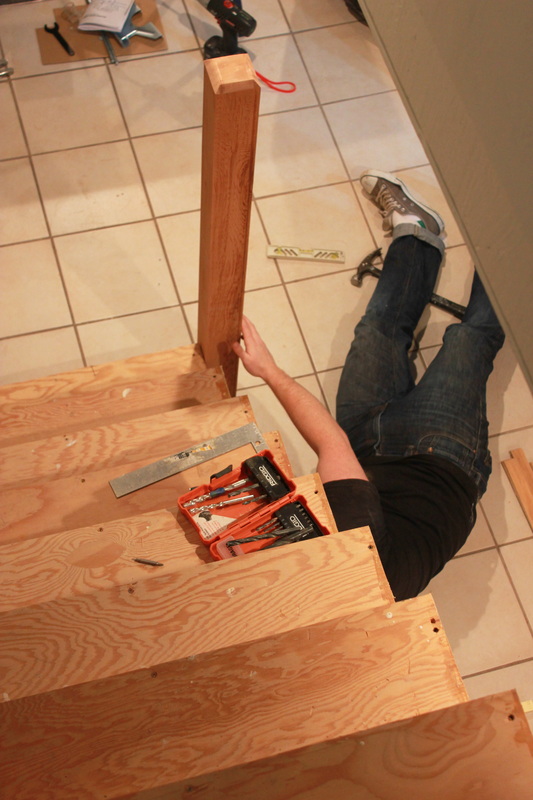
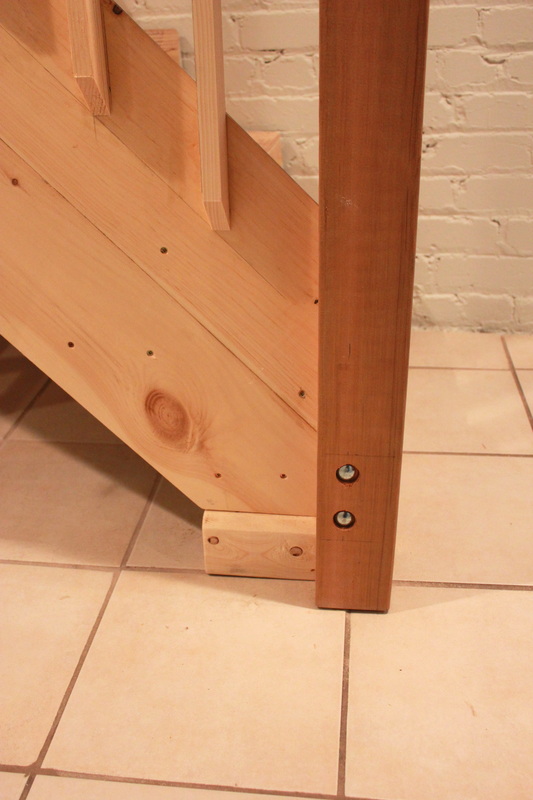
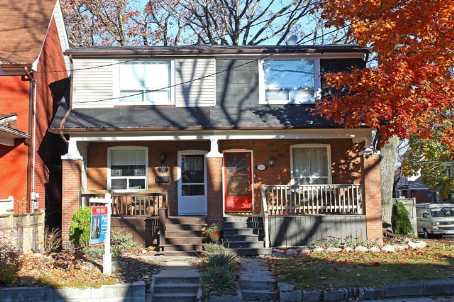
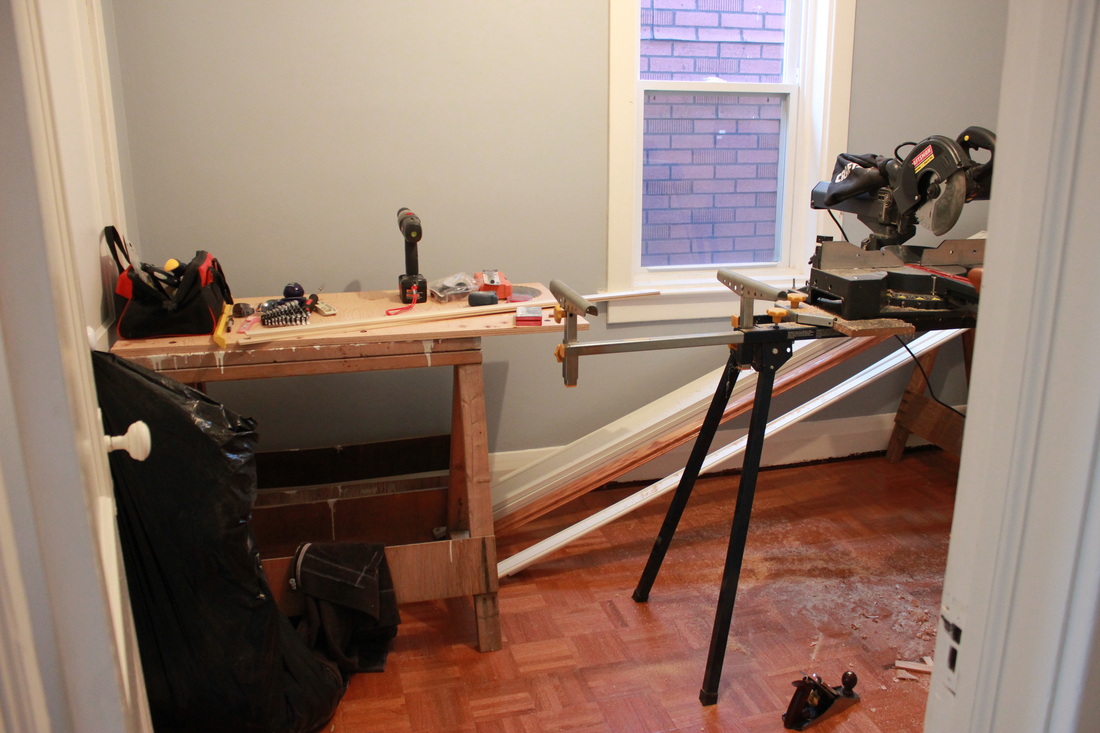
First off was building the base to level everything out. Toronto houses = uneven everywhere.
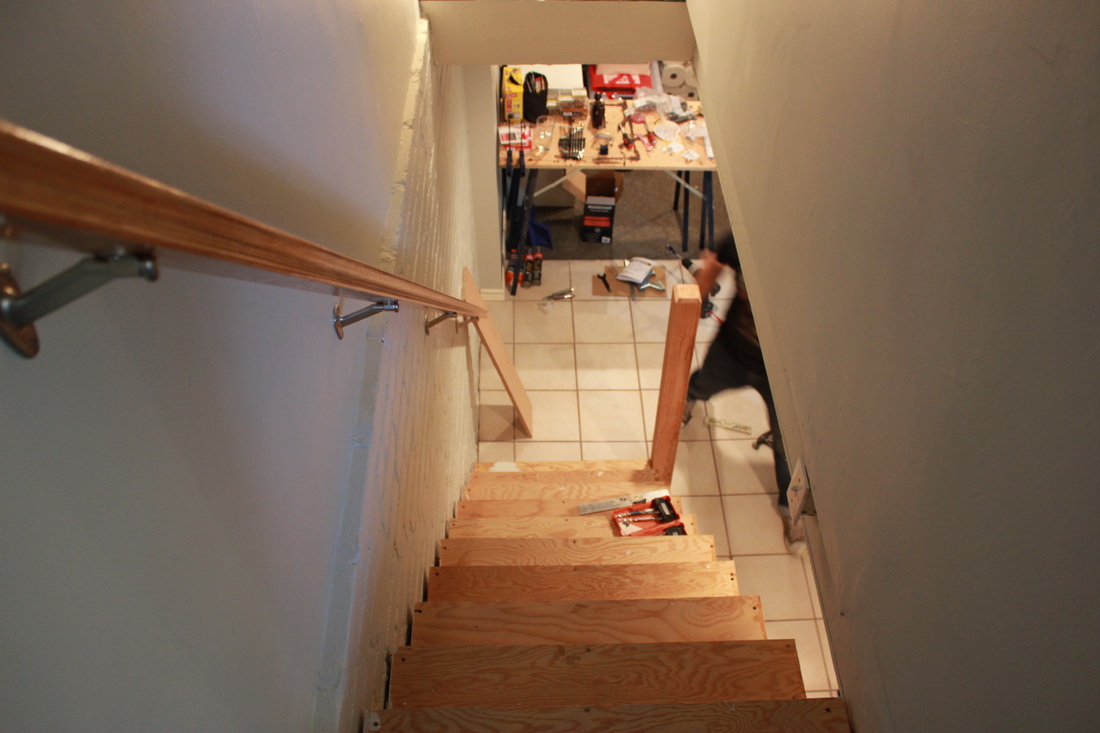
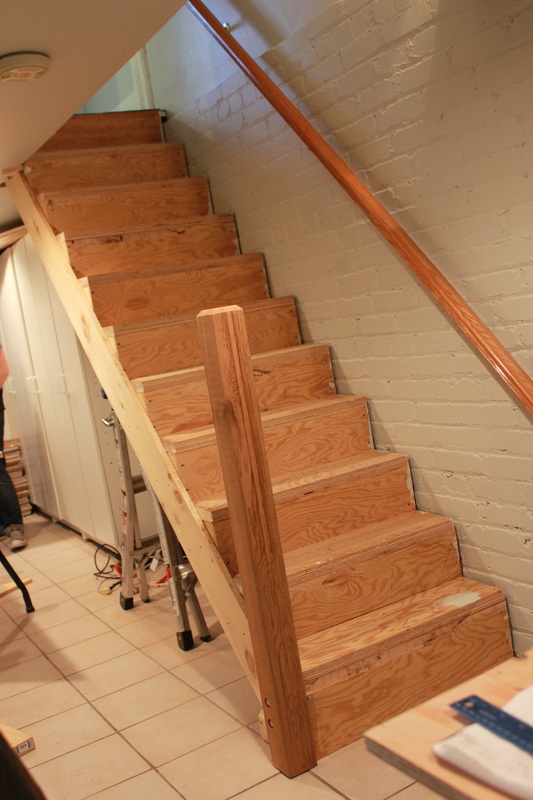
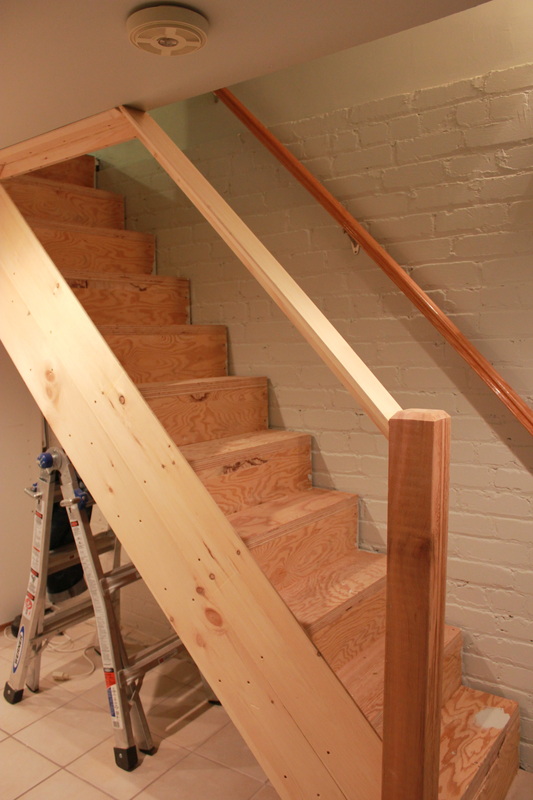
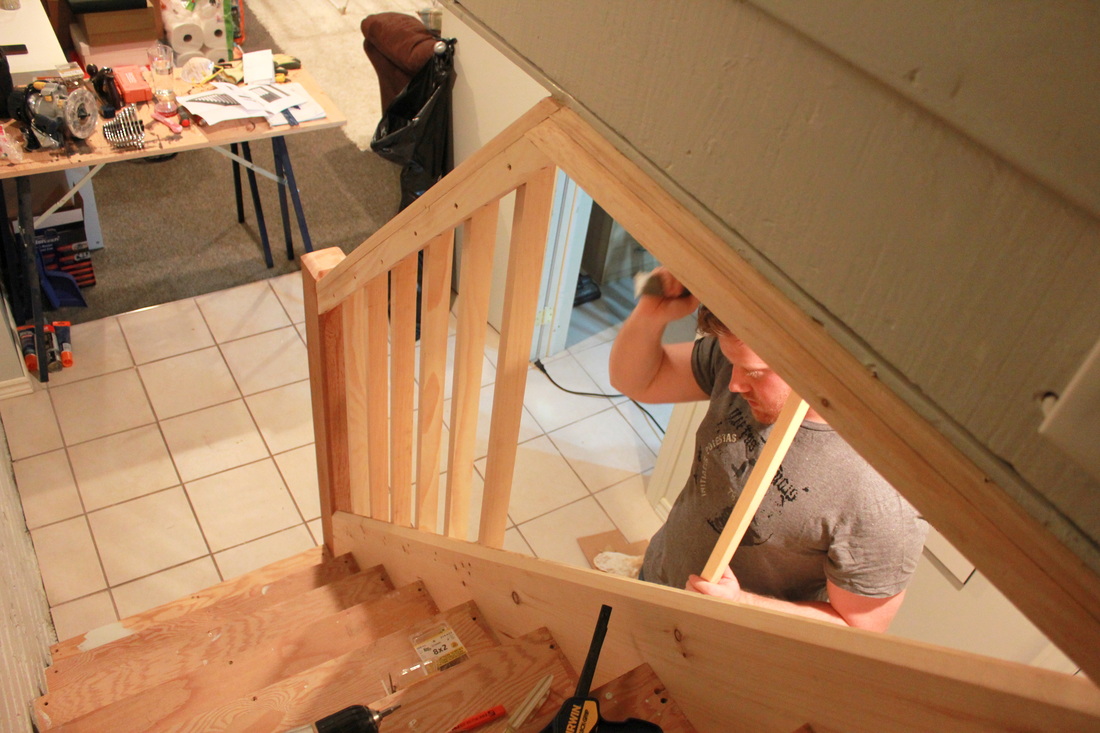
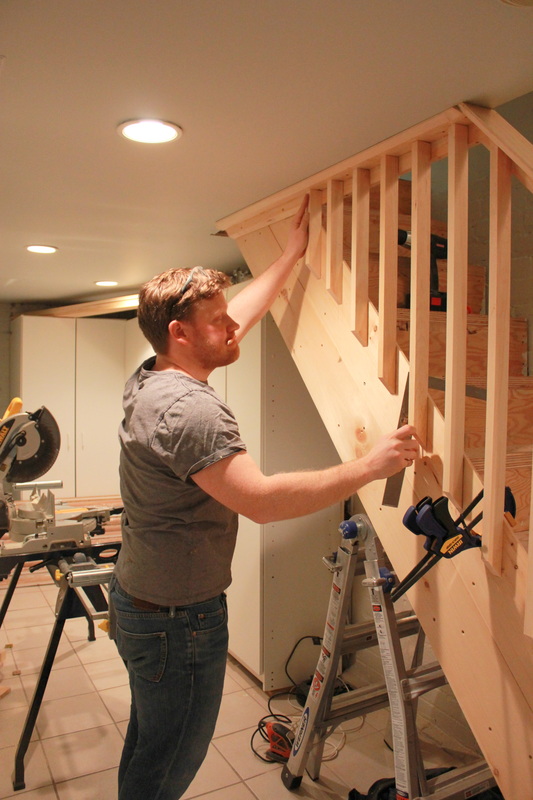
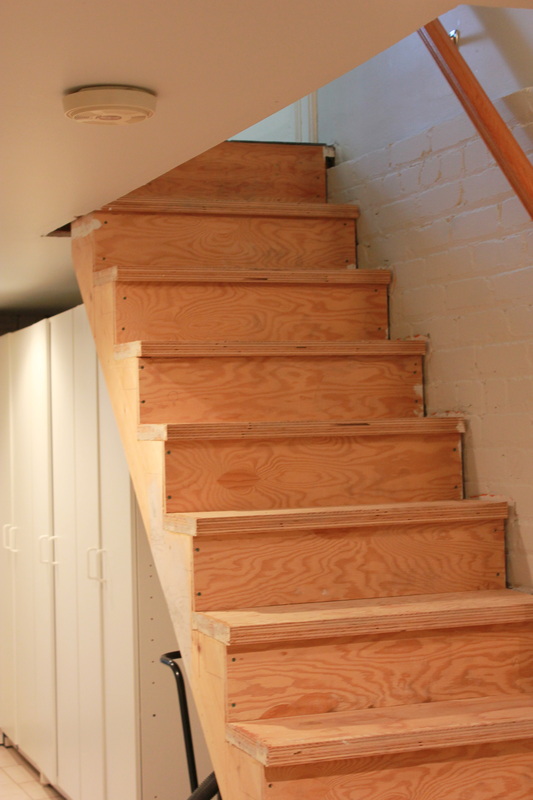
Looks like a ladder
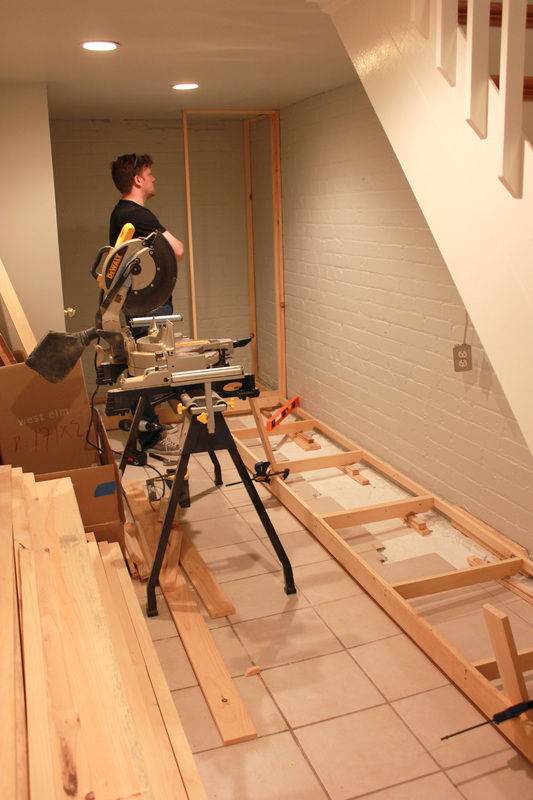
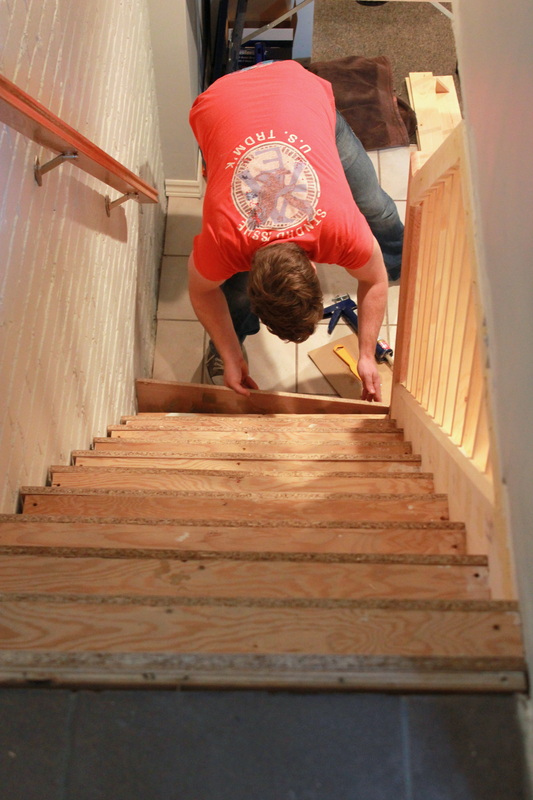
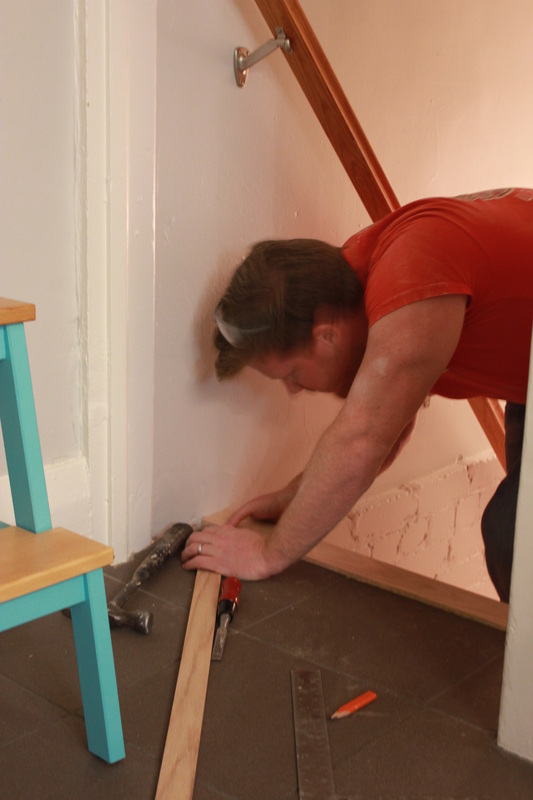
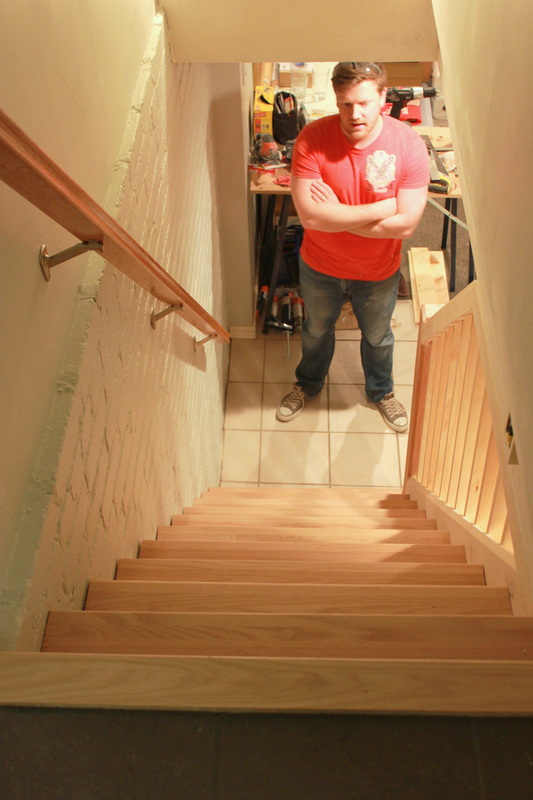
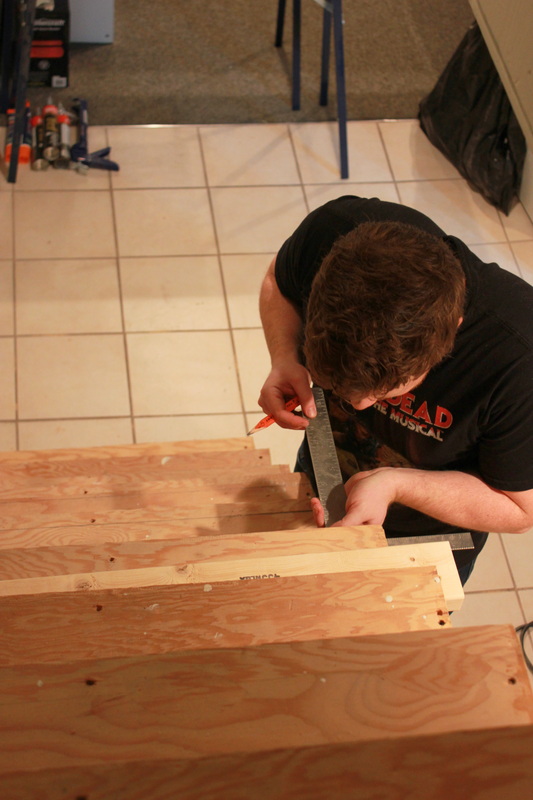
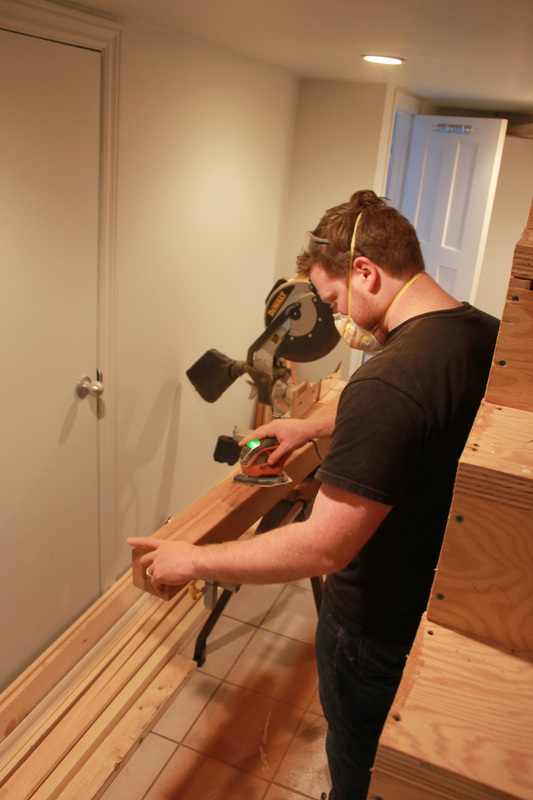
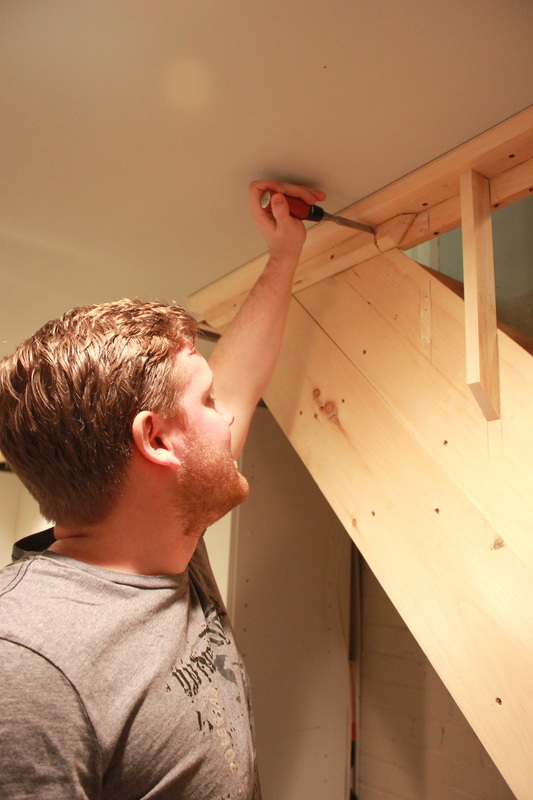
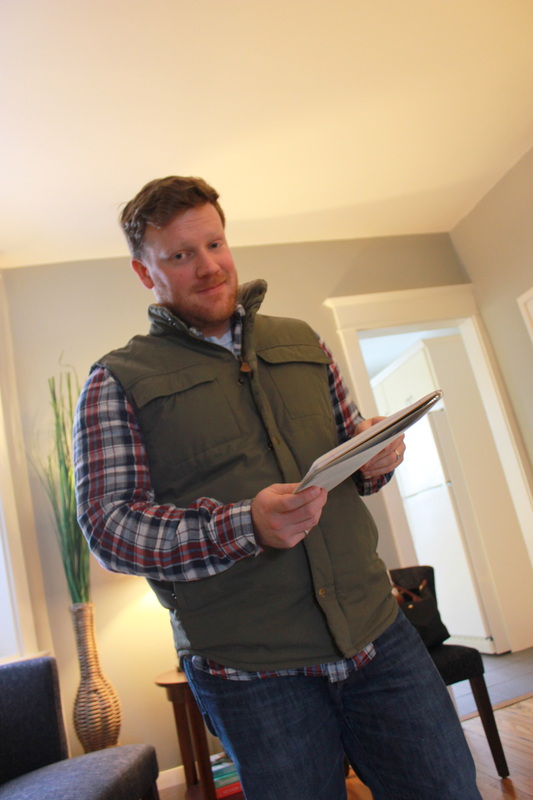
I love the pictures where he is deep in thought.
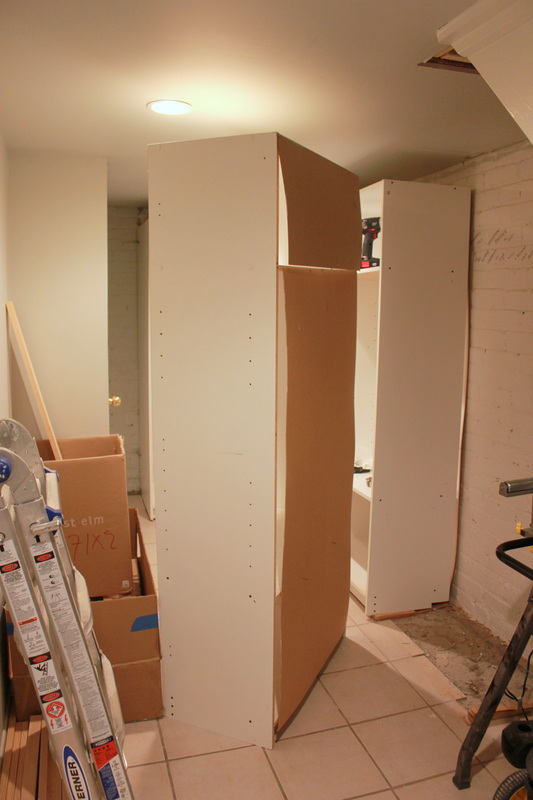
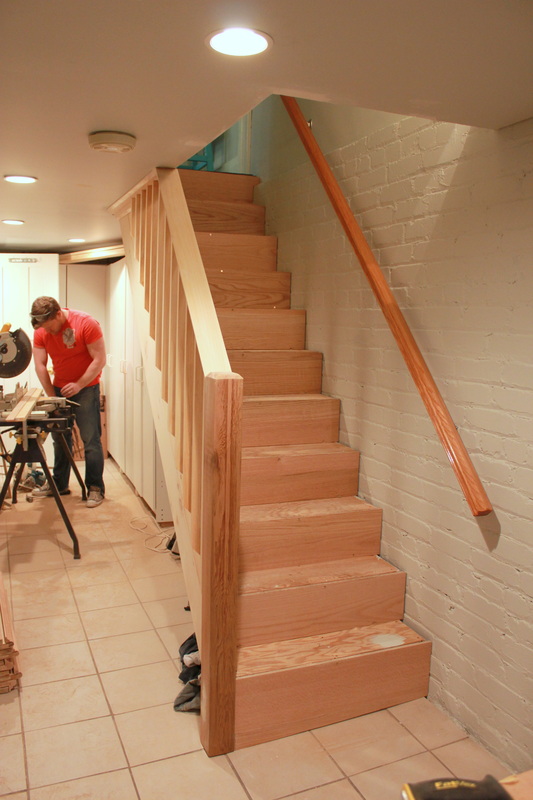
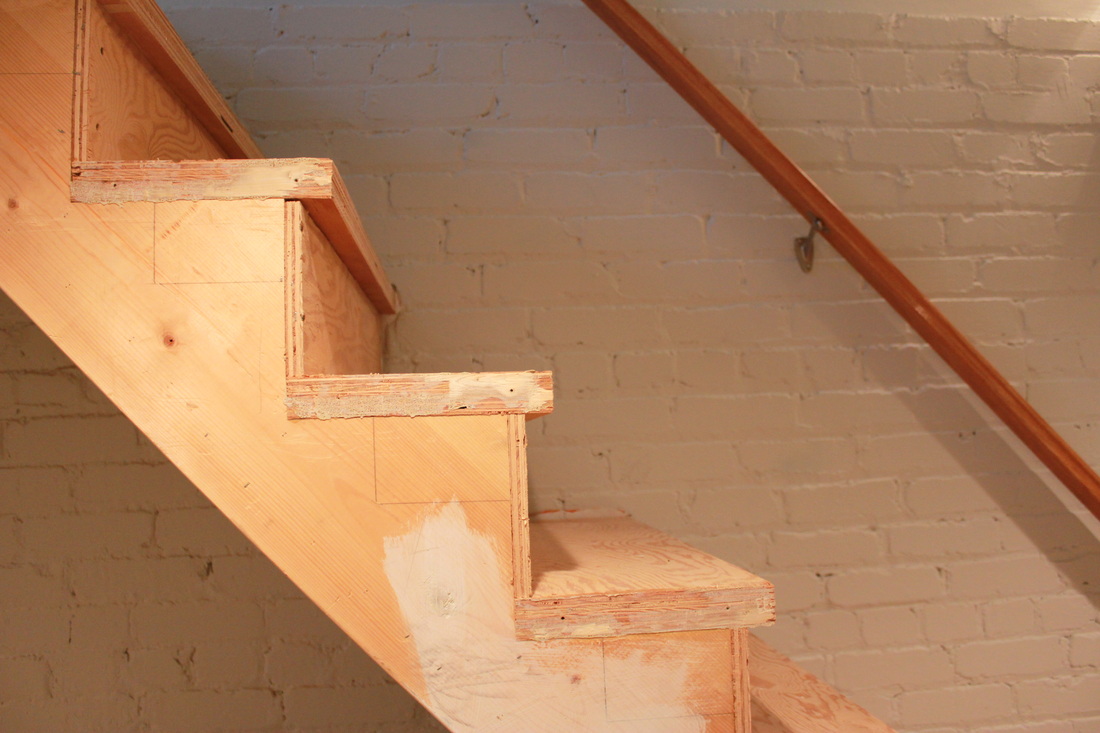
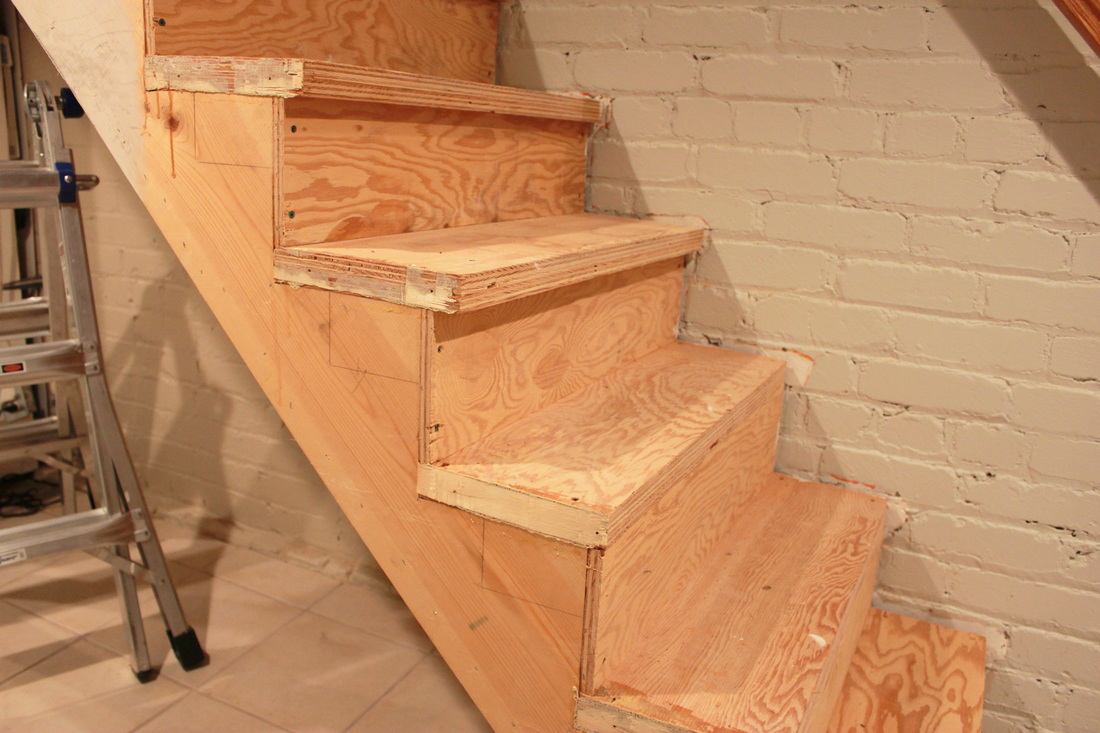
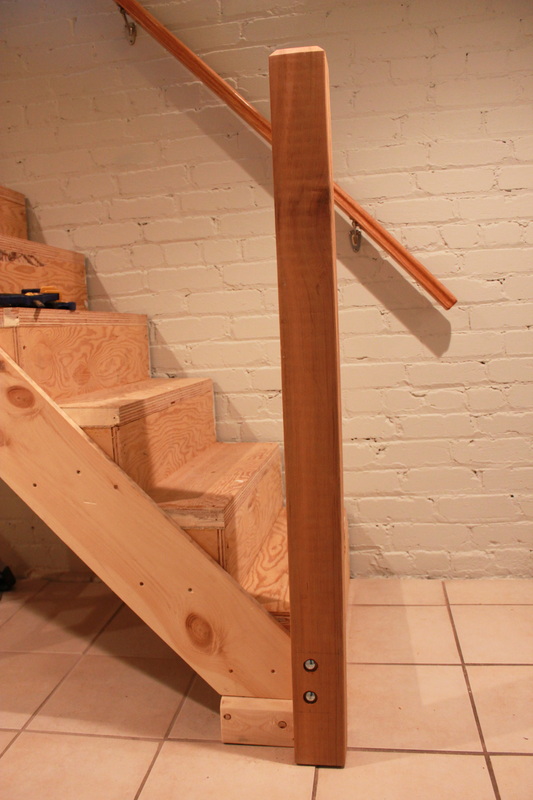
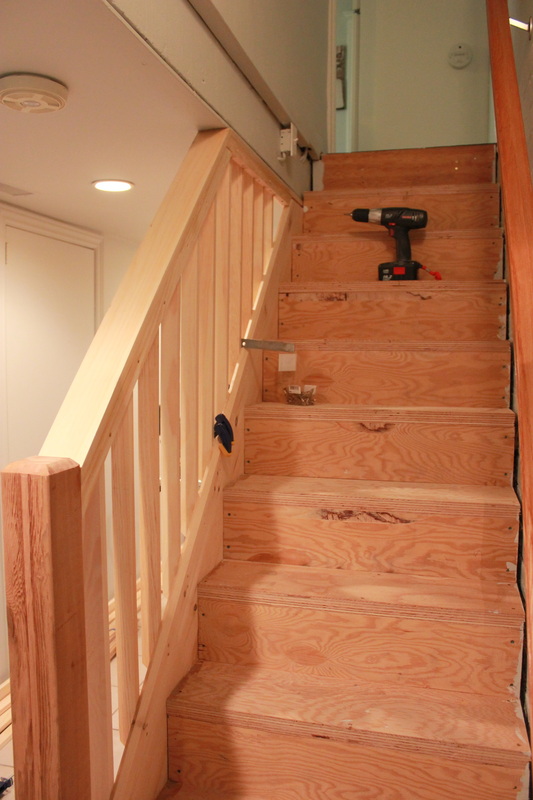
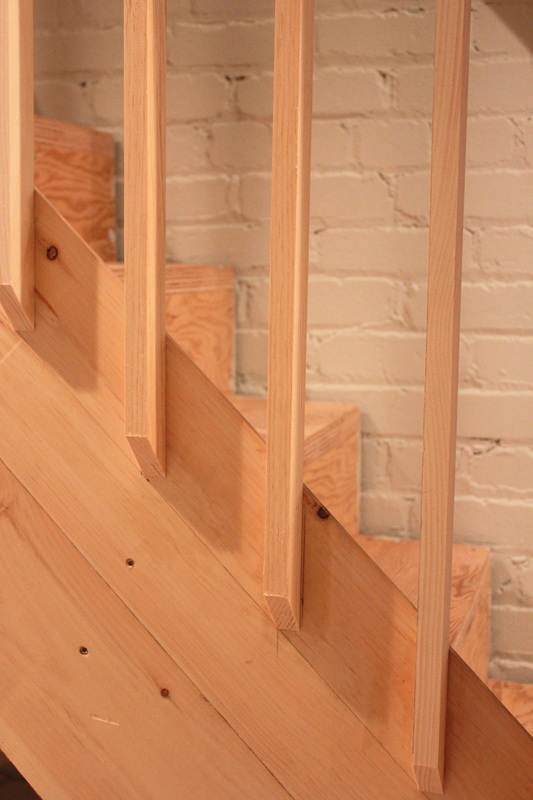
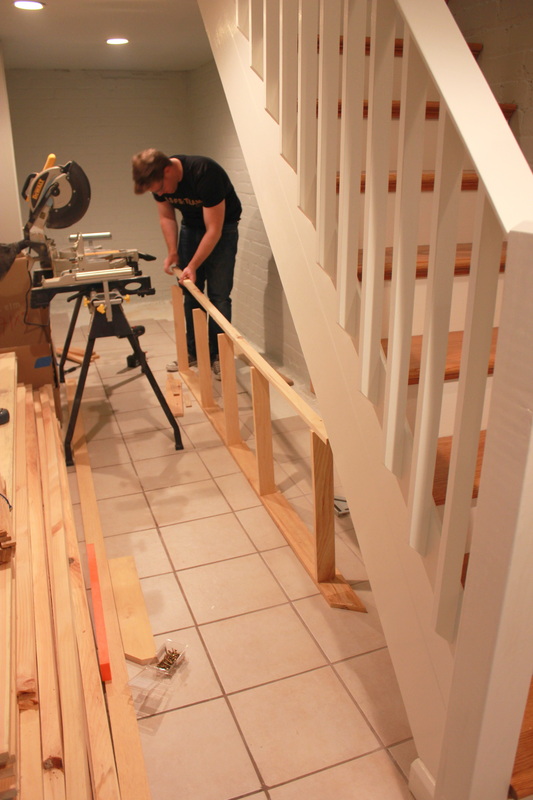
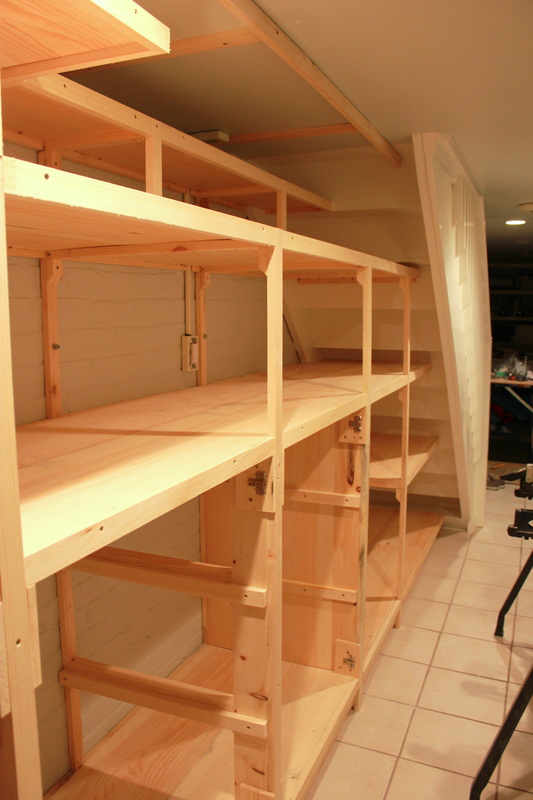
Base is secured, frame is built.
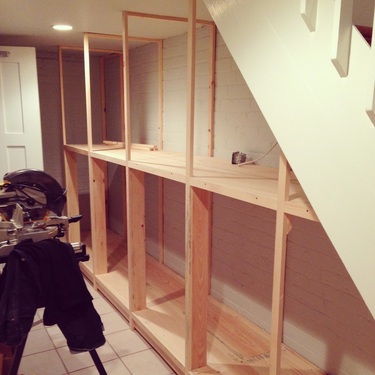
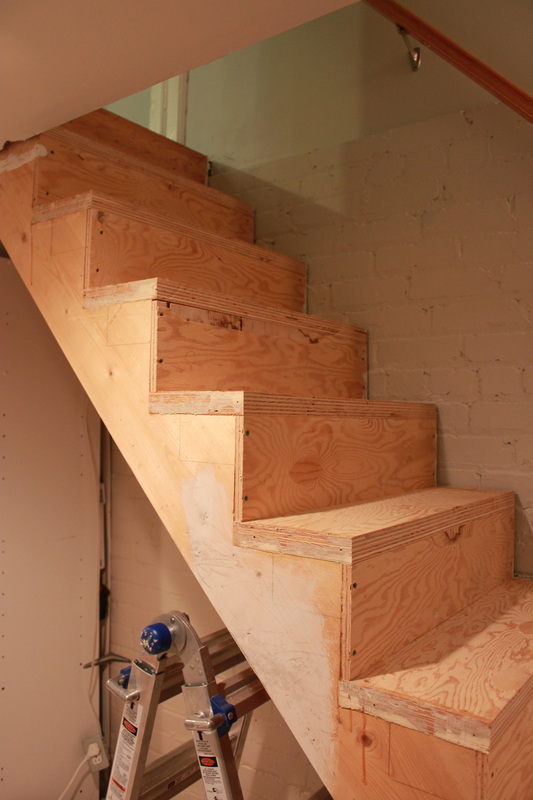
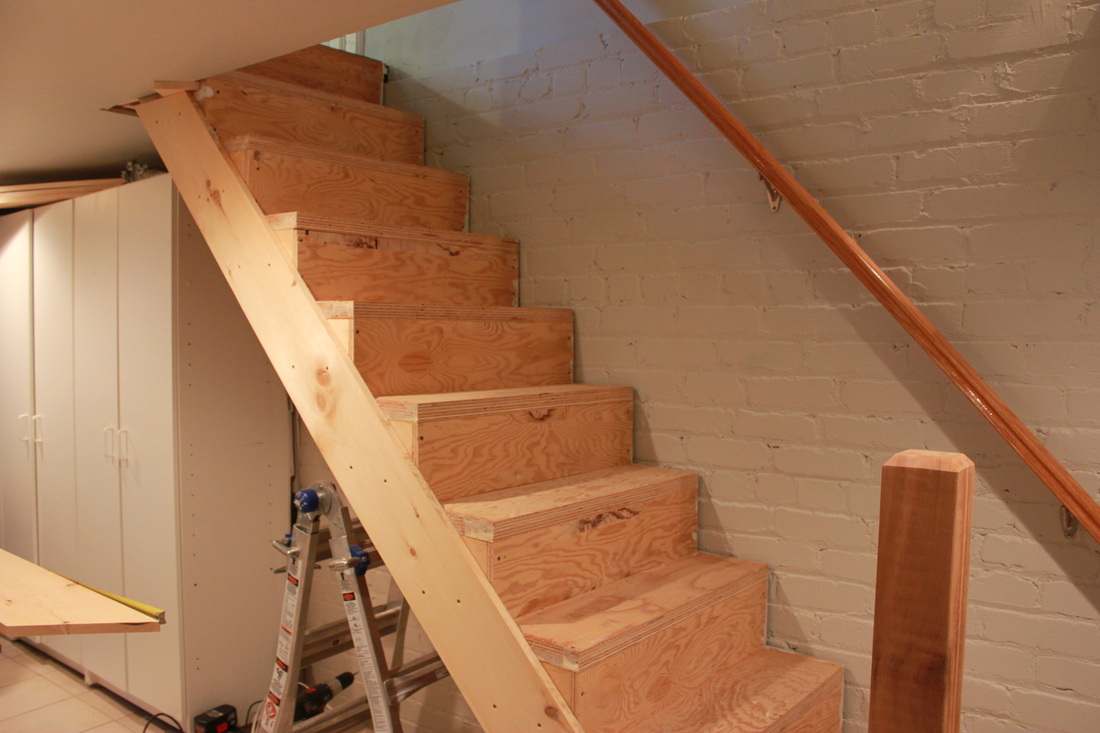
Half shelves done
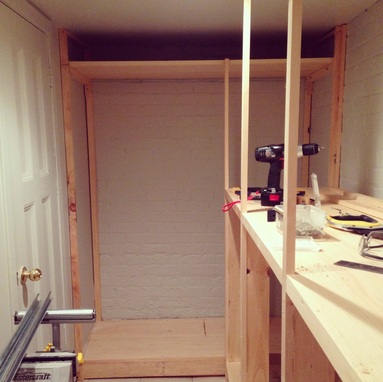
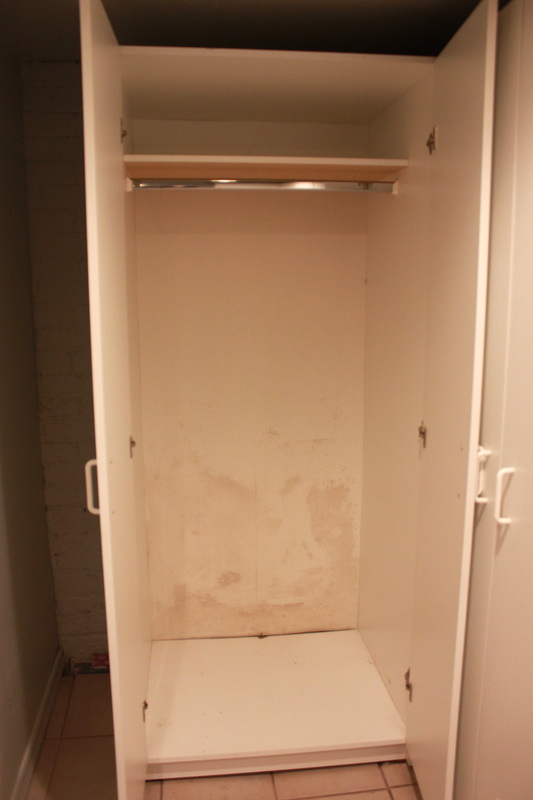
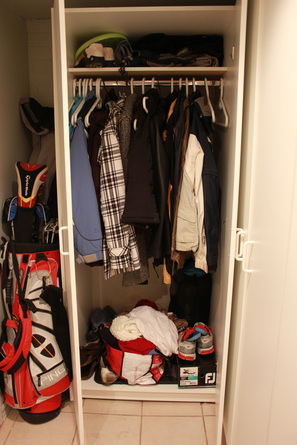
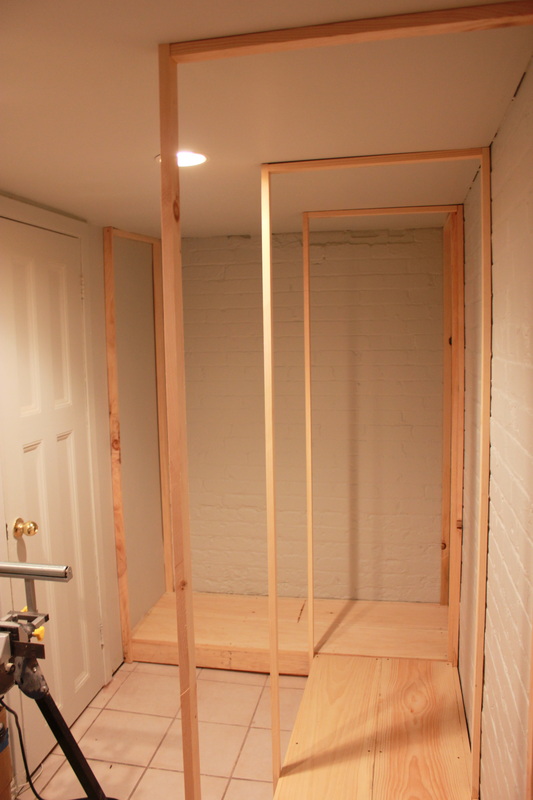
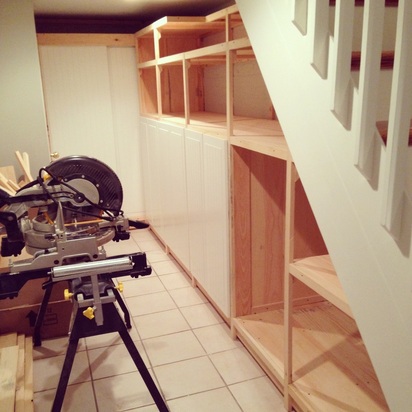
Closet section secured and shelves for outdoor cushions above
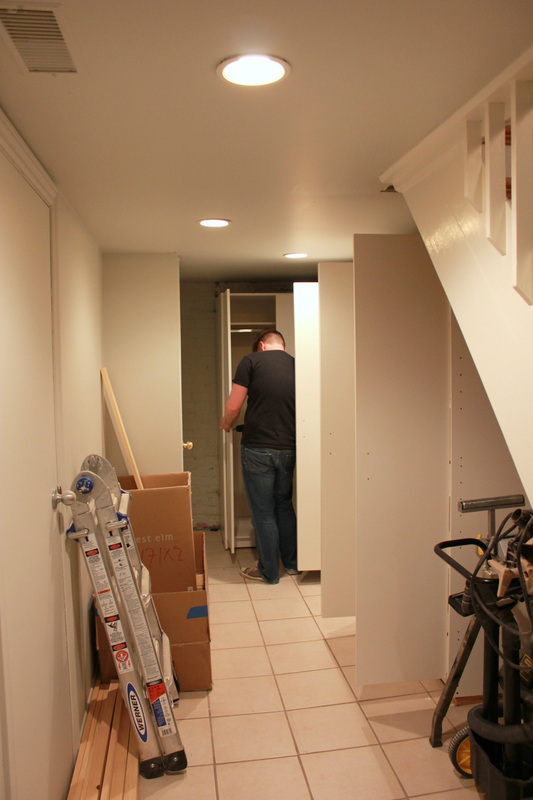
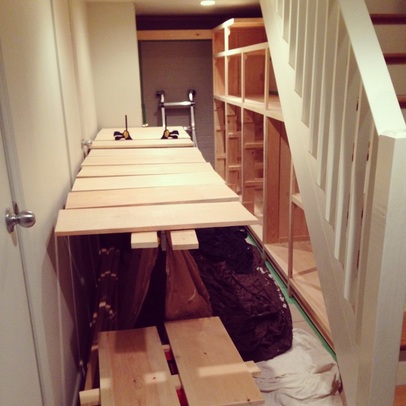
Checking to see the closet doors work - Ikea closet doors made into sliding rollers
Ikea doors checked for size too!
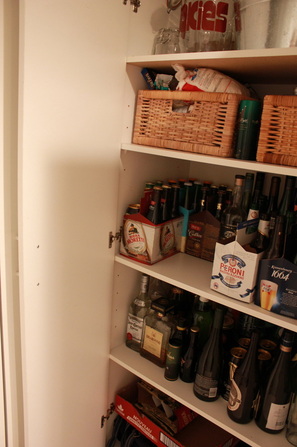
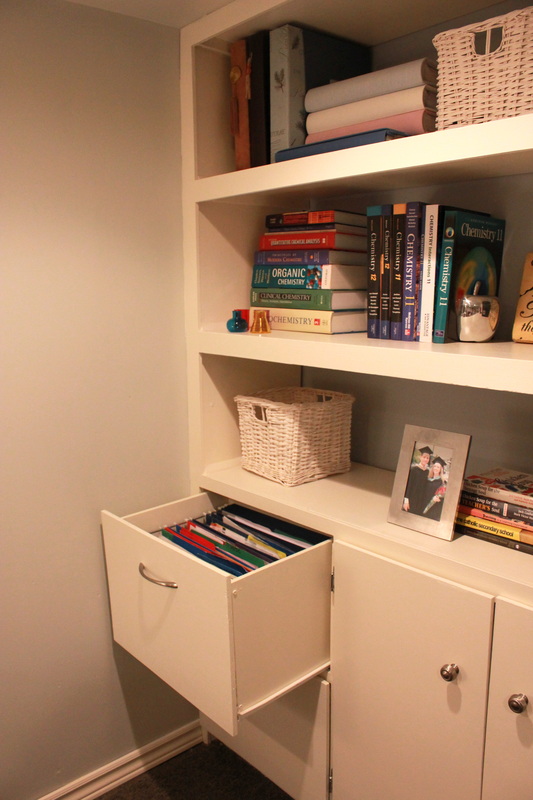
Done!!!
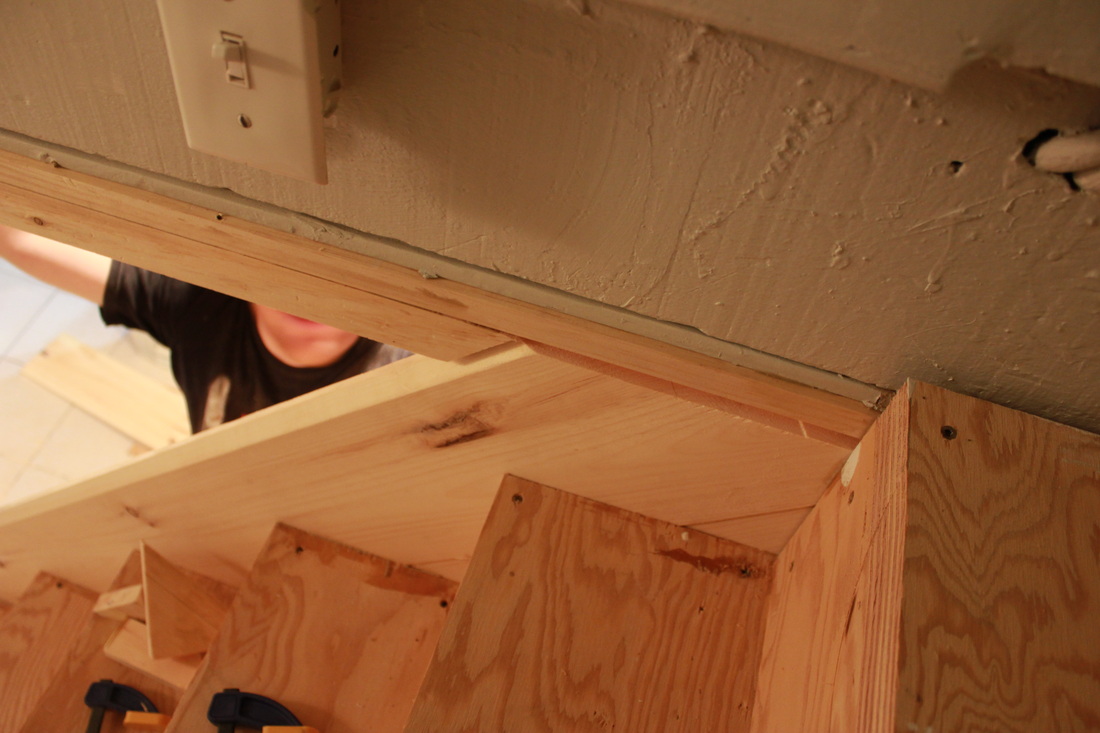
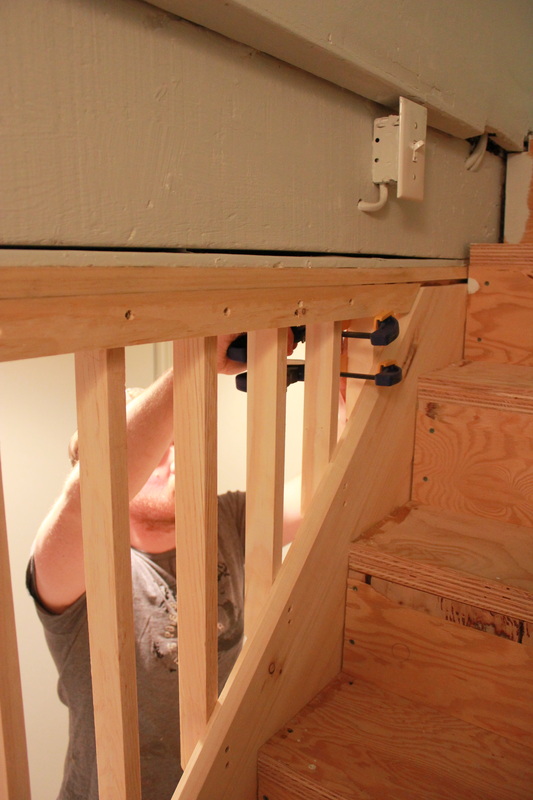
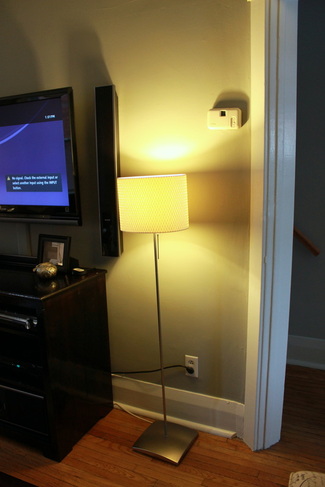
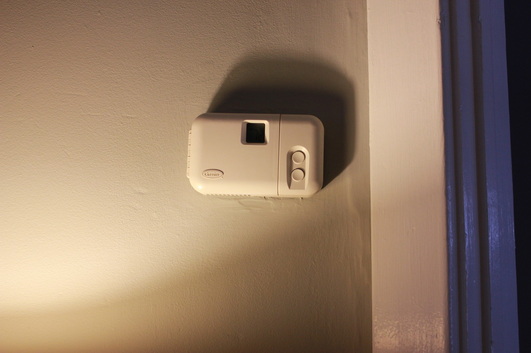
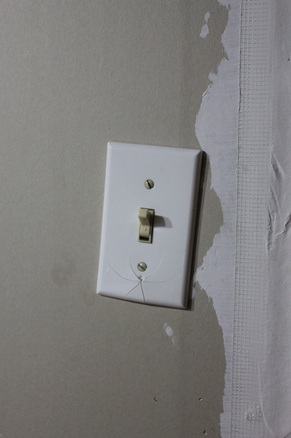
Had to do the junction box and plug you can see too. Better than the dangling one that was there before...
Last check of everything before painting
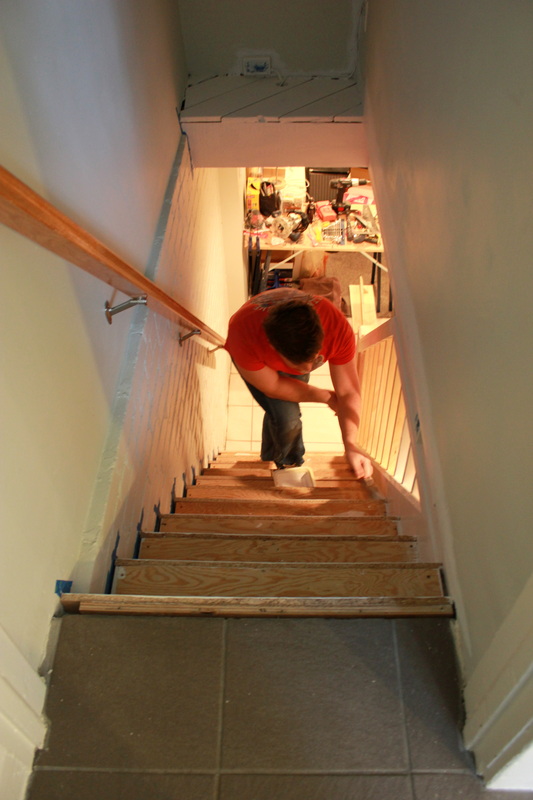
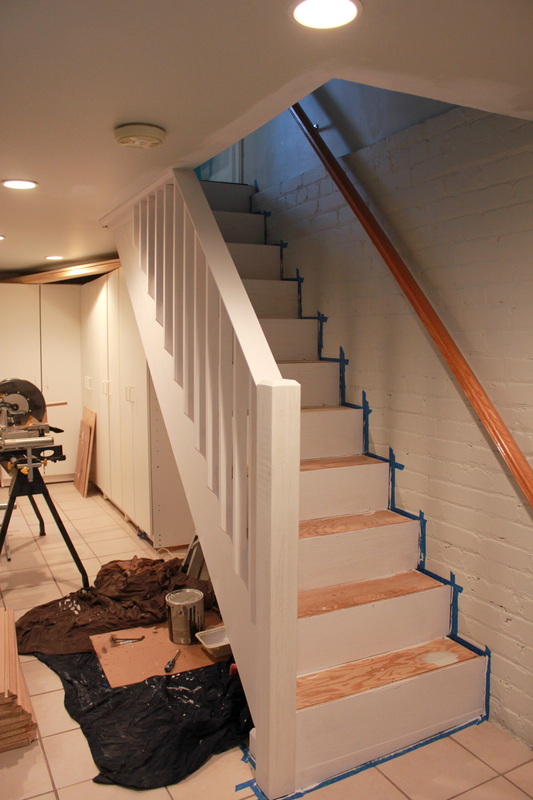
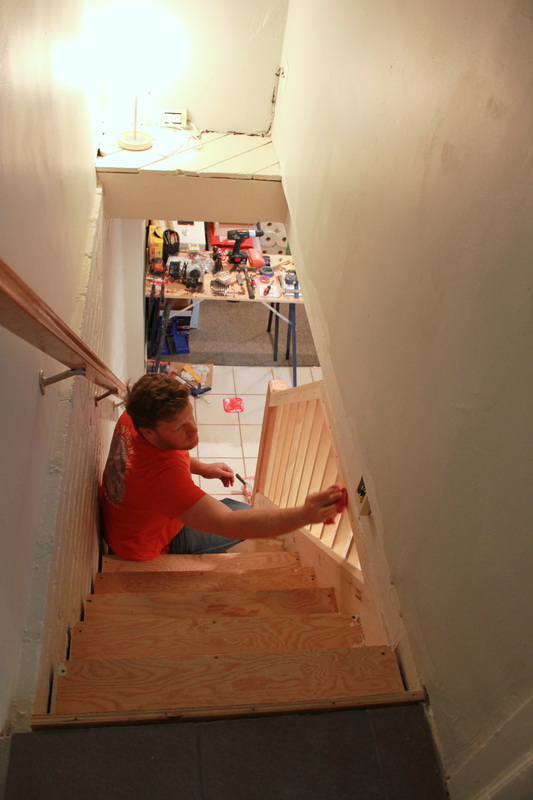
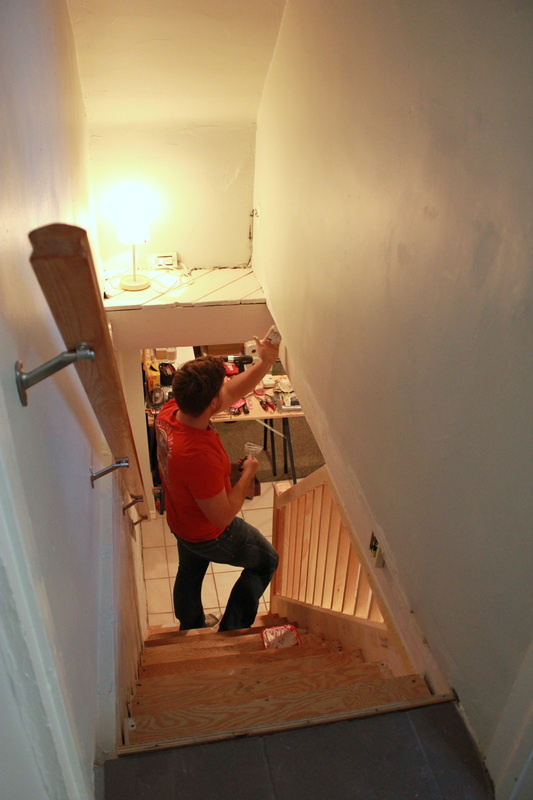
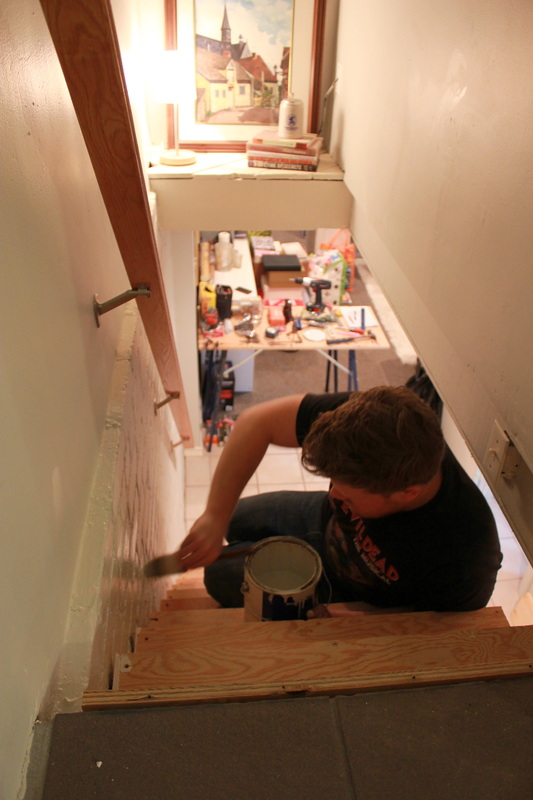
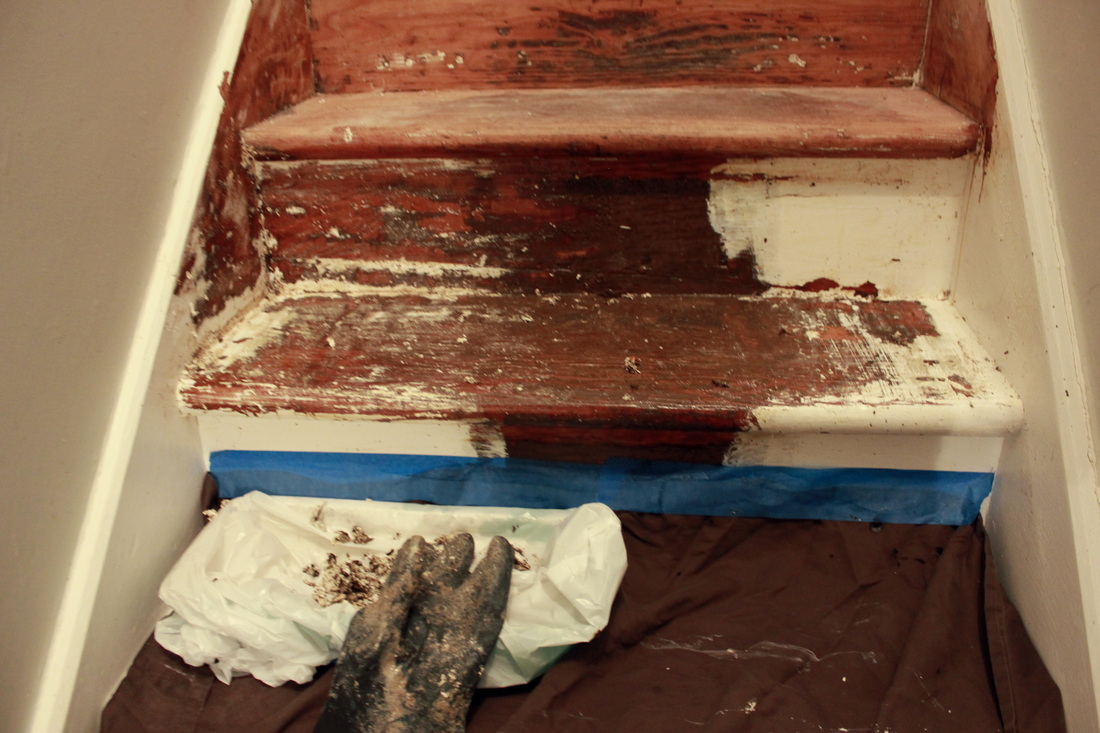
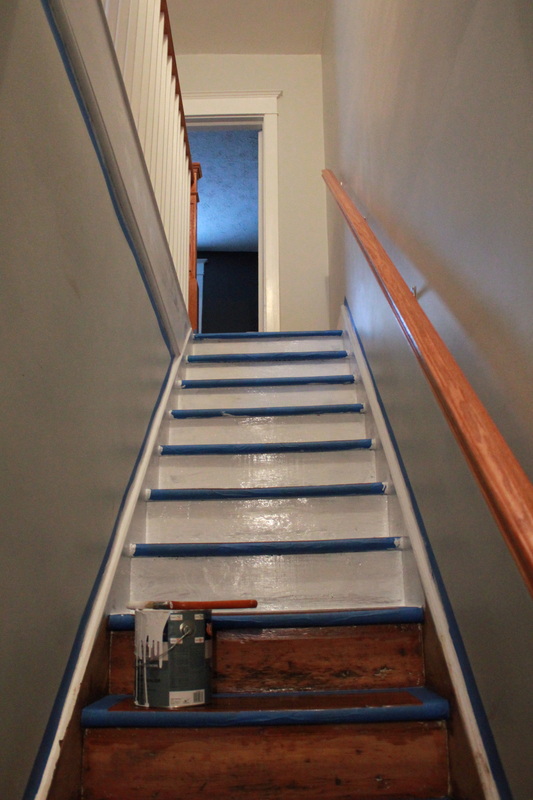
Paint prep
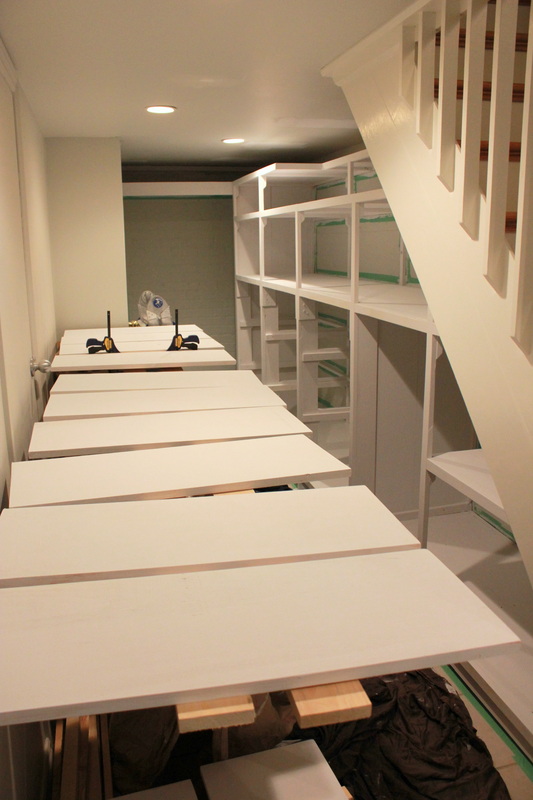
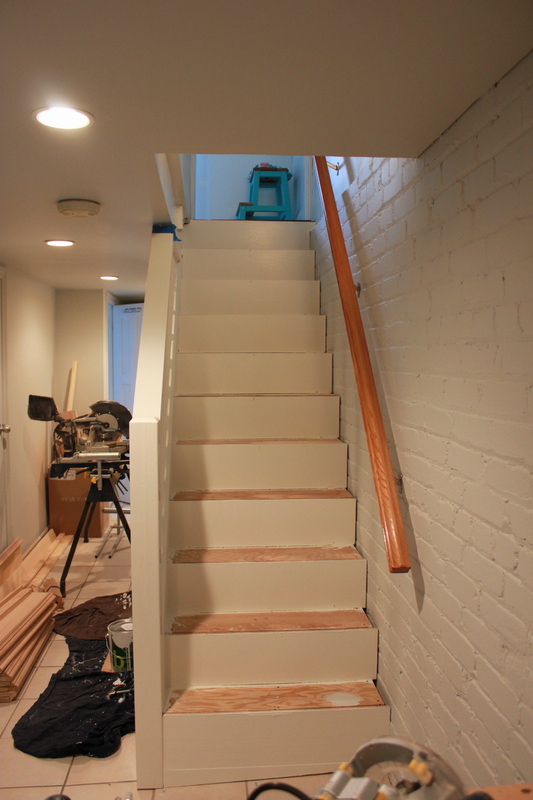
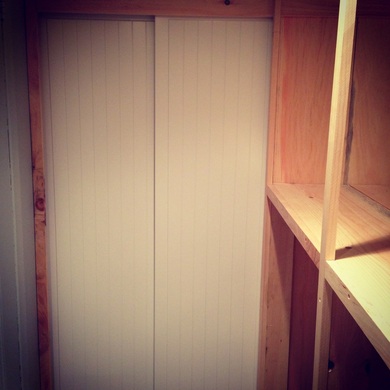
Primed!
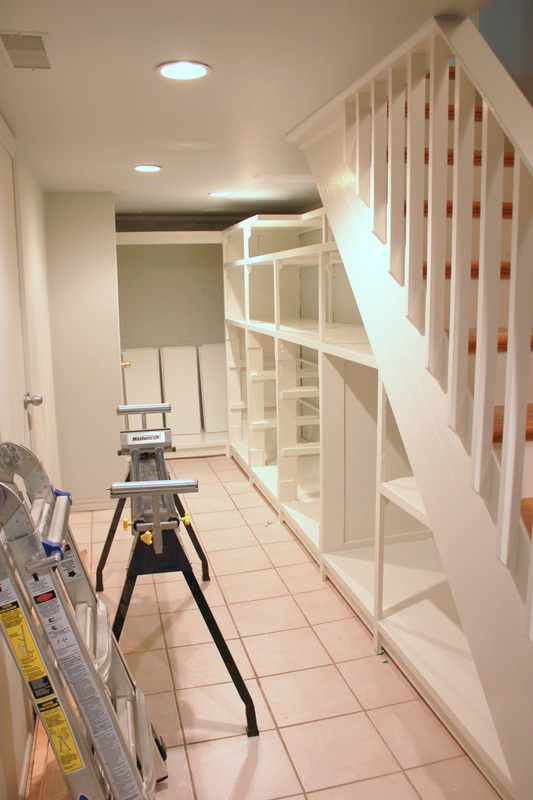
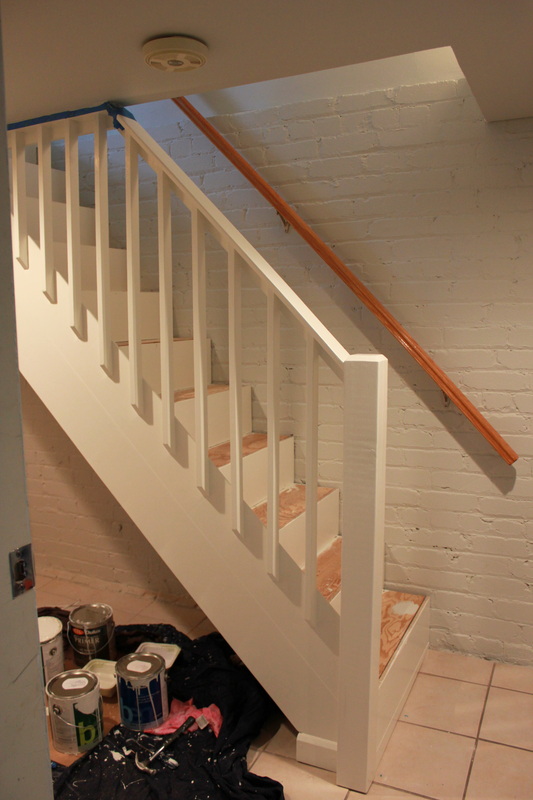
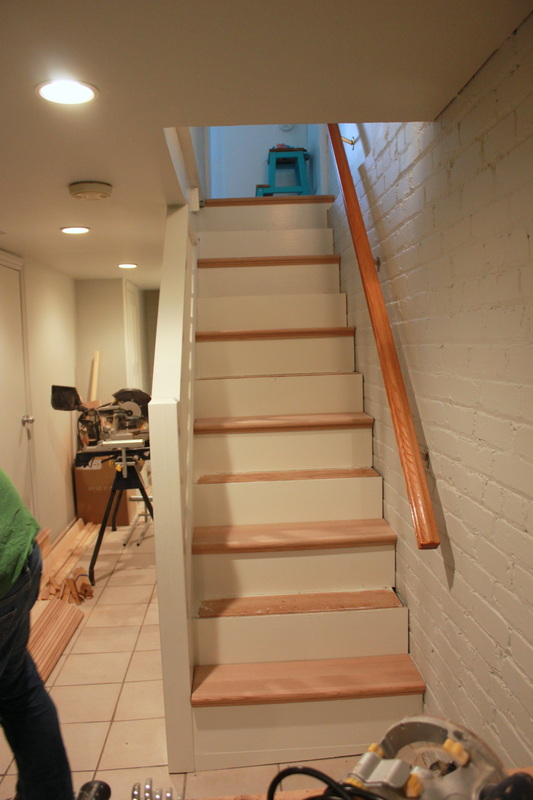
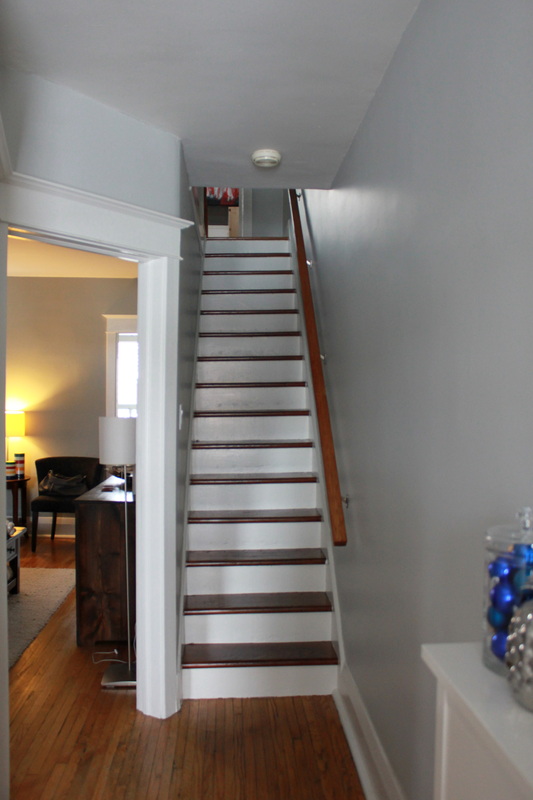
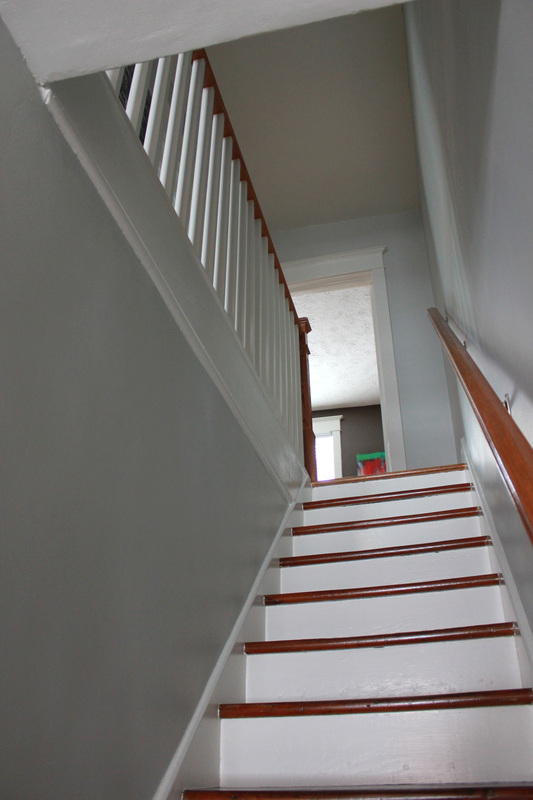
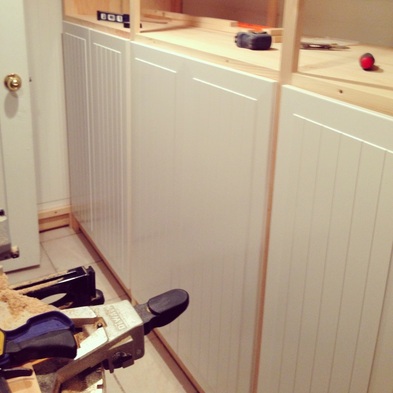
Painted! 2 coats of Benjamin Moore's White Dove in Semi-gloss latex paint.
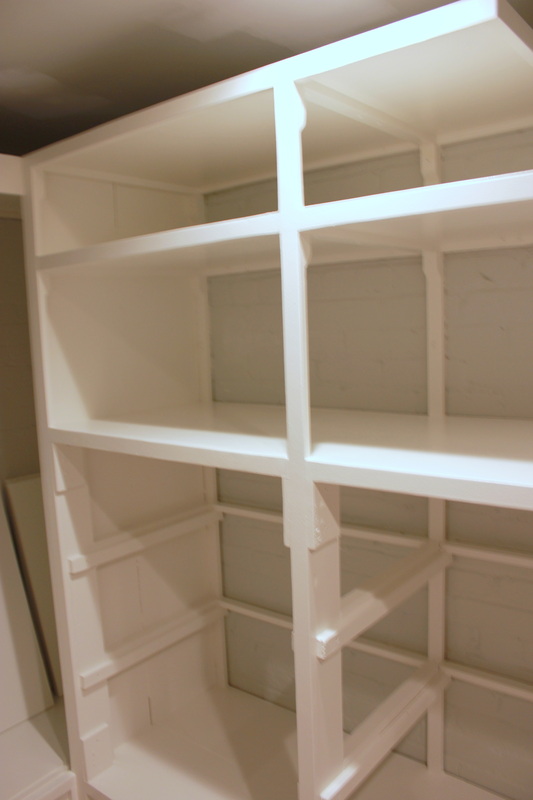
All the ledges are for adjustable shelving - none, half, or full shelves anywhere along the bottom
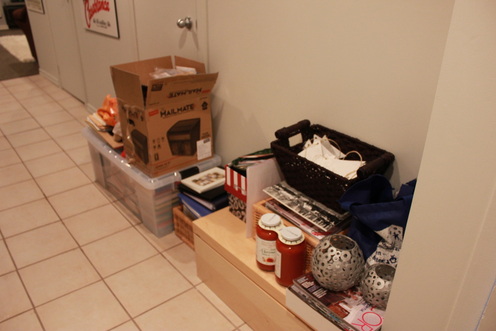
Next step is to do a few touch-ups, put the doors back on, and put everything away. Touch-ups tonight, doors tomorrow, and next week will be organization central. Thank goodness for summer holidays!!! I'll do a complete before and after once it's all done. Stay tuned!